Work is progressing on the Dell XPS conversion, but I sorta upped the quality I wanted a little bit, so I ordered a few things to really make it nice. I’ve traced a bunch of leads on the PCB that controls the LEDs on the front of the case, as well as holding the headphone, mic, USB, firewire, power, hdd LEDs, and network activity LED. Dell likes to do things proprietary, which means that making it work with a normal computer is going to be a headache, but I know where things have to go for the most part, and I’ve designed a little continuity tester that beeps when I have a full circuit so I can find the last of the leads I need. While I wait for parts to get in, however, I’m working on other things as well.
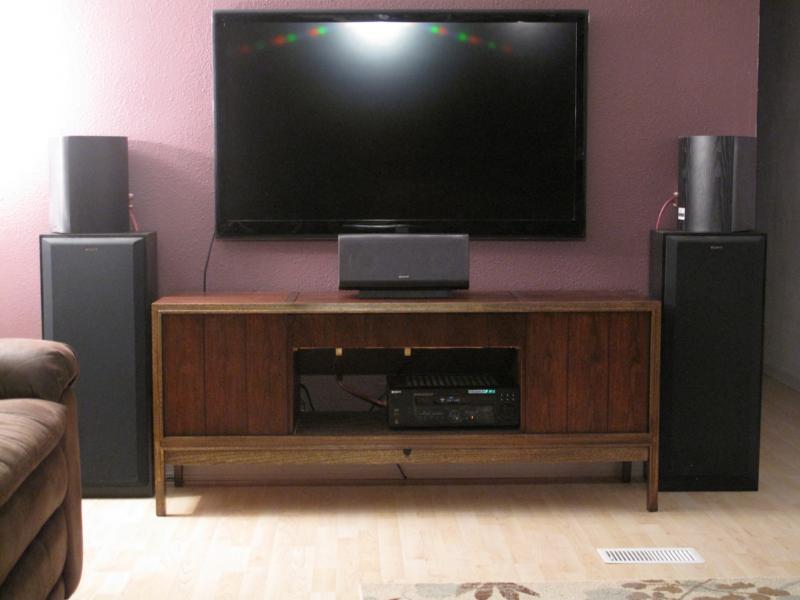
Early last winter I bought a 1960s record cabinet for $25 from a guy off craigslist. My wife, Chelsea, and I knew we were going to get a new TV that I could mount to the wall, and so we knew we were going to get rid of our giant oak media cabinet. It was a monster and dominated our living room. Chelsea mentioned wanting to sand it and re-stain it to match our bookshelf we had stripped and re-stained. I did a lot of work in winter where I ripped out the speakers in the side cabinets and removed the turn table, radio tuner, and amp. I debated whether or not to keep the old tube amp, but I have too much junk and not enough time to find a buyer, so it all got trashed. Sadly, I took no before or early progress pictures, but it was a fairly handsome piece and real sturdy. Here’s the earliest picture I have, with the doors and top sanded.
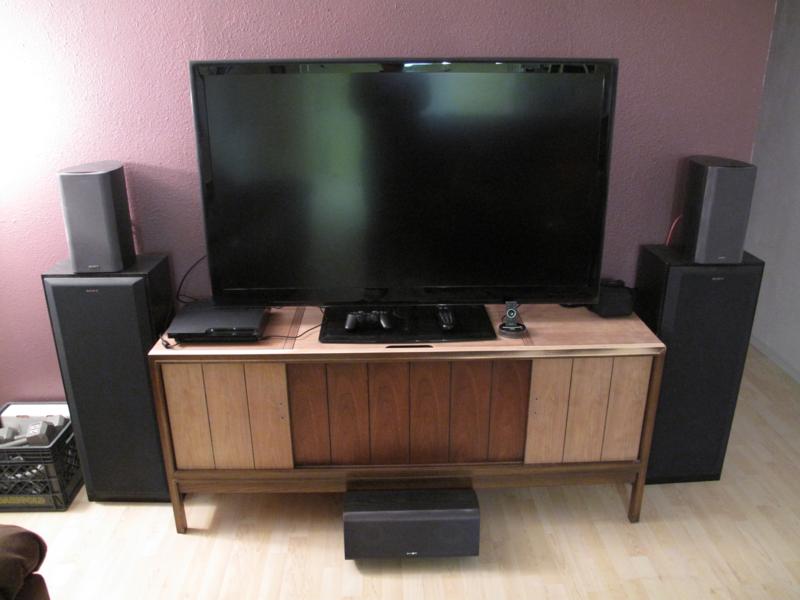
I really don’t have any images of the early progress. I ripped out a lot of stuff. I knew I wanted to make the center part of cabinet open up. I needed to make it into a door. The side parts of the cabinet have doors that slide in a rail. They would slide open to reveal the speakers. The center portion was all for the never-to-be-seen amp, and the top door which hinged up to reveal the turn table and radio. It was never meant to be a door and took forever to remove. I spent at least four hours removing screws and taking a chisel to pieces of wood glued in to hold the whole thing together. Eventually I got the front off. After that I sanded and stained everything. I won’t go into details on that. It really isn’t that interesting and there’s plenty of places online that will tell you how to do it better than I did. Here’s a picture of the newly stained and sealed credenza with the front panel off.

The big thing I’m changing on this is the addition of an IR repeater. Essentially, it takes the IR signal from your remote, then repeats the signal to your devices. This allows you to have all the doors closed on the cabinet but still have control over the devices inside. The cabinet originally had a little light bulb in it that would light up on the outside of the cabinet to indicate that it was on. I decided that placing the IR receiver there would be the most authentic. I ordered a repeater from monoprice.com (awesome site for all your AV cable needs) and got to work.
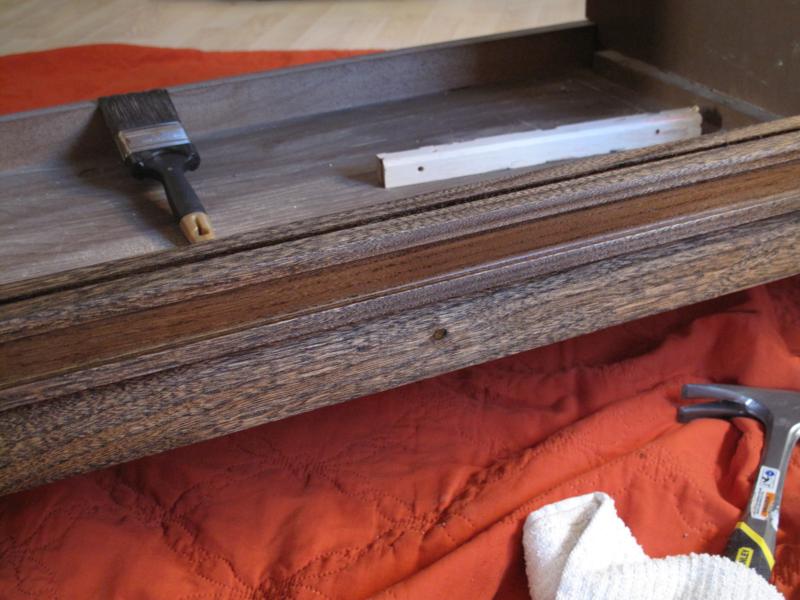
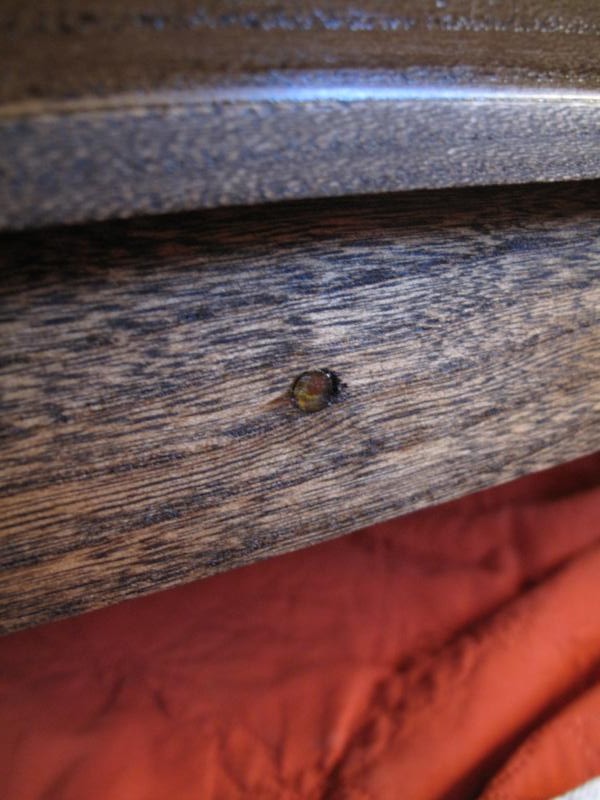
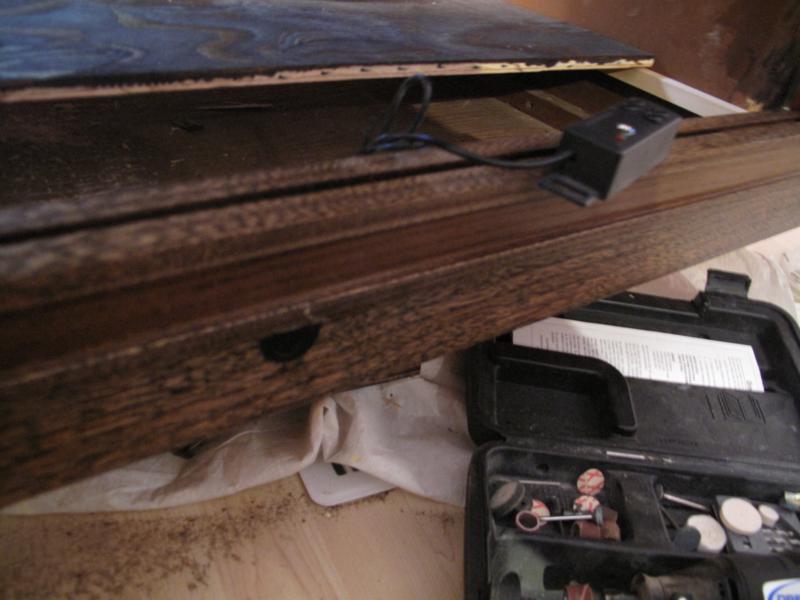
Close up of the light bulb light path. The bulb sat behind piece of translucent yellow plastic and metal in the wood.
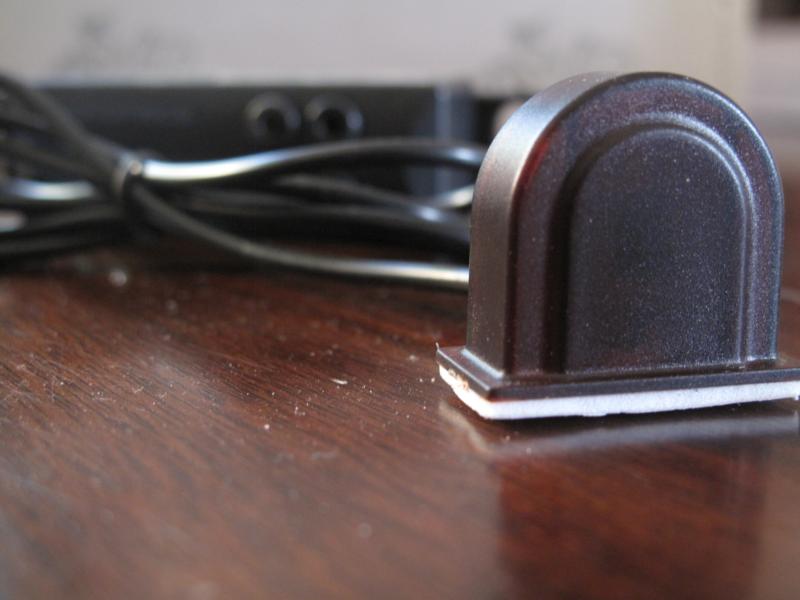
The IR receiver
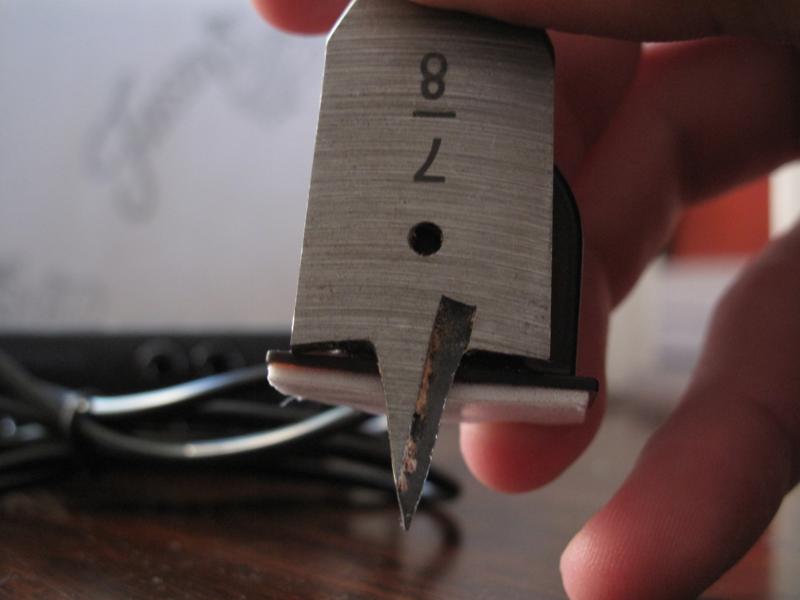
The closest bit was 7/8 inches.
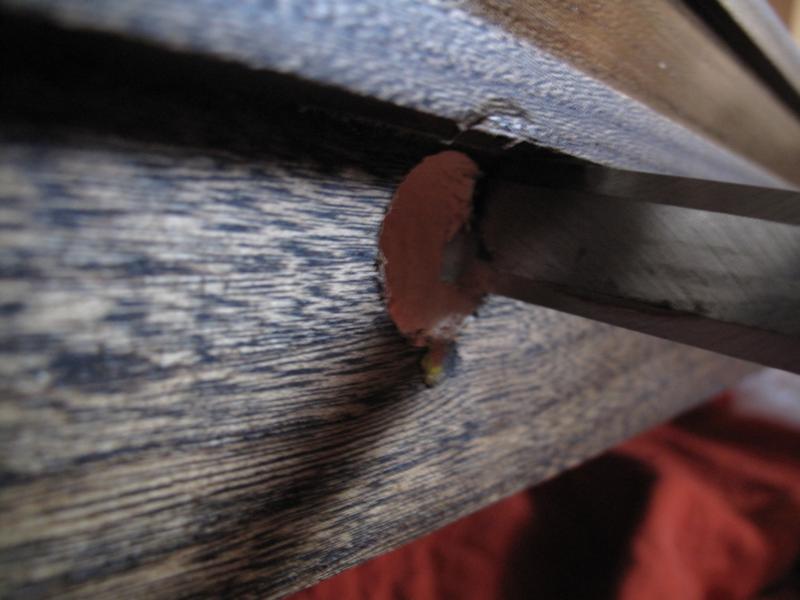
After drilling I had to chisel out the rest. It was fine tuned with a dremel and sanding bit. Then I took the dremel to the IR receiver to cut some unnecessary bits off it as well.
It was getting dark, so I don’t have any good close pics of right after getting the receiver in place, but here it is with the controller and repeater housing. The 1/8 jacks are for repeater leads that repeat the signal out to IR LEDs mounted on each of the devices you want to control.
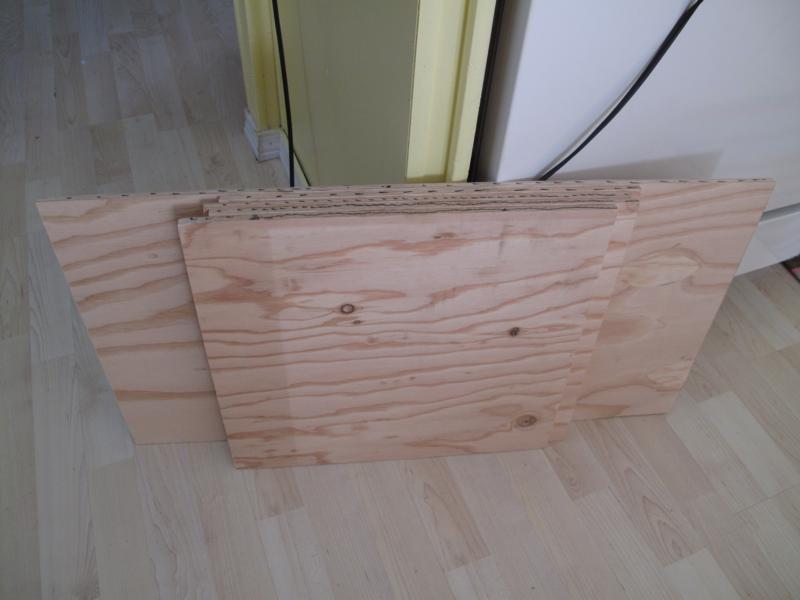
After that it was time to add some shelves. I got 3/8 inch plywood and cut the shelves to size. They weren’t exact, but close enough, and refined with my scroll saw.
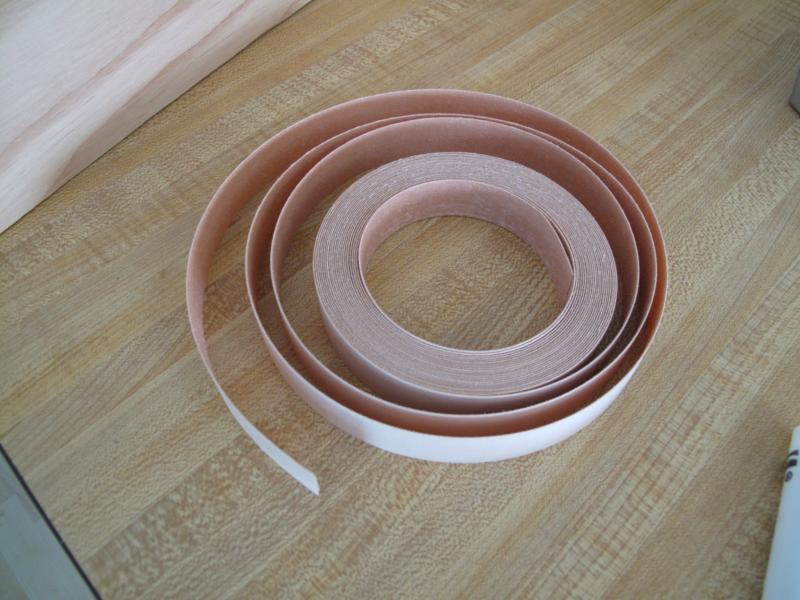
I got a birch veneer to apply to the edges so they look nice. This is ironed on and a glue on the back adheres to the face of the shelves. This in another process that is pretty simple and has nice tutorials online.
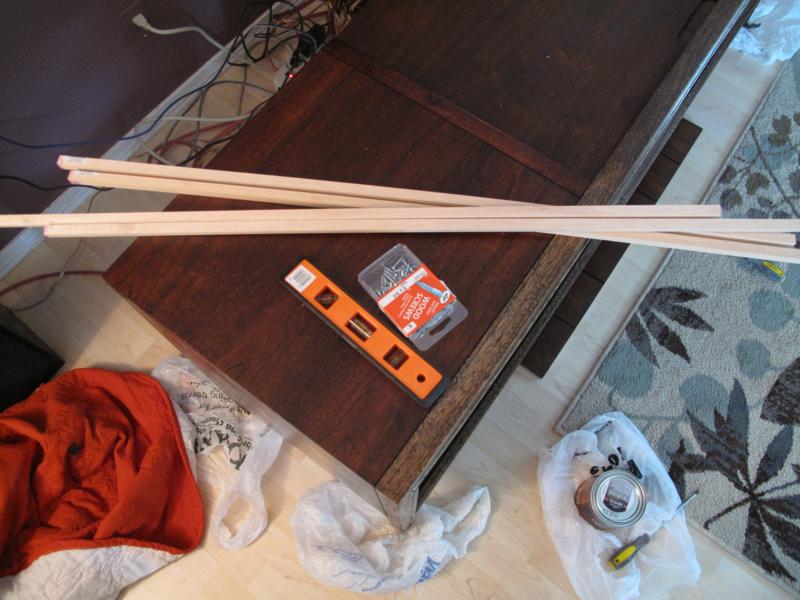
I then got a level and some pieces of wood to cut the shelf mounts. These were screwed and glued in place and the stained shelves were put on top.
And here’s how it looks now. It isn’t finished yet. I’m trying to figure out exactly how to get the front panel (which was cut into several pieces on the scroll saw) back in place with some hinges. I bought some tip out hinges, but they only go to 45 degrees and despite the claim of being adjustable to 90, I can’t tell how that’s supposed to work. I’m also realizing now that this “almost done” picture doesn’t include pictures of the finished shelves. I’ll get some pictures of them and post them soon, hopefully when the Dell XPS mod is finished as well. I have ten projects I want to complete this summer and time is running by so fast. I’ve only been working on two so far in the past three weeks, and I have officially zero completed.