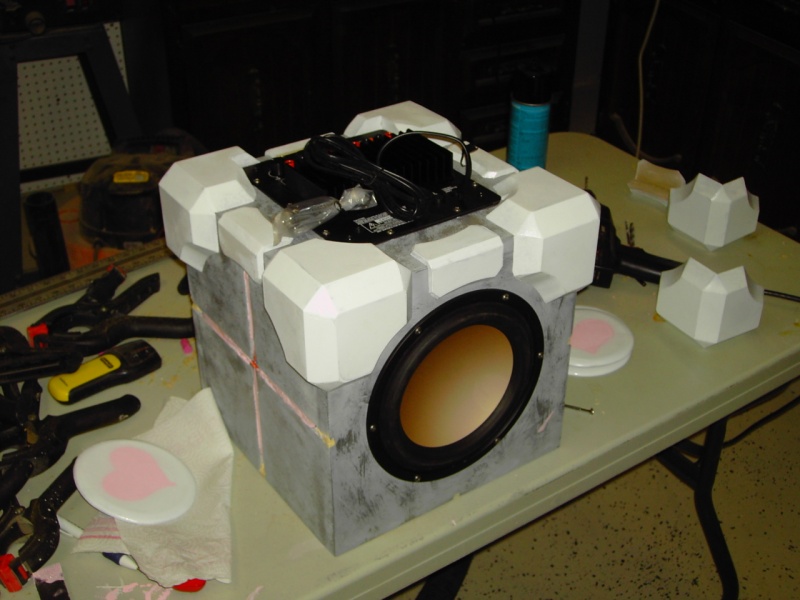
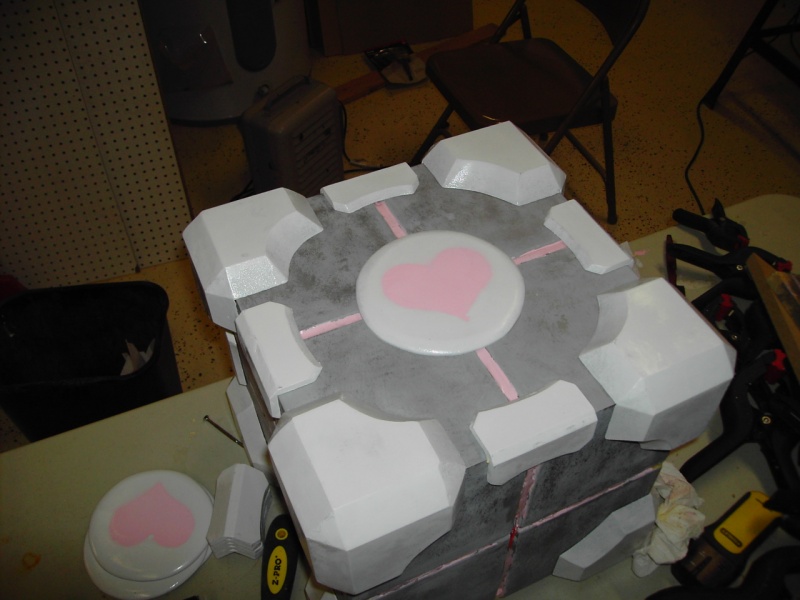
After some trouble getting the EL wire, I finally got it and worked hard on the Companion Cube Subwoofer today. I did a number of things. First I drybrushed a metallic gray onto the cube to give it a sheet metal sort of look. It worked pretty well and I am very satisfied with the results. It really added some depth to the gray.
I drilled holes and ran the EL wire. This is some pretty fun stuff. The pink is just right. Here is a great blurry picture of the cube in the dark. The wire is run in the grooves and holes are drilled so the wire can from one track to another on the inside on the box.
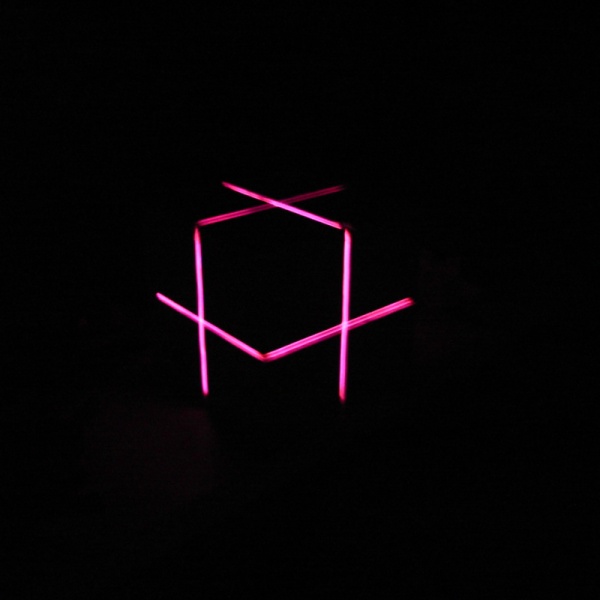
A quick mock-up with the corners on. The wire will have epoxy over it, and then the epoxy will be painted pink. The glow will show through when it is dark, just like in the game.
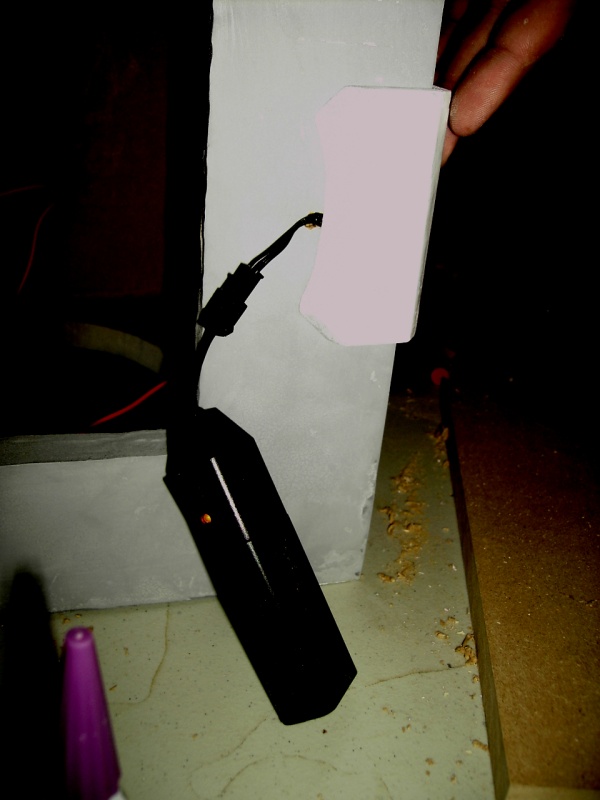
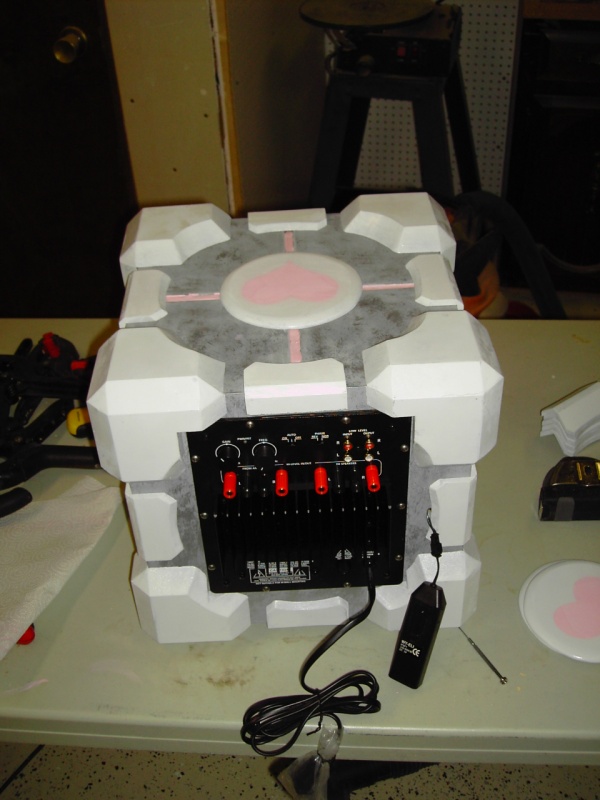
Here is the EL wire inverter. It will just hang like it is, but it can be removed. It is on the back, next to the sub amp.
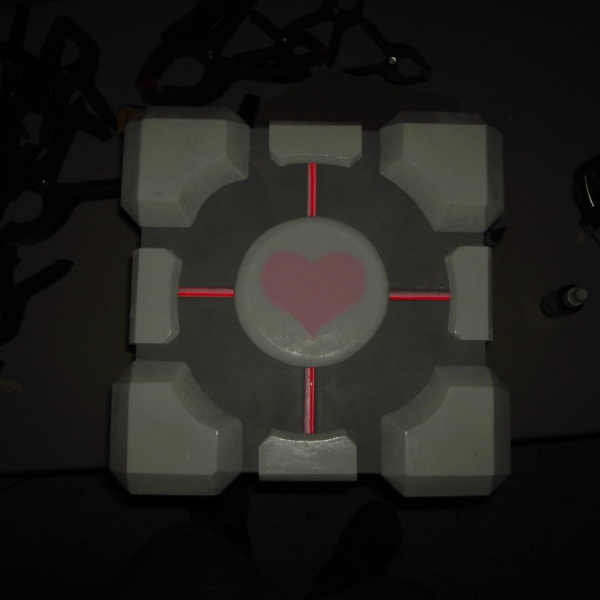
I put epoxy in the grooves to bury the EL wire, and then painted it pink. I then added the mounted the amp and woofer. Here’s a pic of the results.
Some glue on the corners, and this is getting very close to done.
A pic of the back. You can see the amp and the inverter. I hate waiting for glue to dry.
Hi there.
I’ve been DYING to make myself my very own companion cube, and now I’ve realized after watching your clips and pics that it’s(excuse my language= fucking makeable.
One little question only: What did you make the cube of? Paper? Plastic? Metal, even?
Greetings, Li