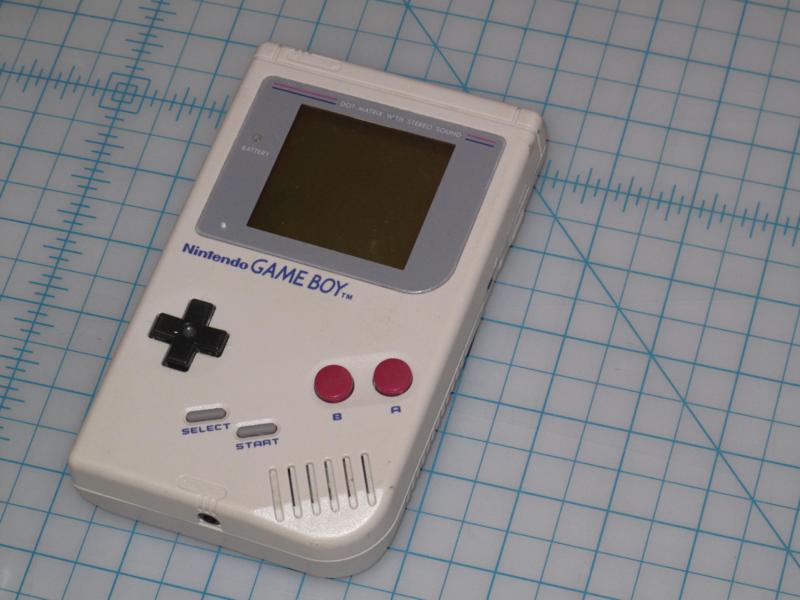
I am going to build three portable NES systems. I’m calling these PNESes. Yes, you pronounce it “pee-ness.” It’s funny. The first will be this one built inside a gameboy.
Here is the victim. Unless you are into indie 8-bit music, you probably don’t have a use for the original gameboy. Because of this I wanted to make it useful again. The plan is to gut the gameboy, replace the screen with a color TFT, use the original power switch, battery compartment and controls. Whatever happens otherwise doesn’t matter. Maybe I will use the charge port, maybe headphones will work, maybe the contrast knob will affect screen brightness. Maybe.
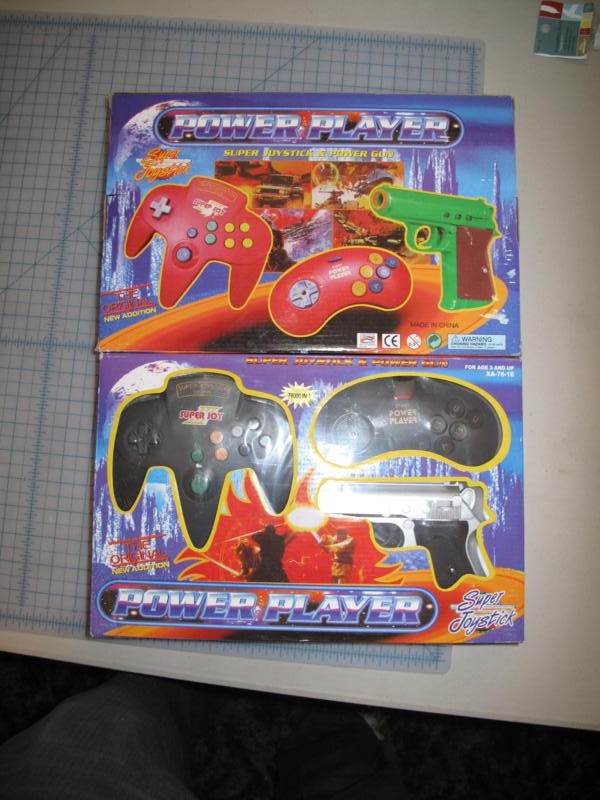
Here is an old friend to people making portable Nintendo systems. The “Super Power Player Mega Joy III.” It comes with an amazing “76000” games. It’s “The original: New Addition,” which is nice because I need to brush up on my adding skills. If you want one for your project you will have the most luck searching for XA-76-1E. Because of legal issues they are hard to find otherwise.
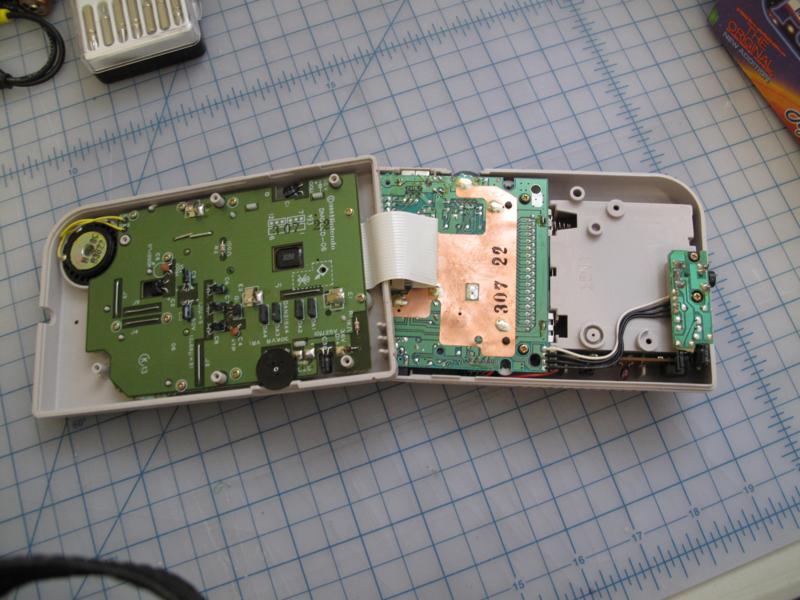
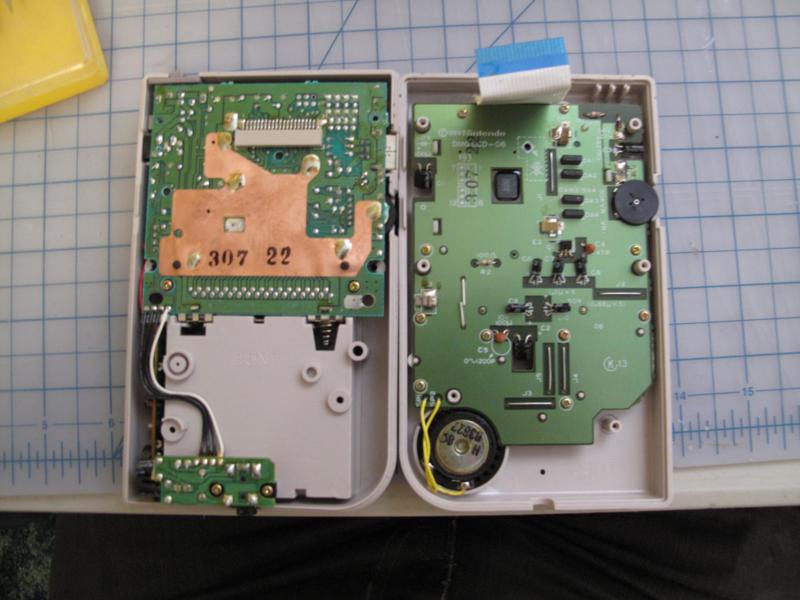
The first thing I did was open the bameboy and remove a bunch of crap. It was pretty fun, but I was careful not to break anything at this point. I knew I would need part of the board for the controls.
Easy stuff done with it was time to move on to some other easy stuff. Here’s the 2.5″ color LCD I got from ebay for $26. Nice!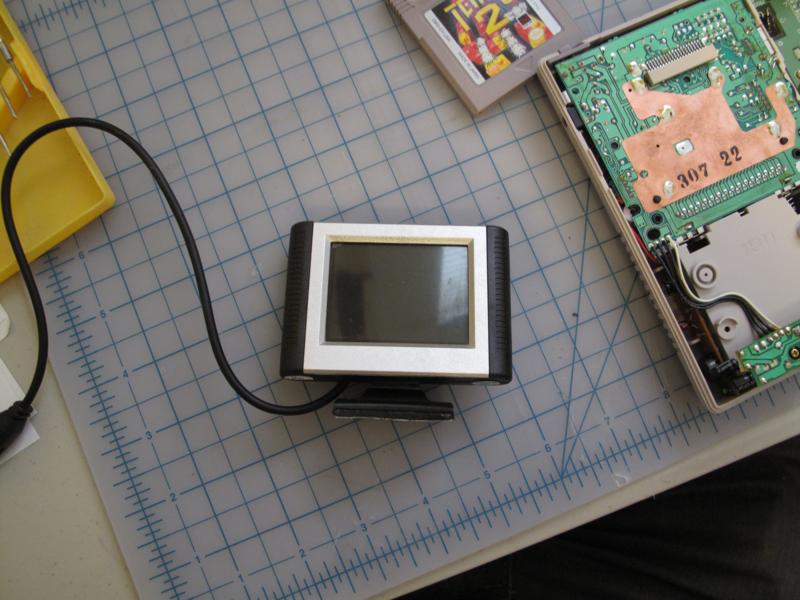
I took it apart and by surprise found that there is one wire for power, one for image signal (component RCA), then a shared ground. Nice. So simple. I printed a black square as a shroud (so you cant see the silver case when looking through the gameboy window) and hot glued the screen in place. As a side note hot glue is a staple for portable NES builds.
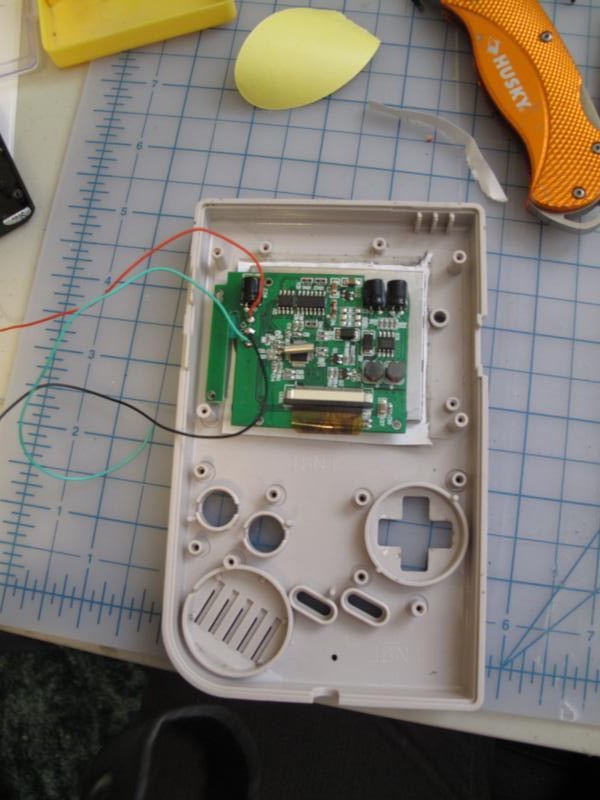
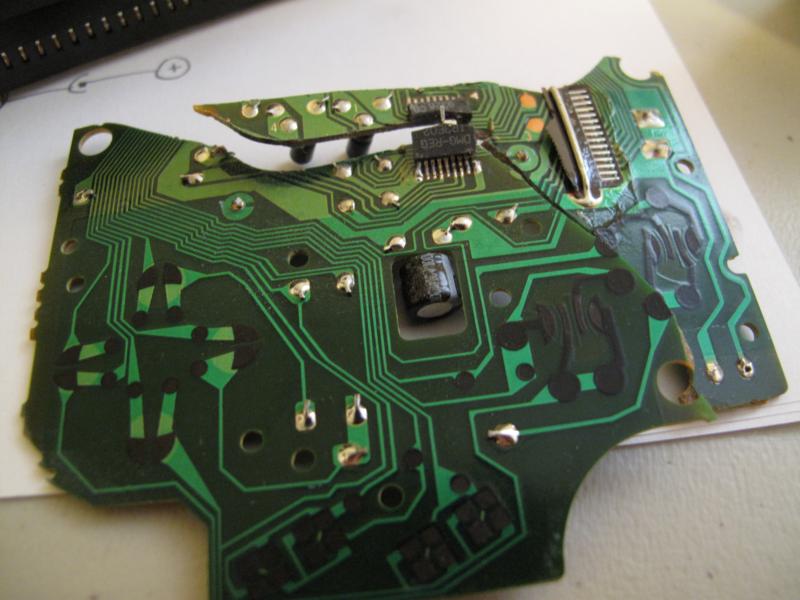
I was going to start on getting the original controls to work. I needed to cut the board in half, trace the leads and figure out the matrix of the buttons, then sand off the plastic coating over the leads to be able to solder to the board. I cut the board in half. All went well. I did a test fit and found that I needed to cut a little more to avoid the LCD board. When I went to cut some more off I split the board. Grr. Here’s the result.
I’m looking for some more gameboy systems so I can get another board with the controller stuff on it. In the mean time I’ll try to get started on the famicom to gameboy to NES adapter. Wish me luck. There will be ~240 solder points and ~120 little bits of wire to mess up.