My TufCal arrived and I went to slush cast some speakers. Sadly, however, I could not get my homemade mold water tight. I had clamps and vaseline and a shower liner ring cut out to help, but it didn’t work. Plaster spilled everywhere. I was irritated and took a week off to think about things. After that week I knew that if I had neoprine that I could make it waterproof, but I decided that I could go another direction.
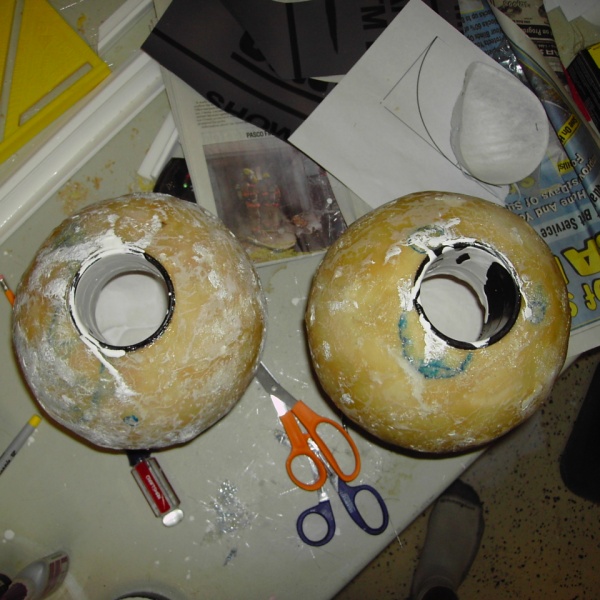
I went back to Fred Meyer’s and got two more balls, each one the same size. I then proceeded to fiberglass both balls completely. Each ball would serve as its own mold completely and would then remain part of the final speaker. The ball on the left has not been cut open yet.
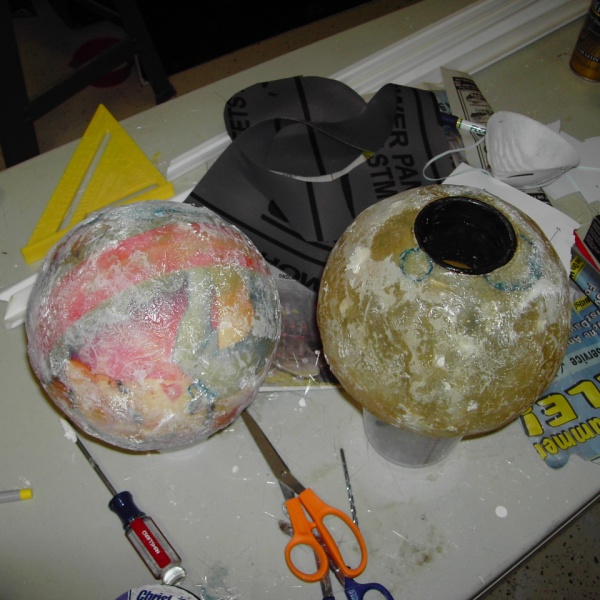
The ball on the right was cut open with a 2.75inch hole saw. I removed the ball and glued in some PVC pipe. The plaster will be poured right into the opening. I calculated that ~5 cups of plaster will yield me ~0.75inches of plaster in the inside. That is perfect.
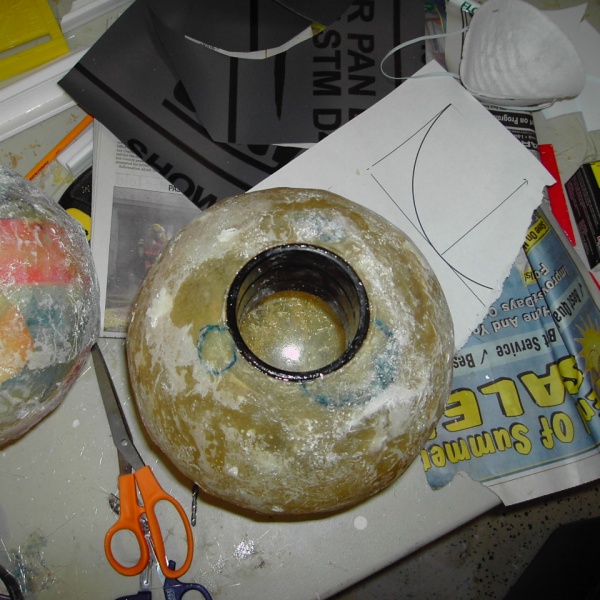
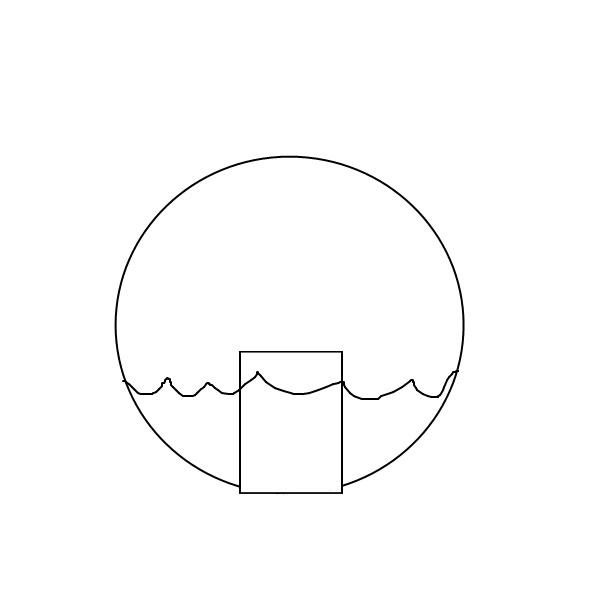
From this point I will be able to pour the plaster right in the opening and turn the sphere without having to seal the hole. The pipe is above the water line, so the plaster will never be able to pour out, even when the ball is upside down. Now I don’t have to worry about making the stupid thing water tight. The plaster will cure as I spin the ball, creating an even coat on the inside. This technique is called slush casting. I made a very fancy diagram showing how the ball can be upside down without spilling the plaster. Don’t laugh . . .haha.
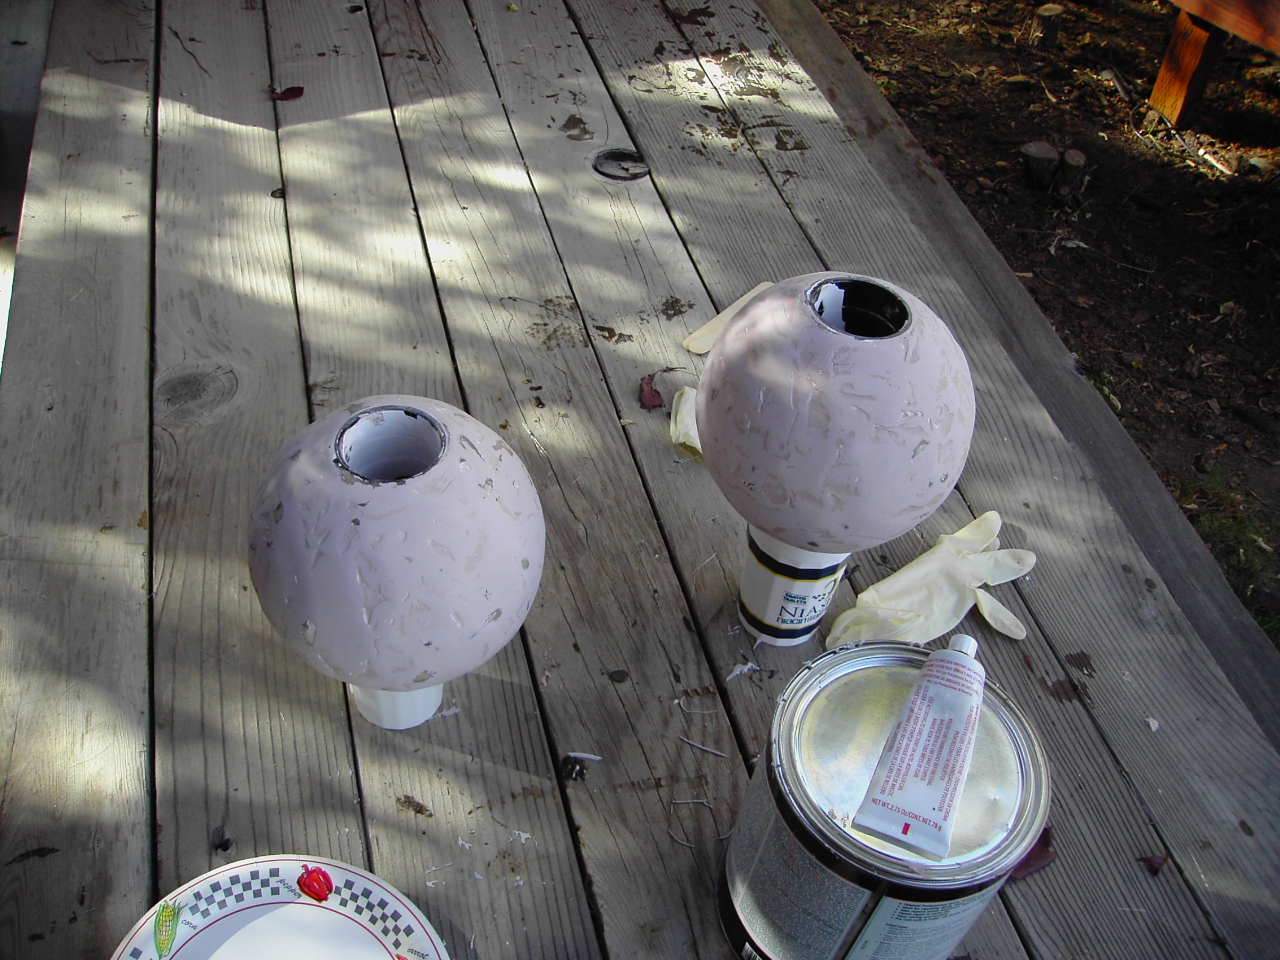
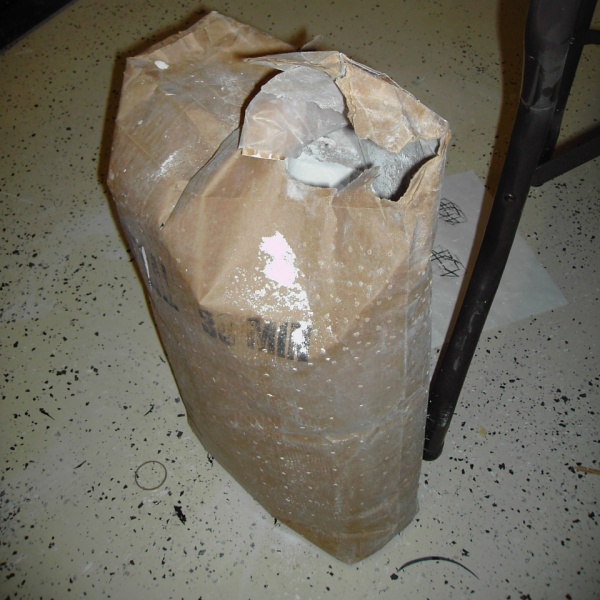
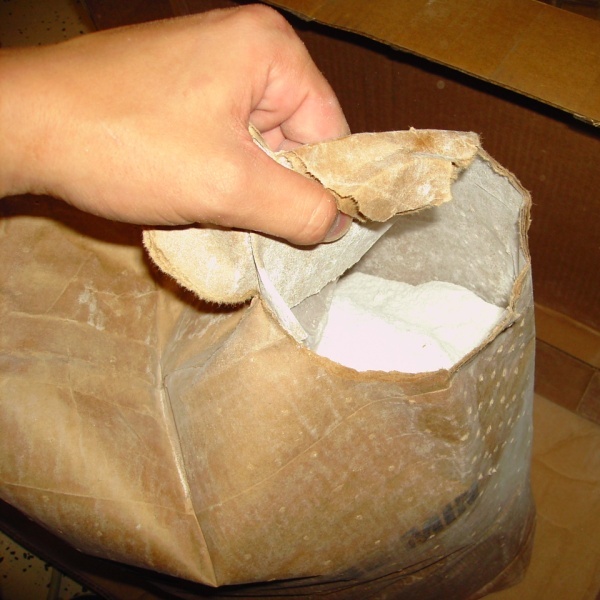
Here is the TufCal. It’s a good plaster and resists chipping because of fibers in it. It cost about $75 shipped for a 50lb bag. I slowly sifted 2.5 cups of plaster mix into 2 cups of hot water, then stirred. About a minute later I poured the plaster into the mold and began to spin. It worked. No spills, just drips. The results were great. It set up in under 10 minutes. Hot water does the trick for a quick set.
Just like normal plaster.
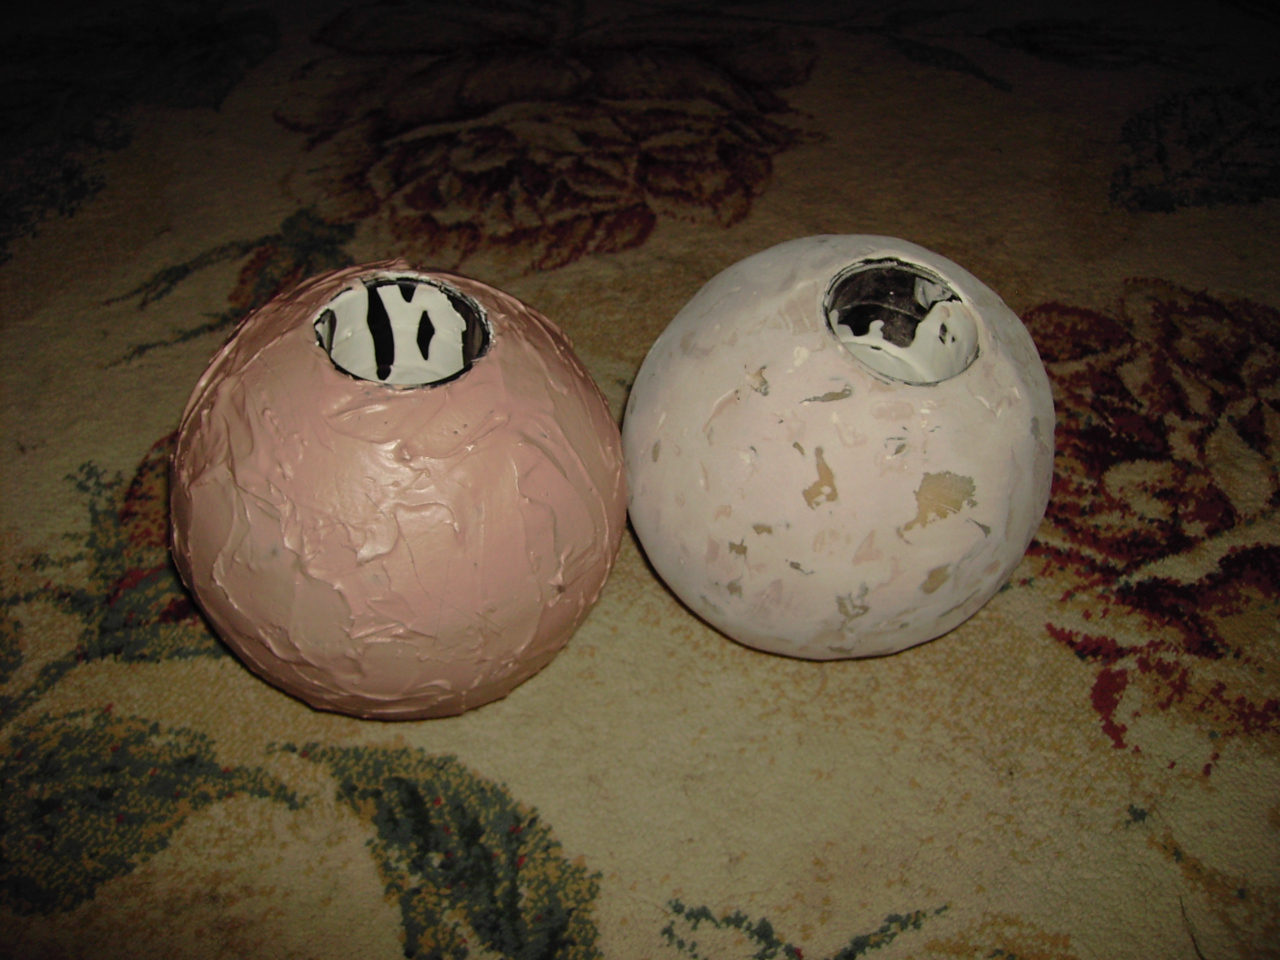
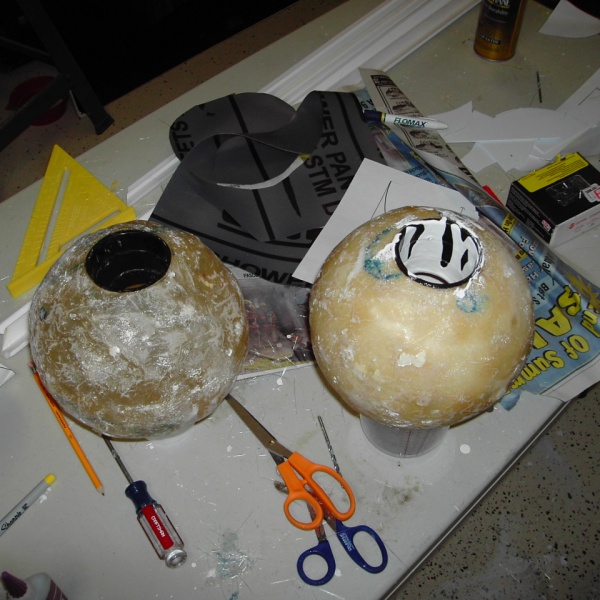
The next two pics show one ball with the plaster cast and set, and one without. The plaster adds a few pounds. I’ll measure later. You know what they say; if it is heavy, it must be expensive!
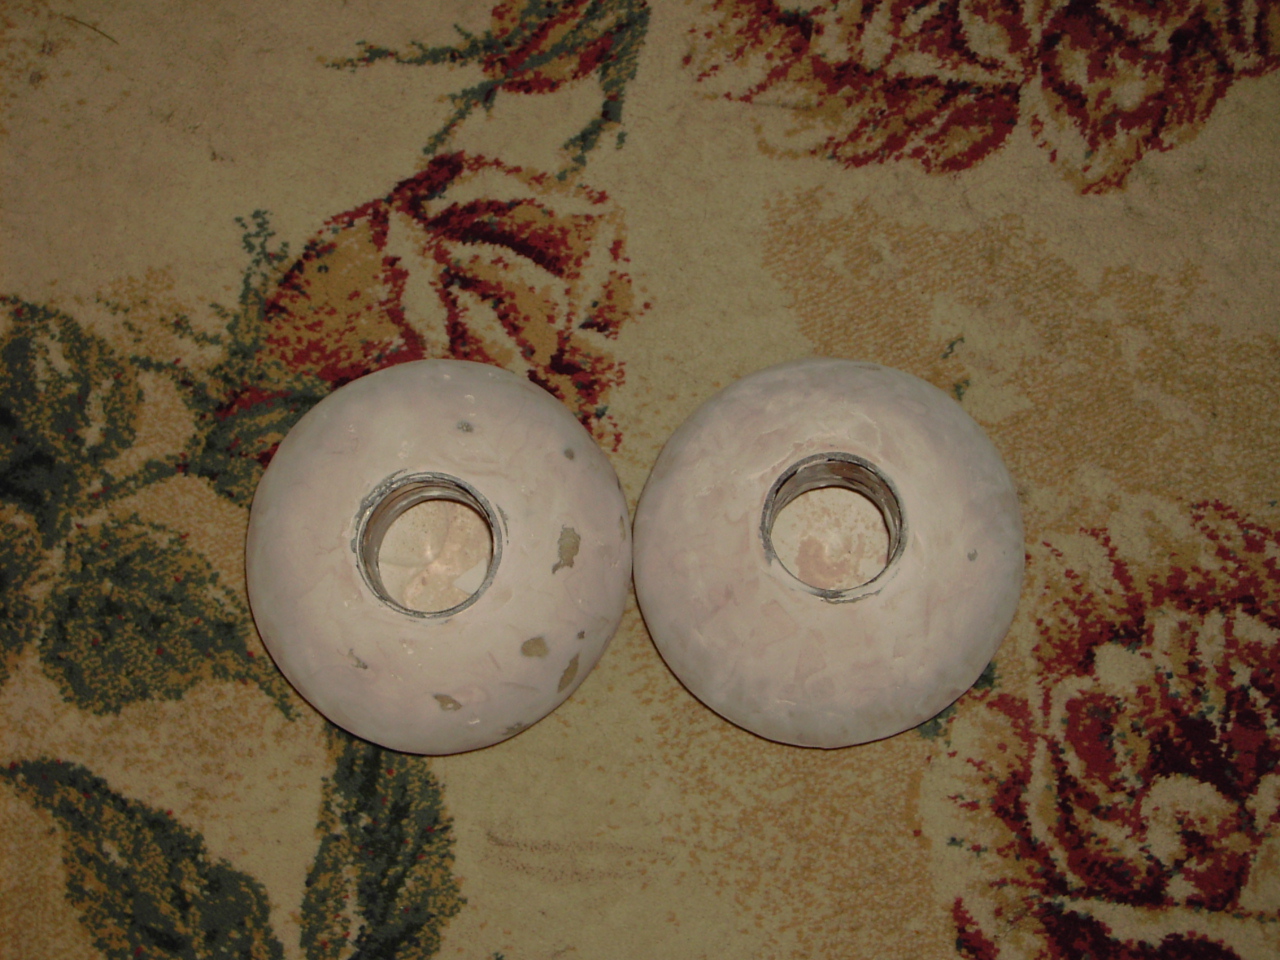
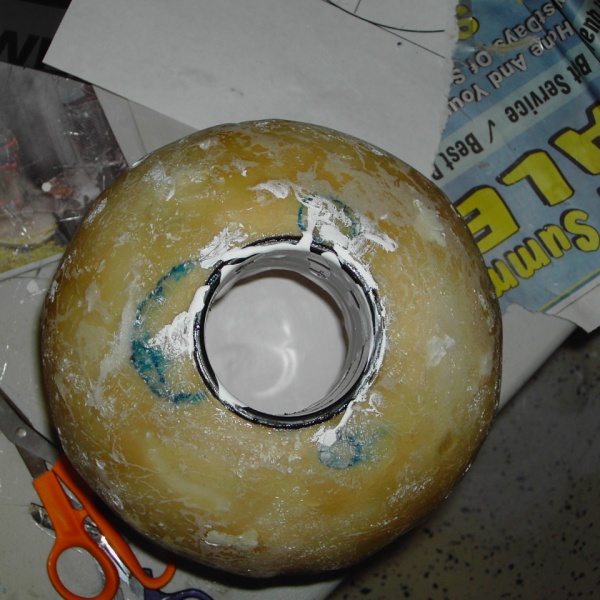
A closeup of the inside. Nice and even!
After completing one shere, I quickly did the other. It went equally well and I am pleased. The artsy part of this, the fun part, will be equally difficult I fear. From here on out I have to make this thing look good. Wish me luck!
