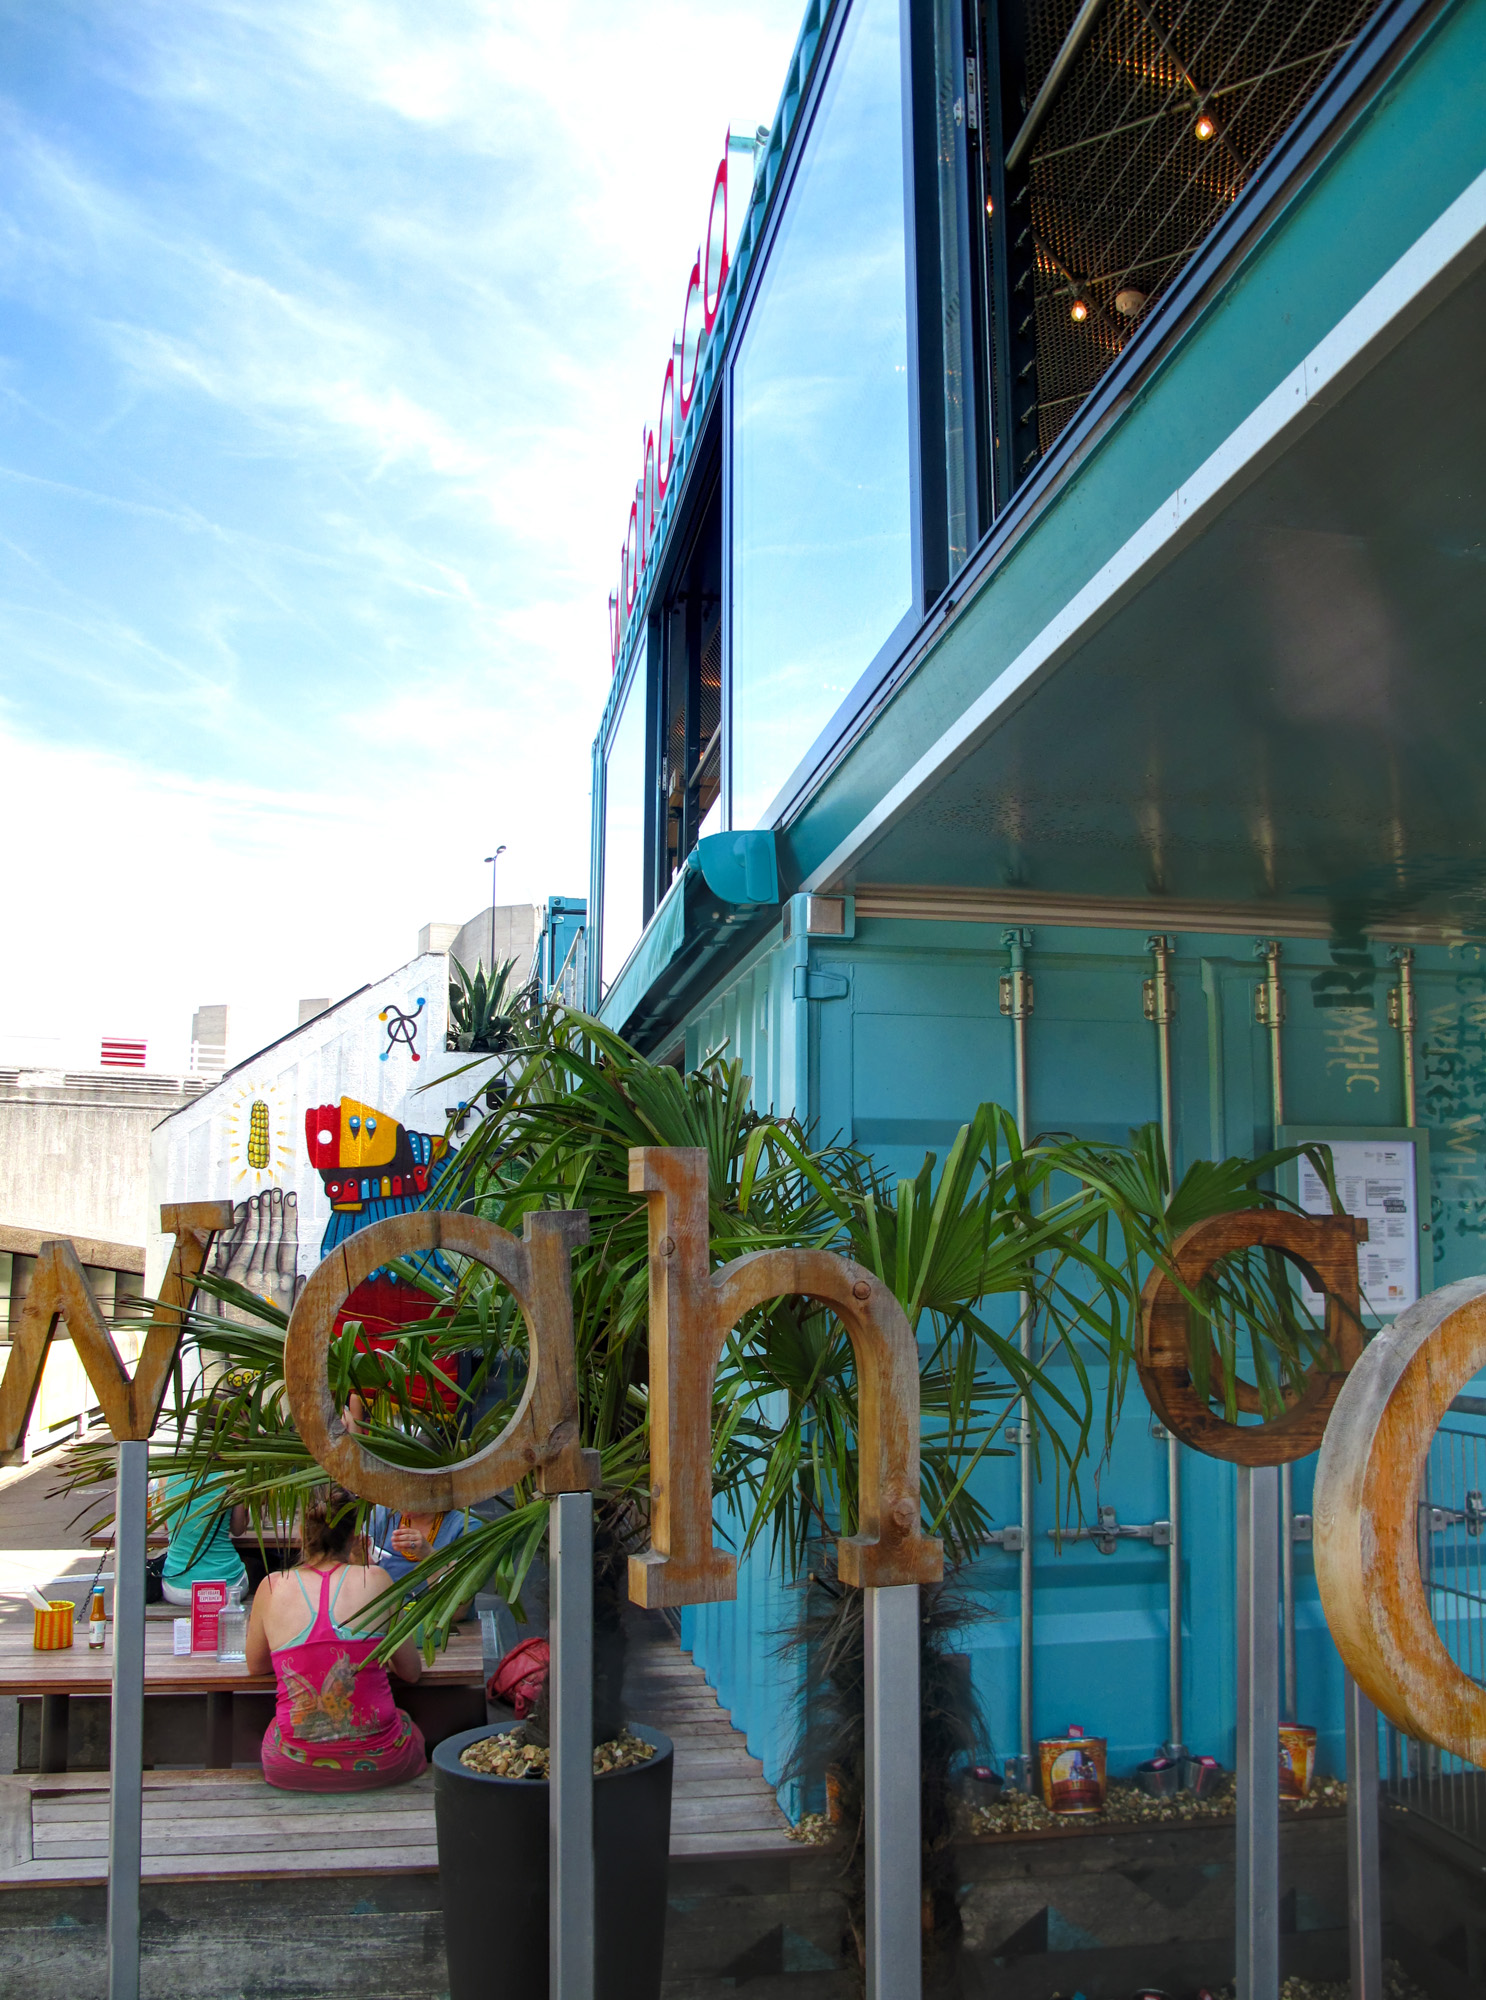
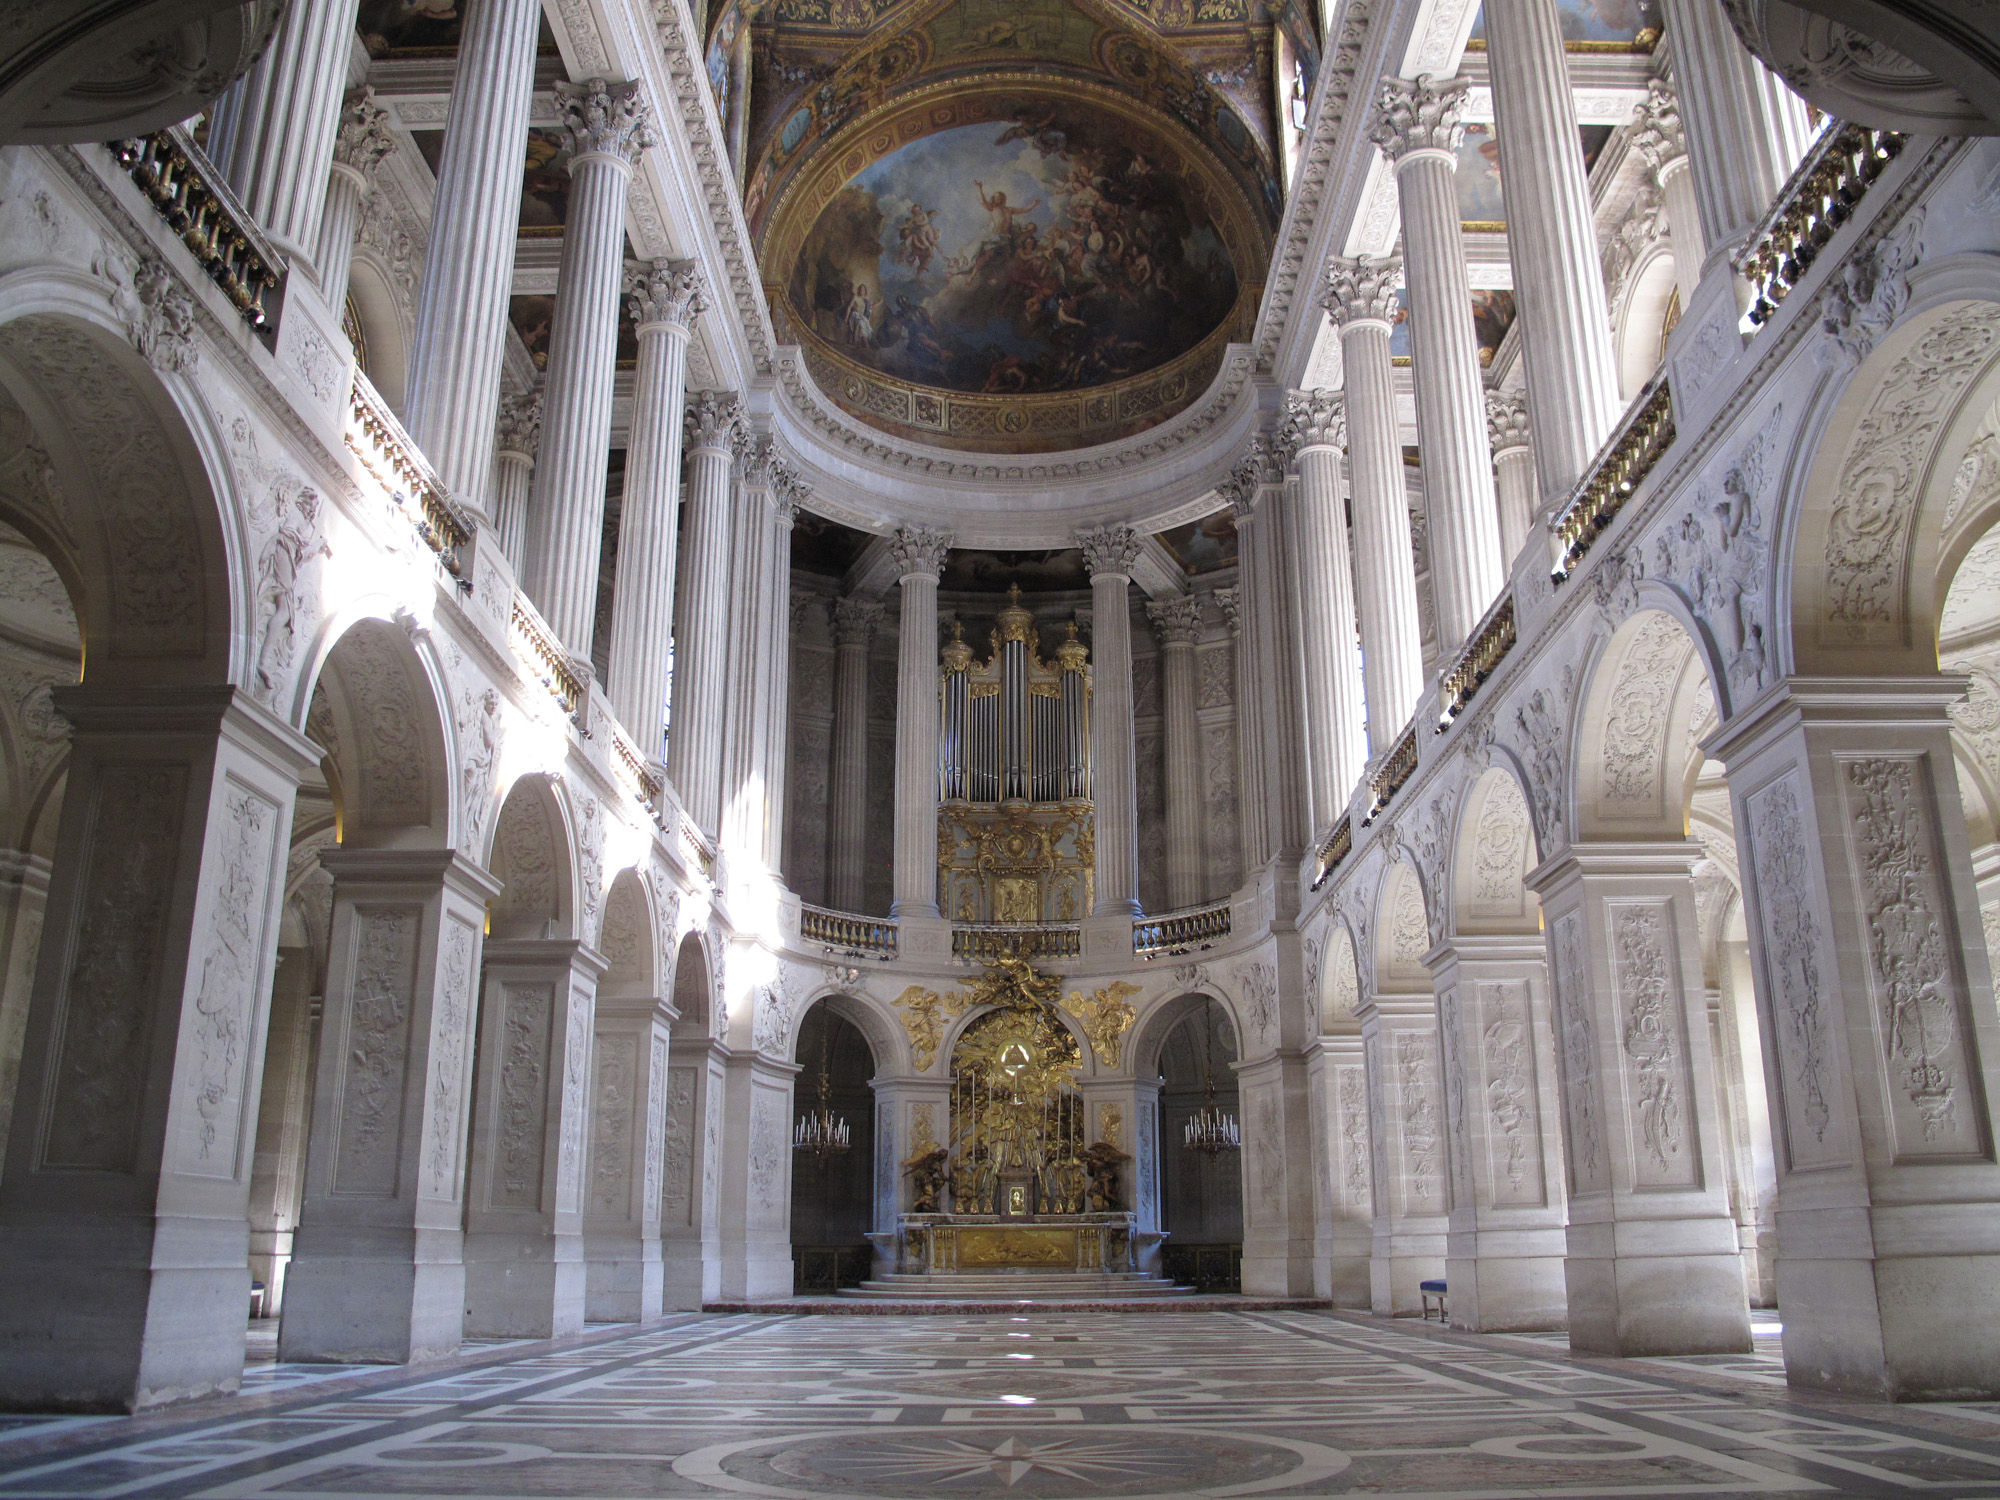
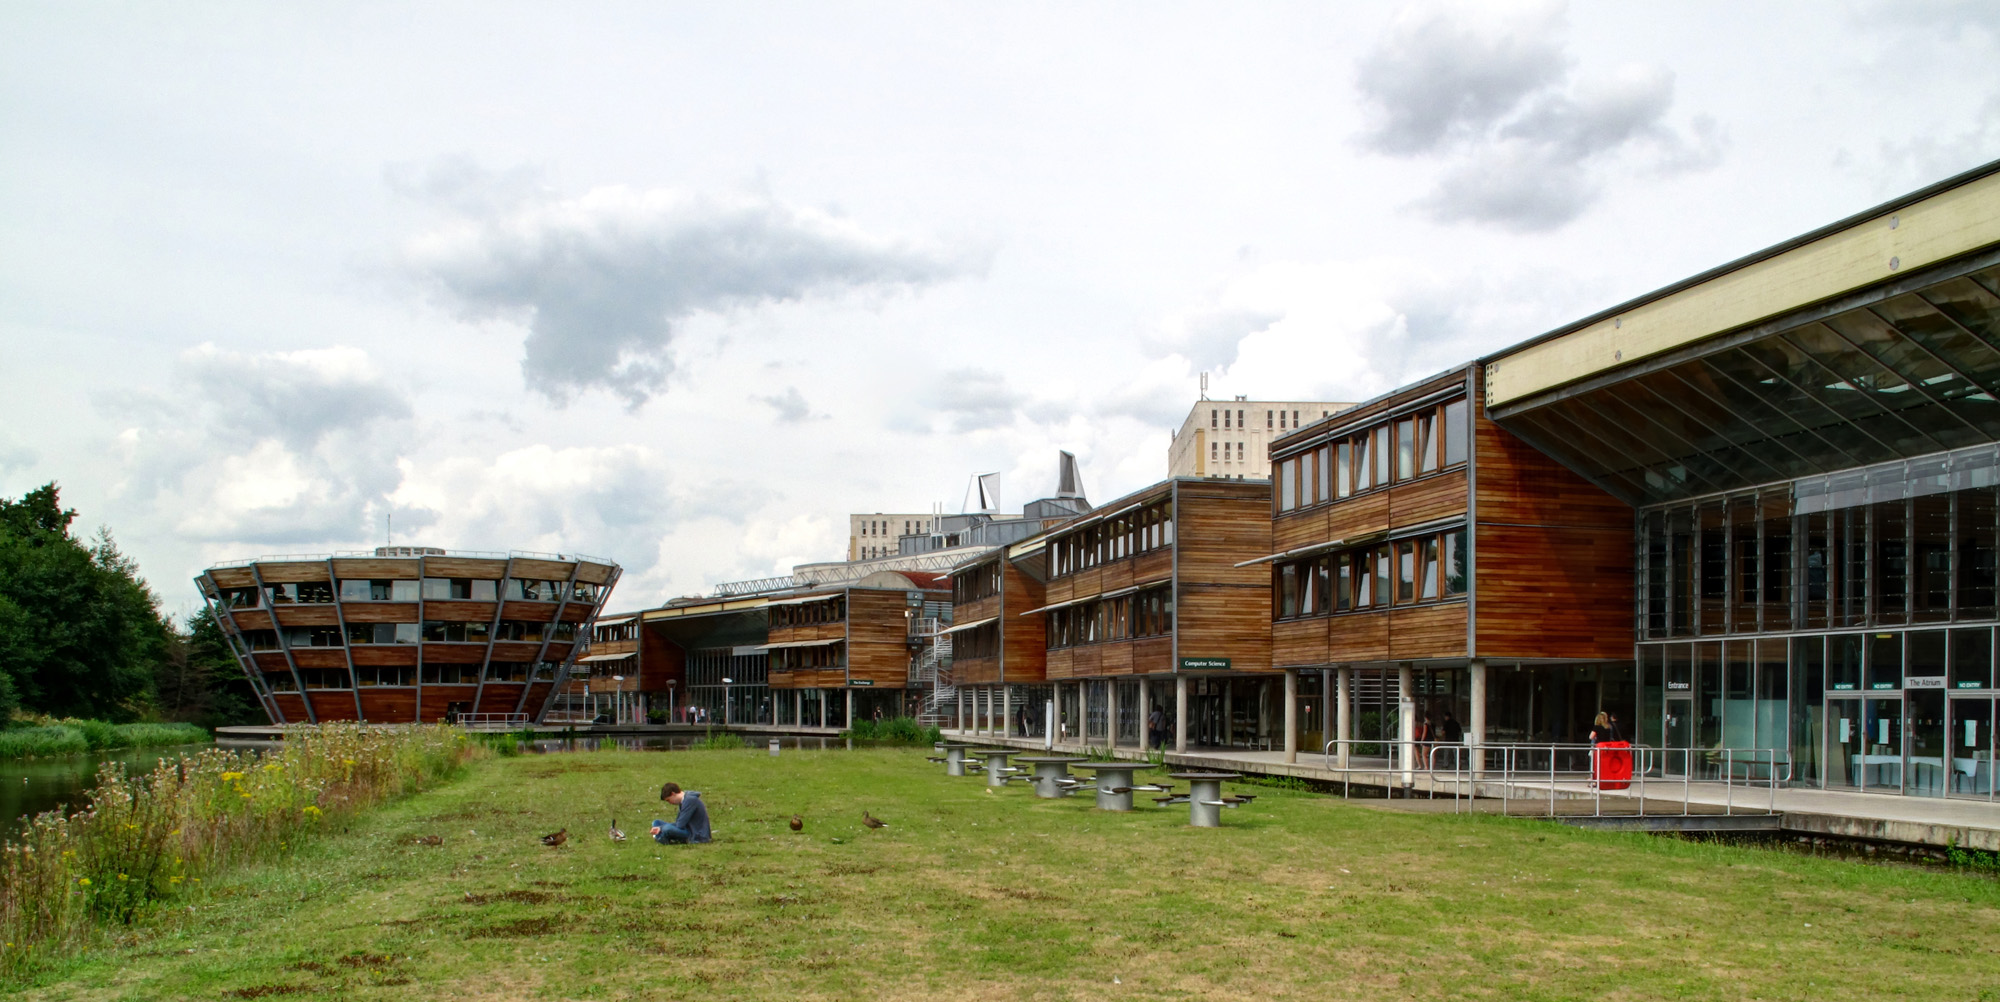
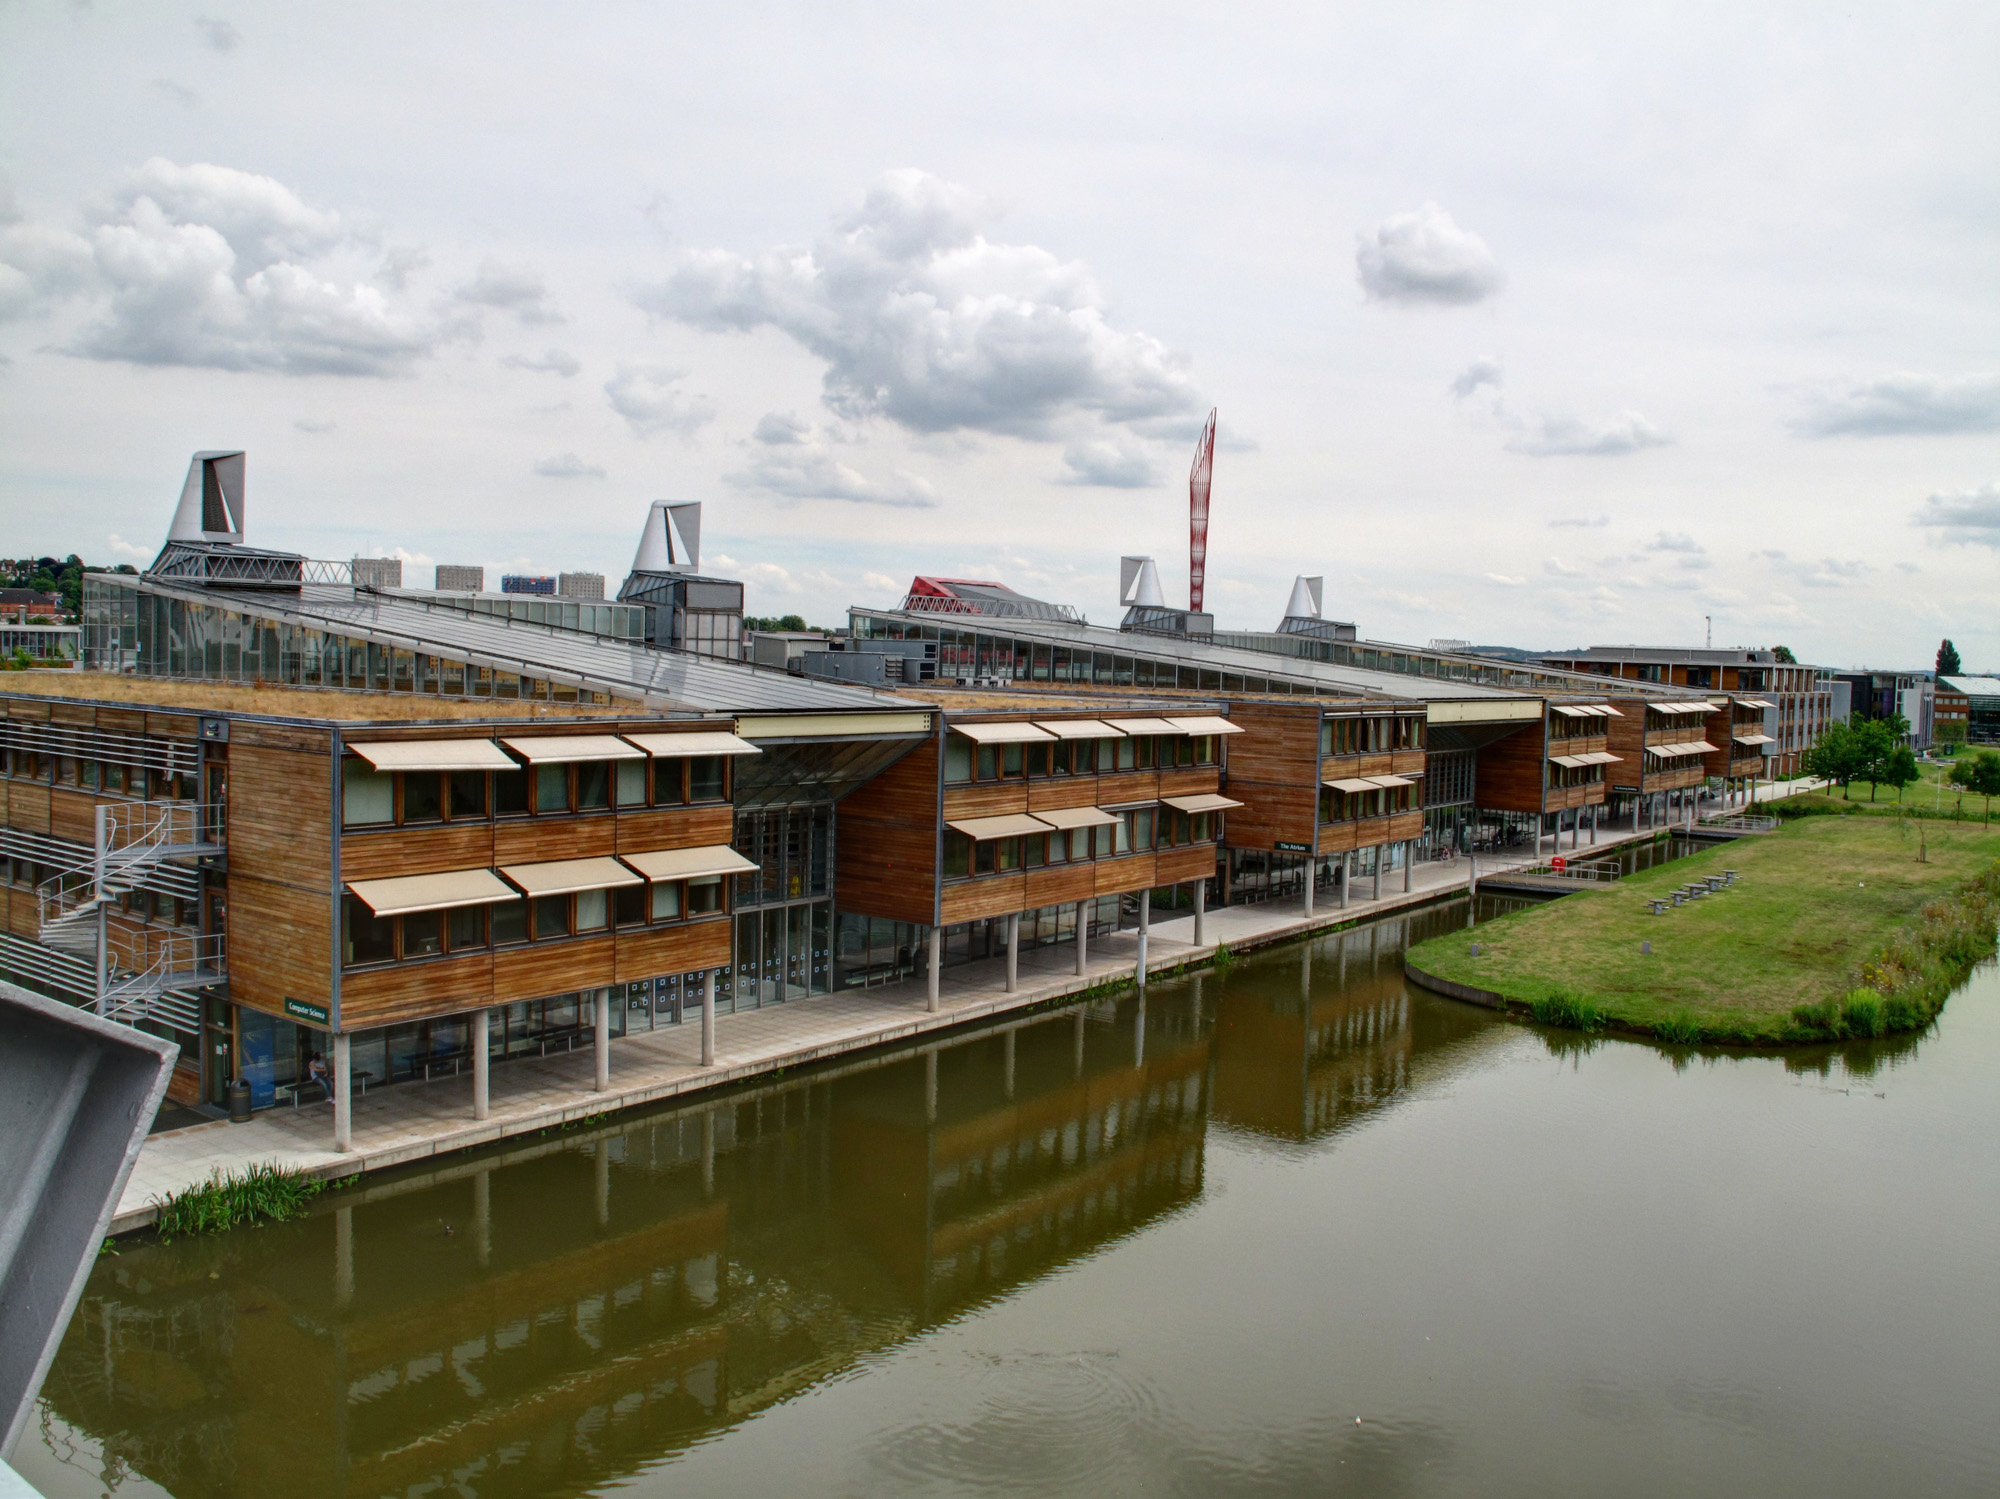
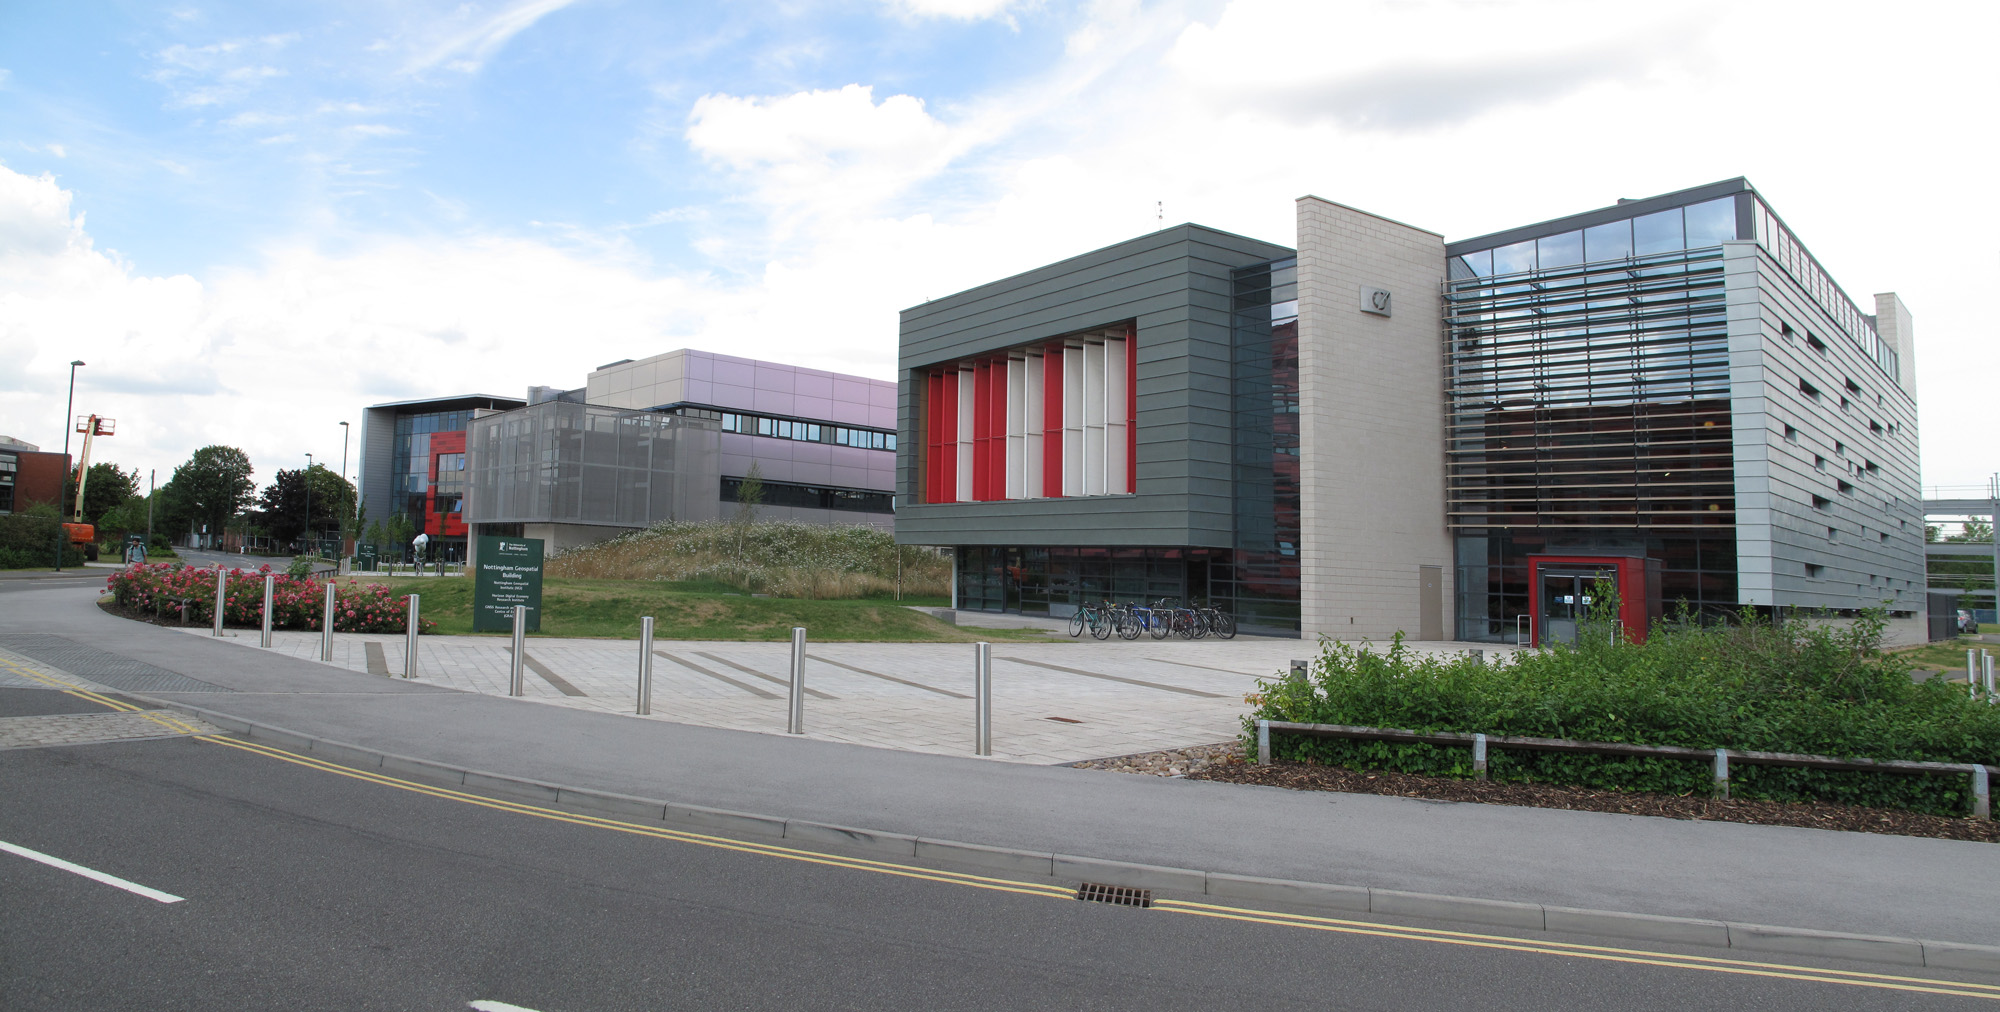
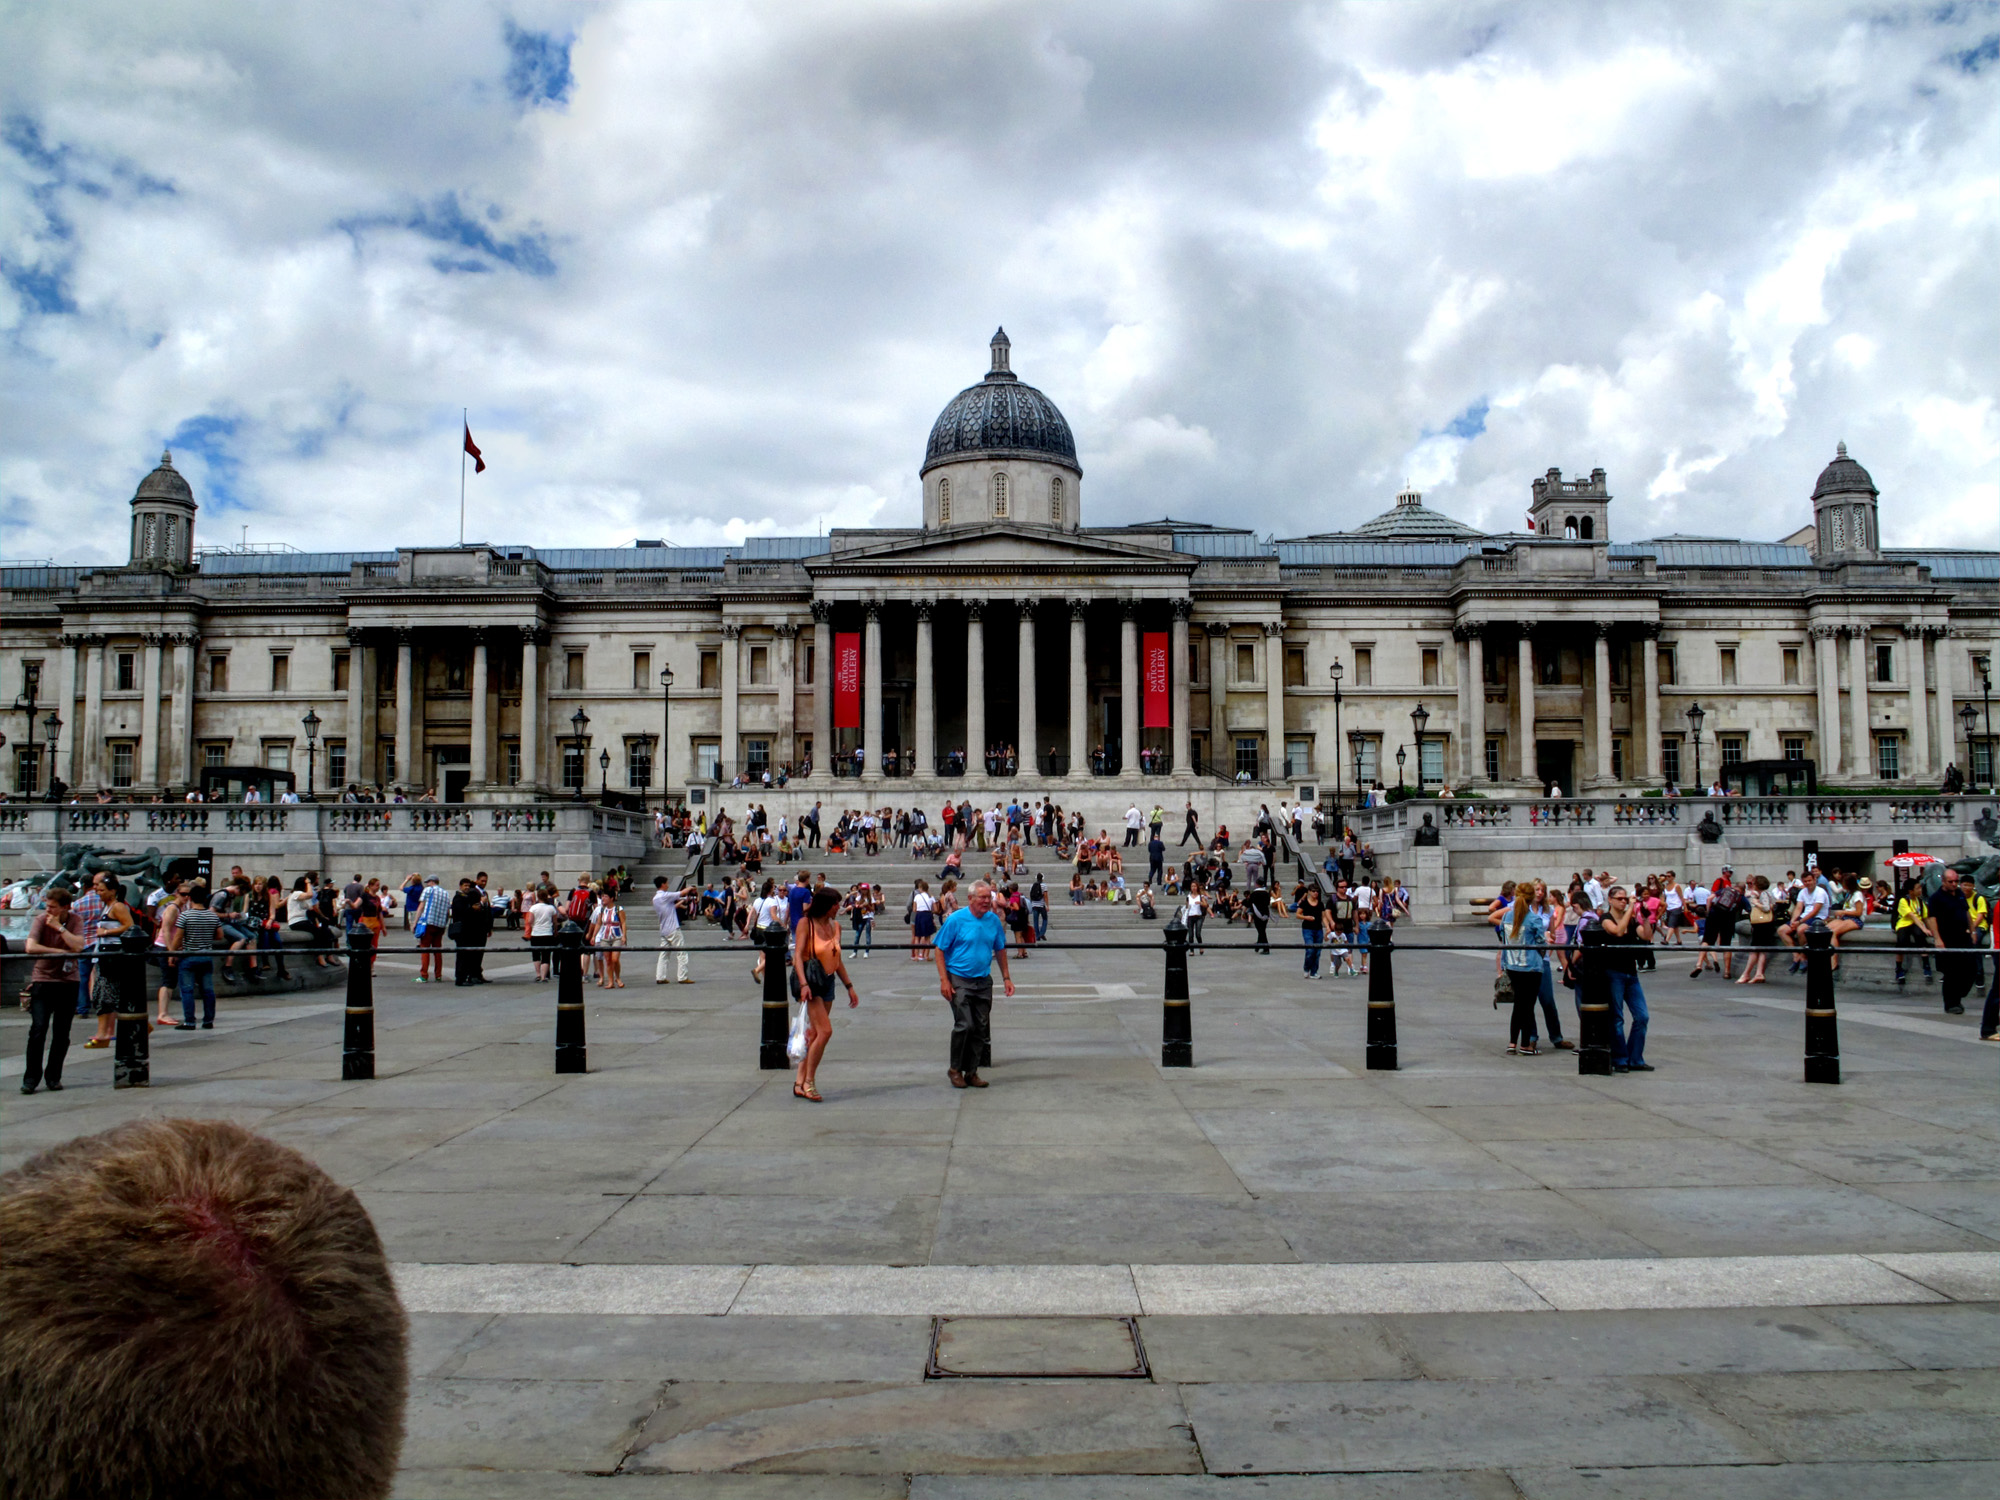
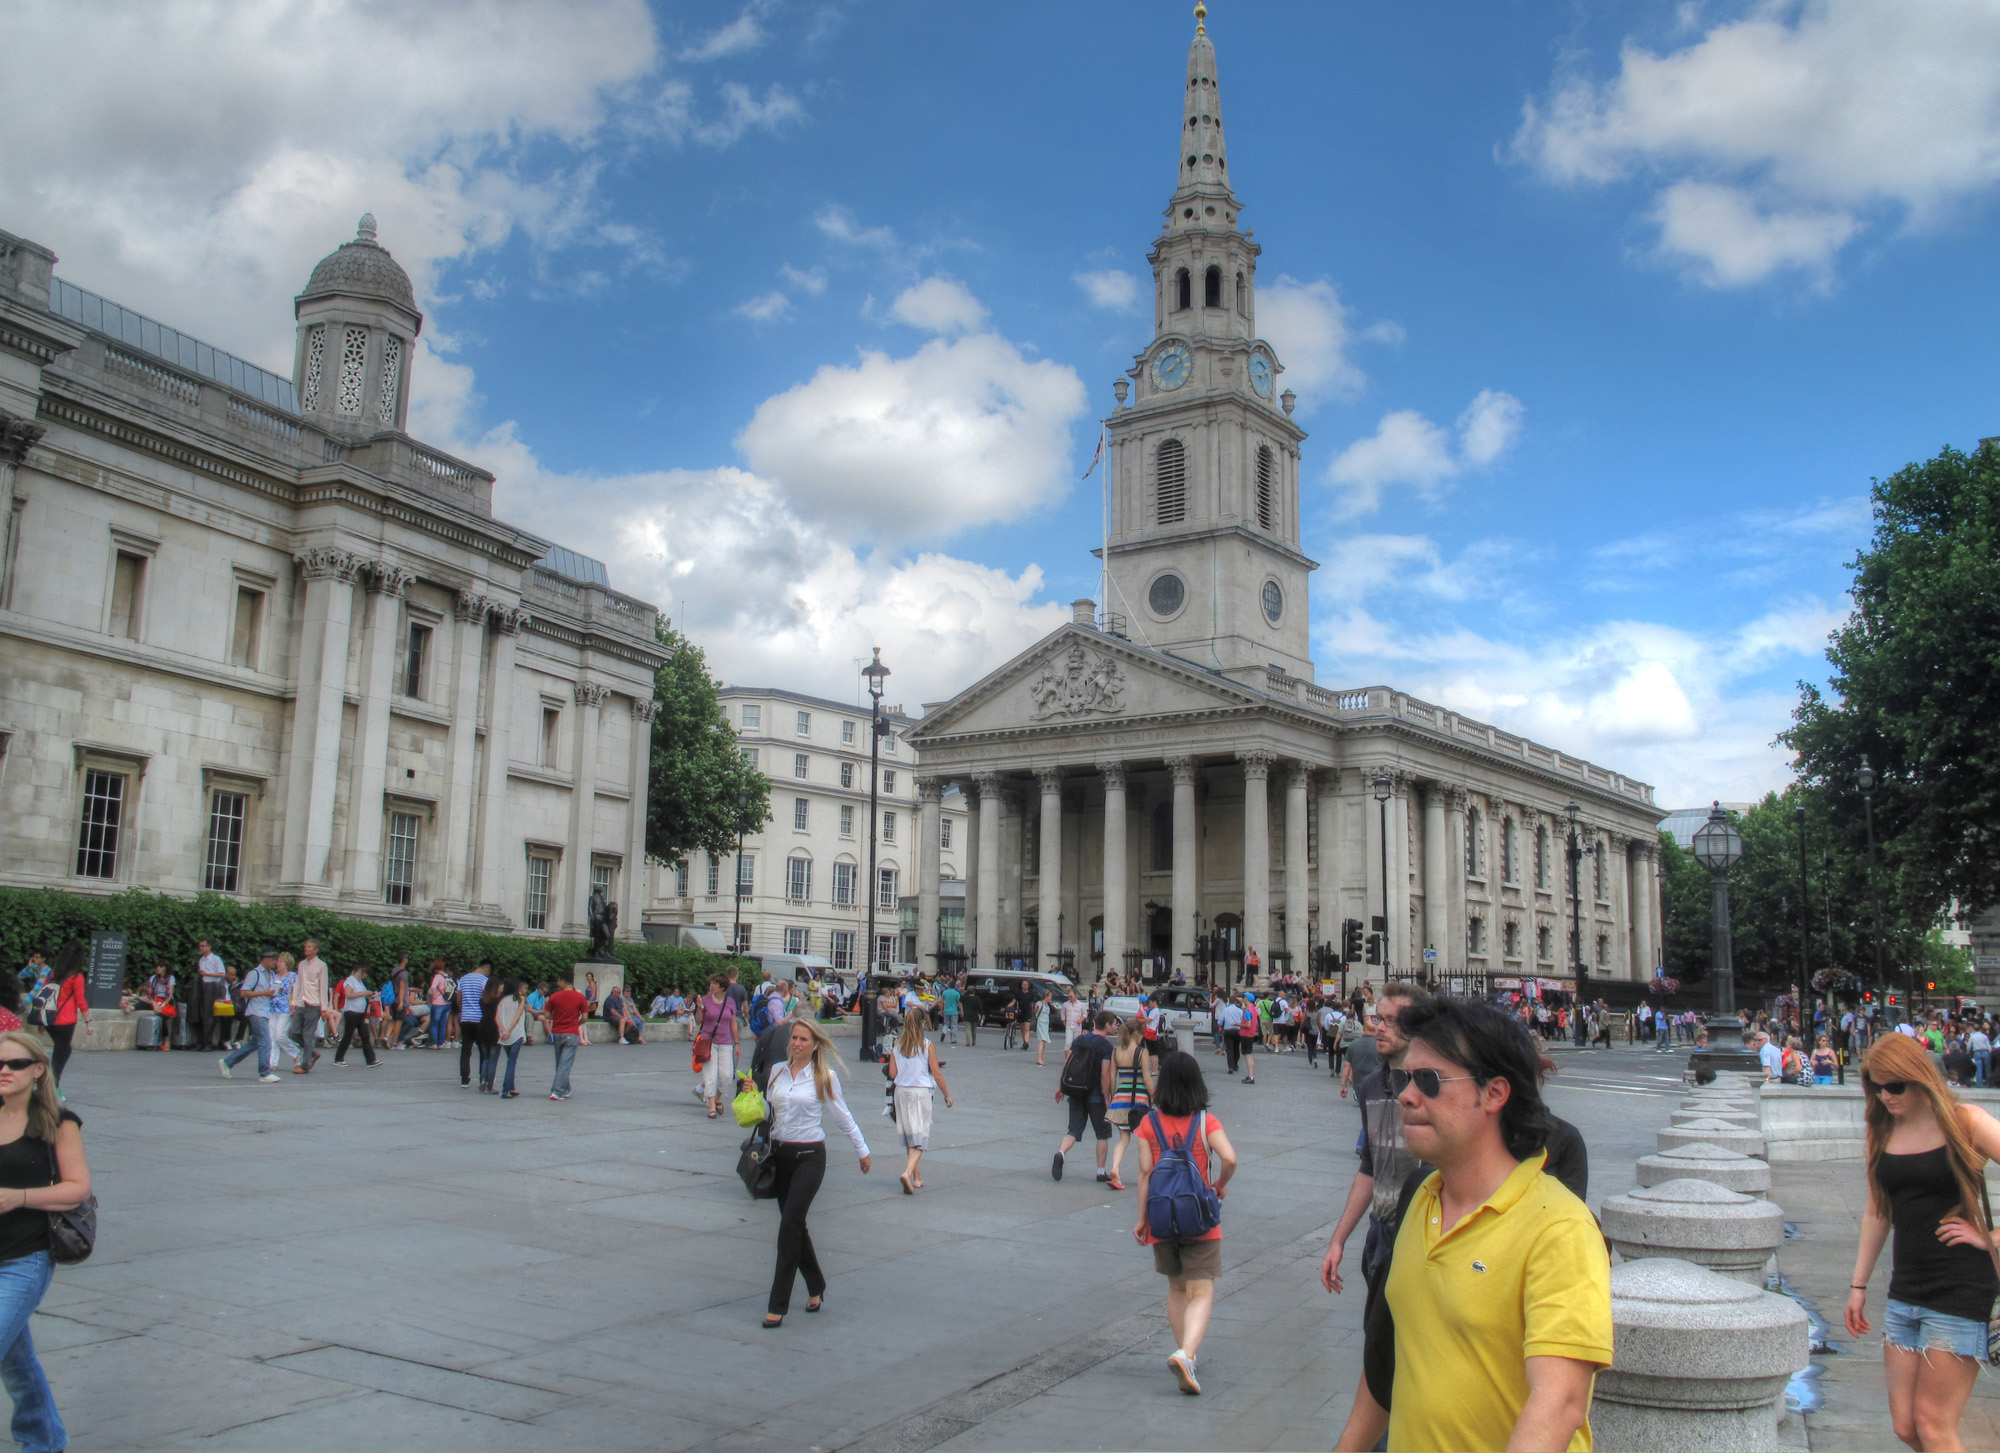
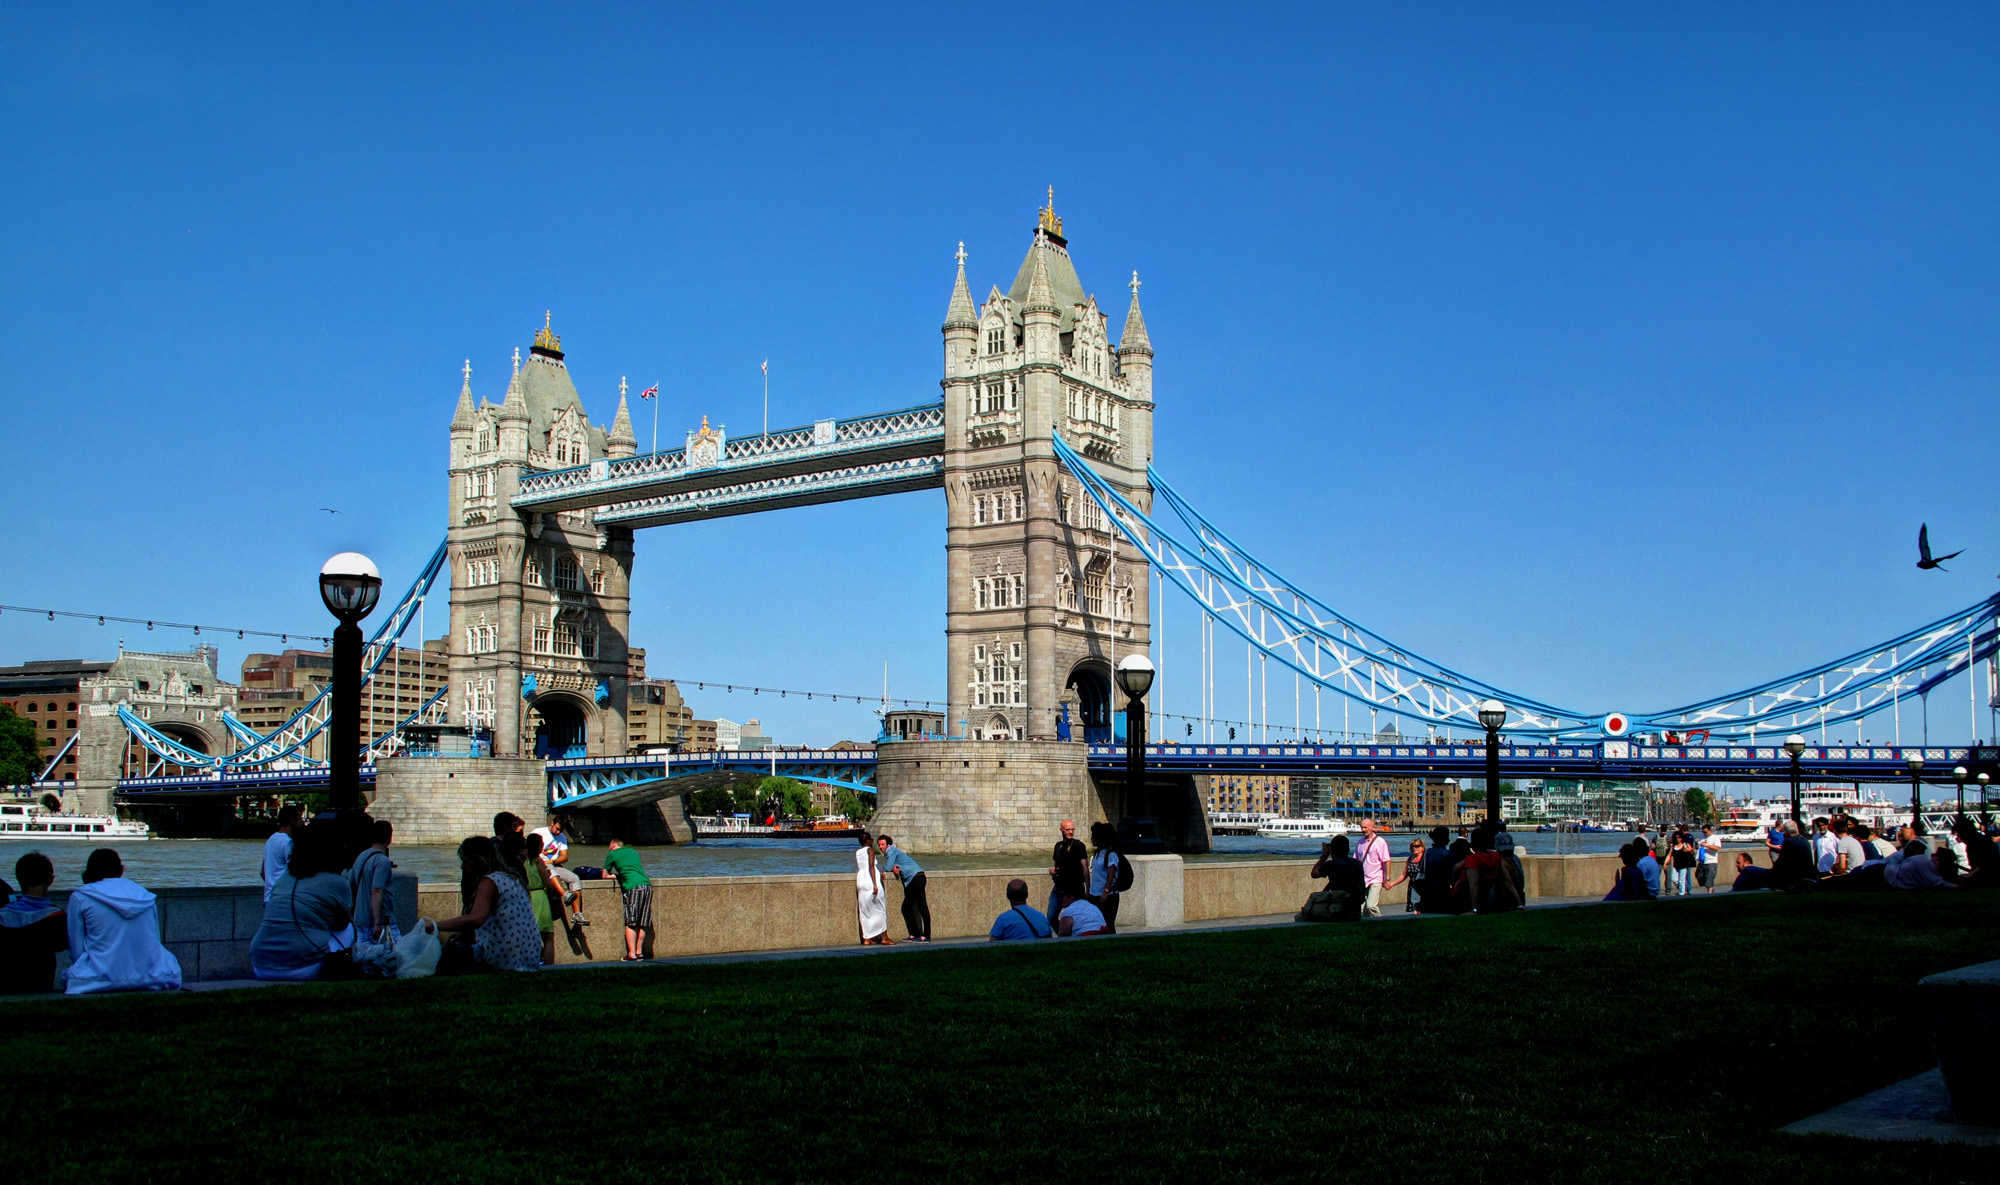
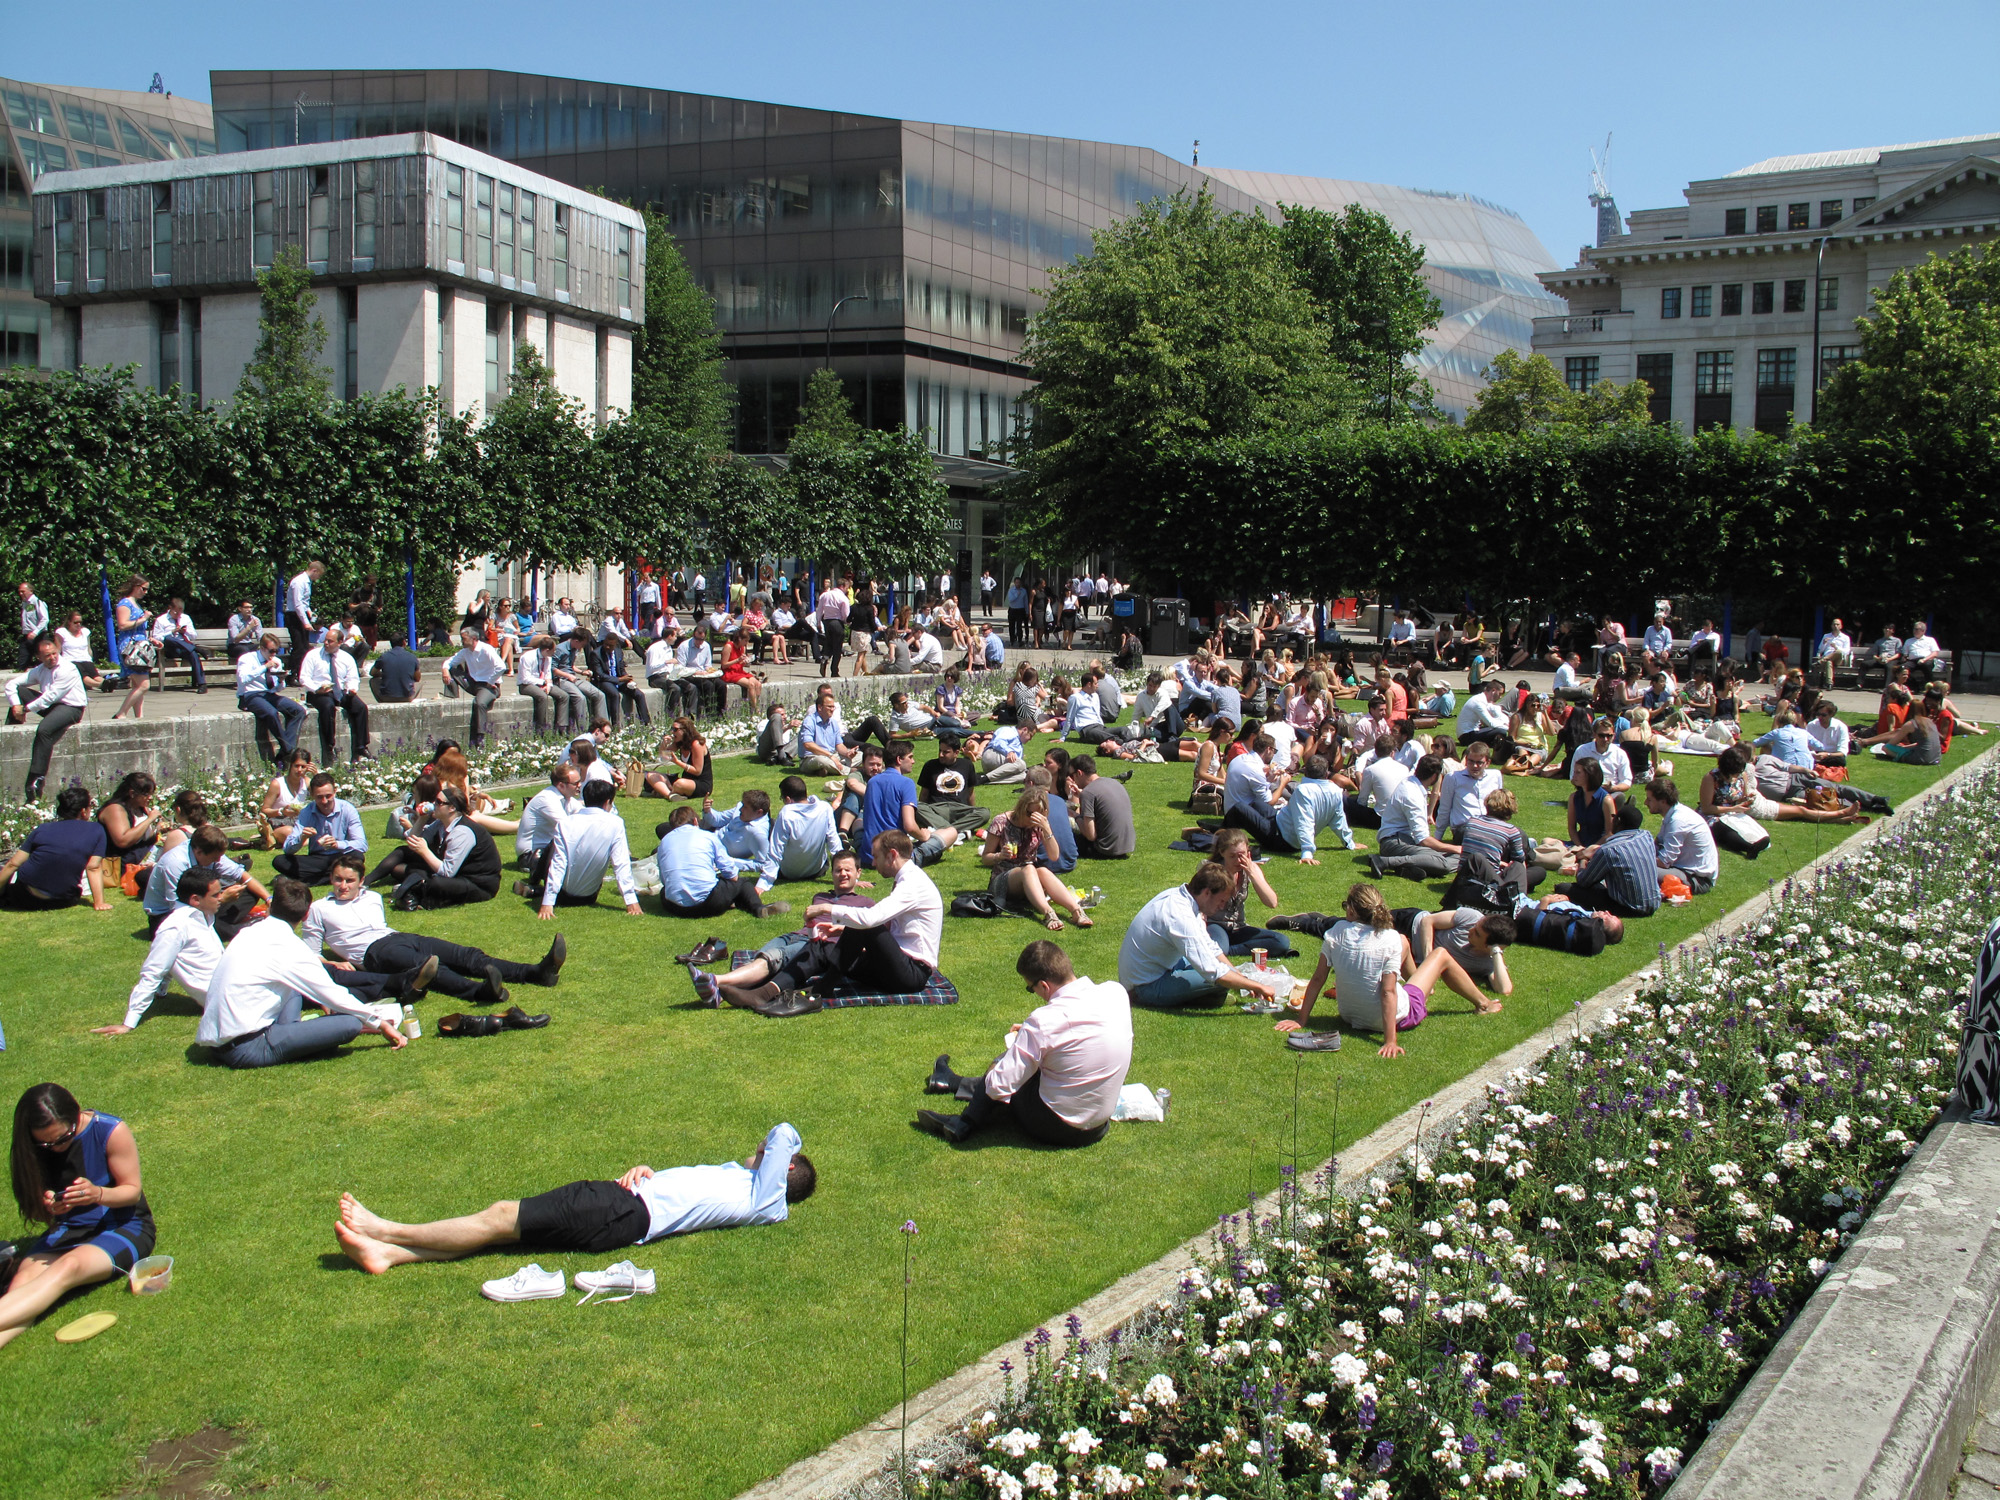
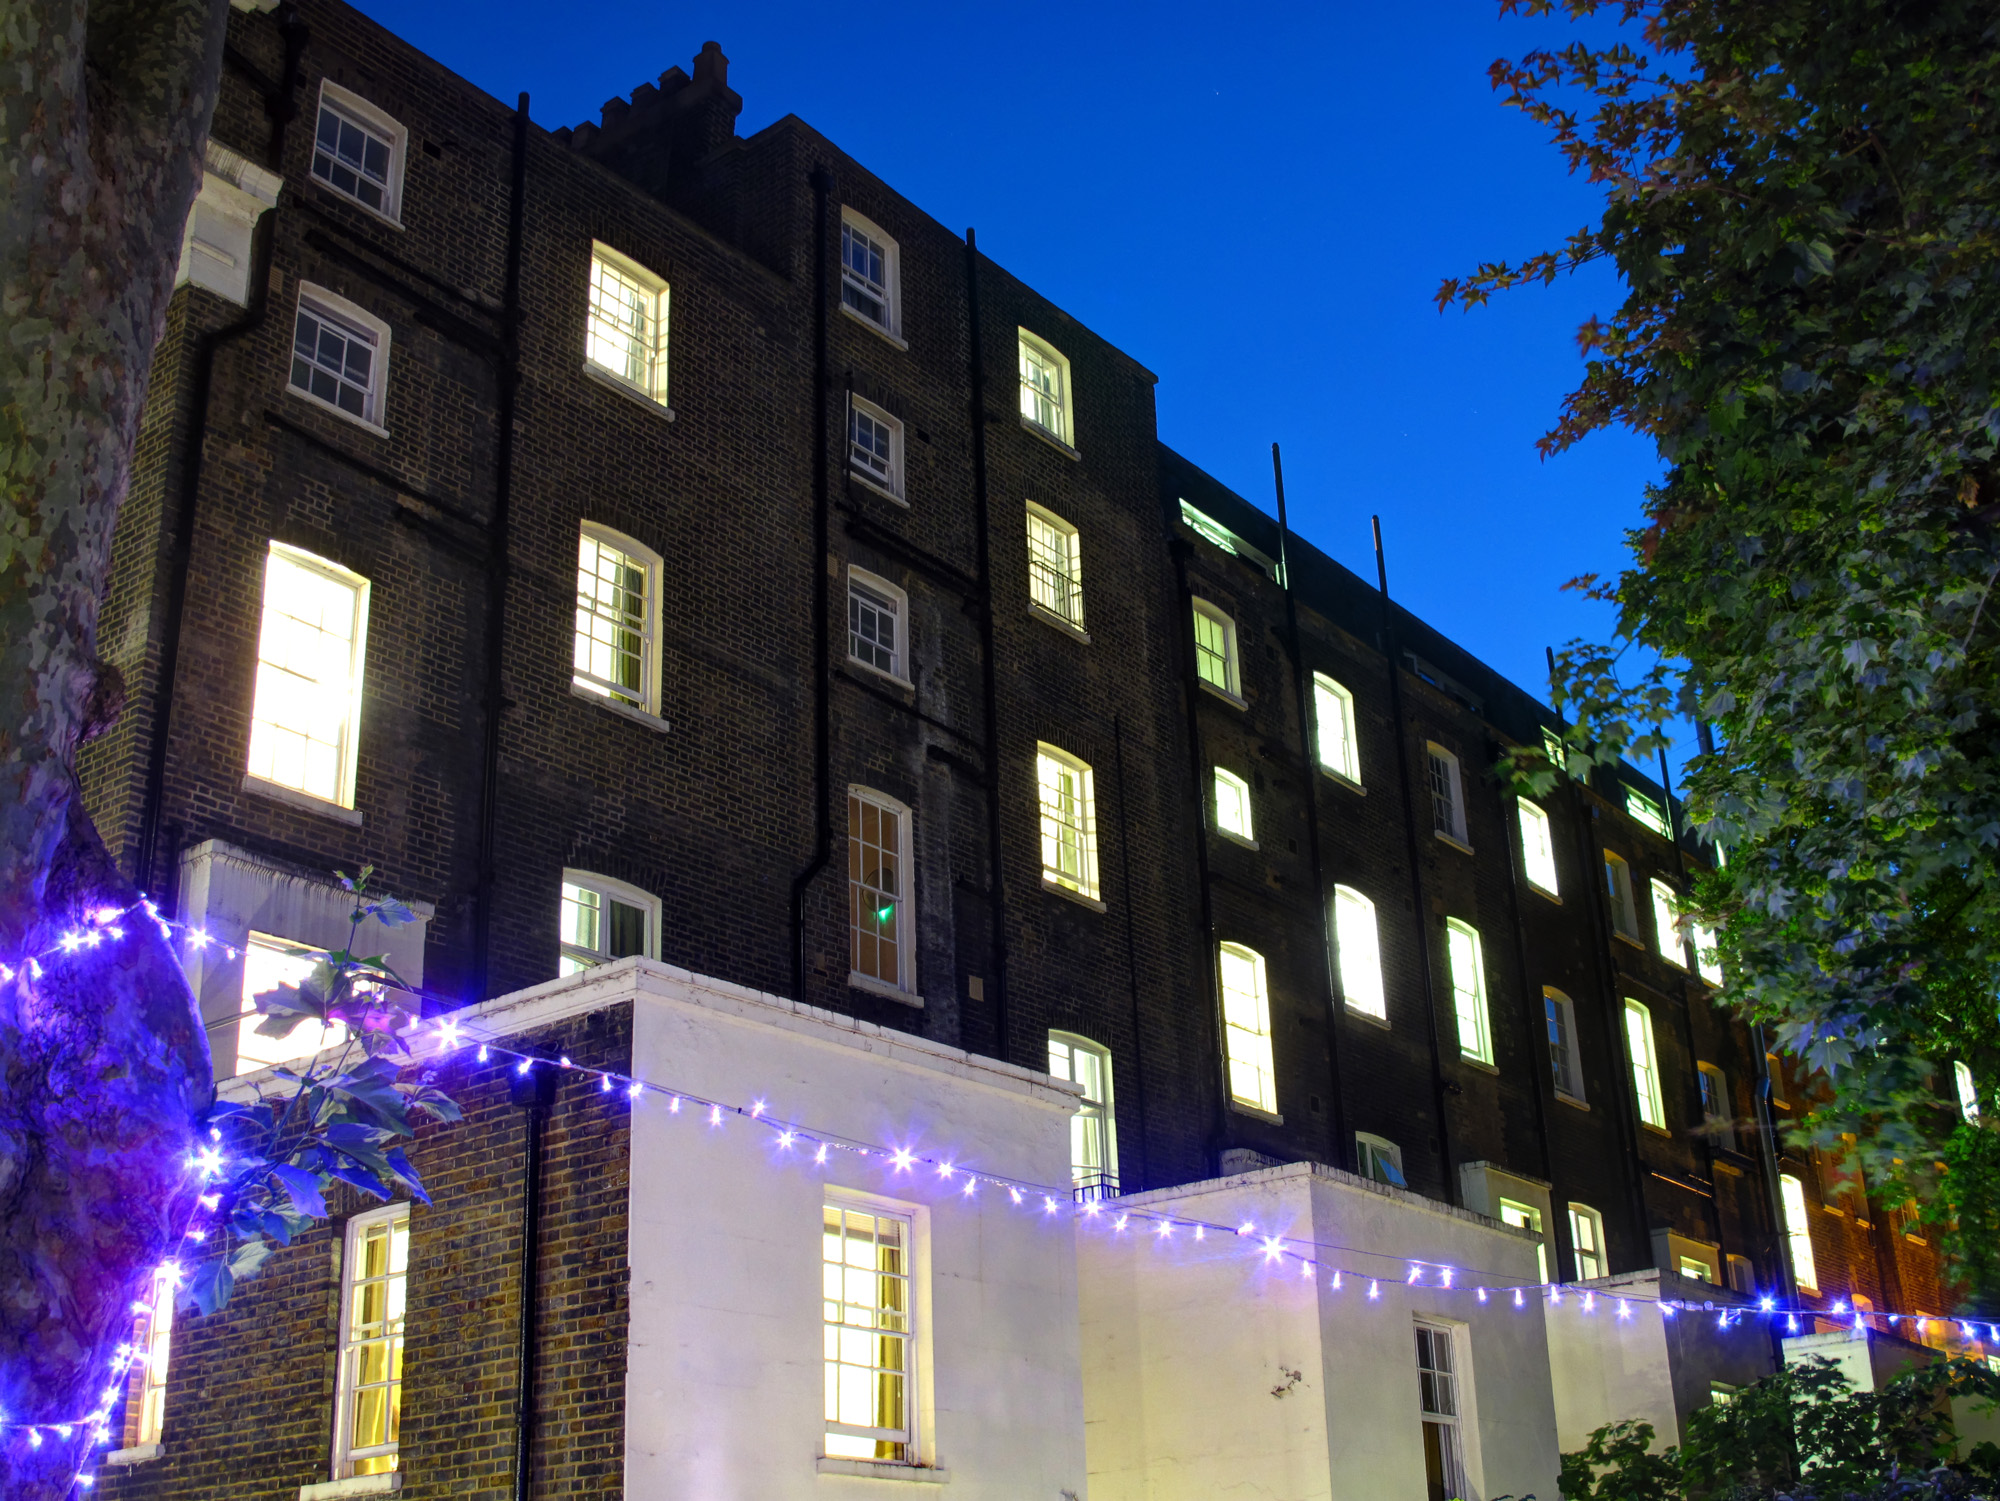
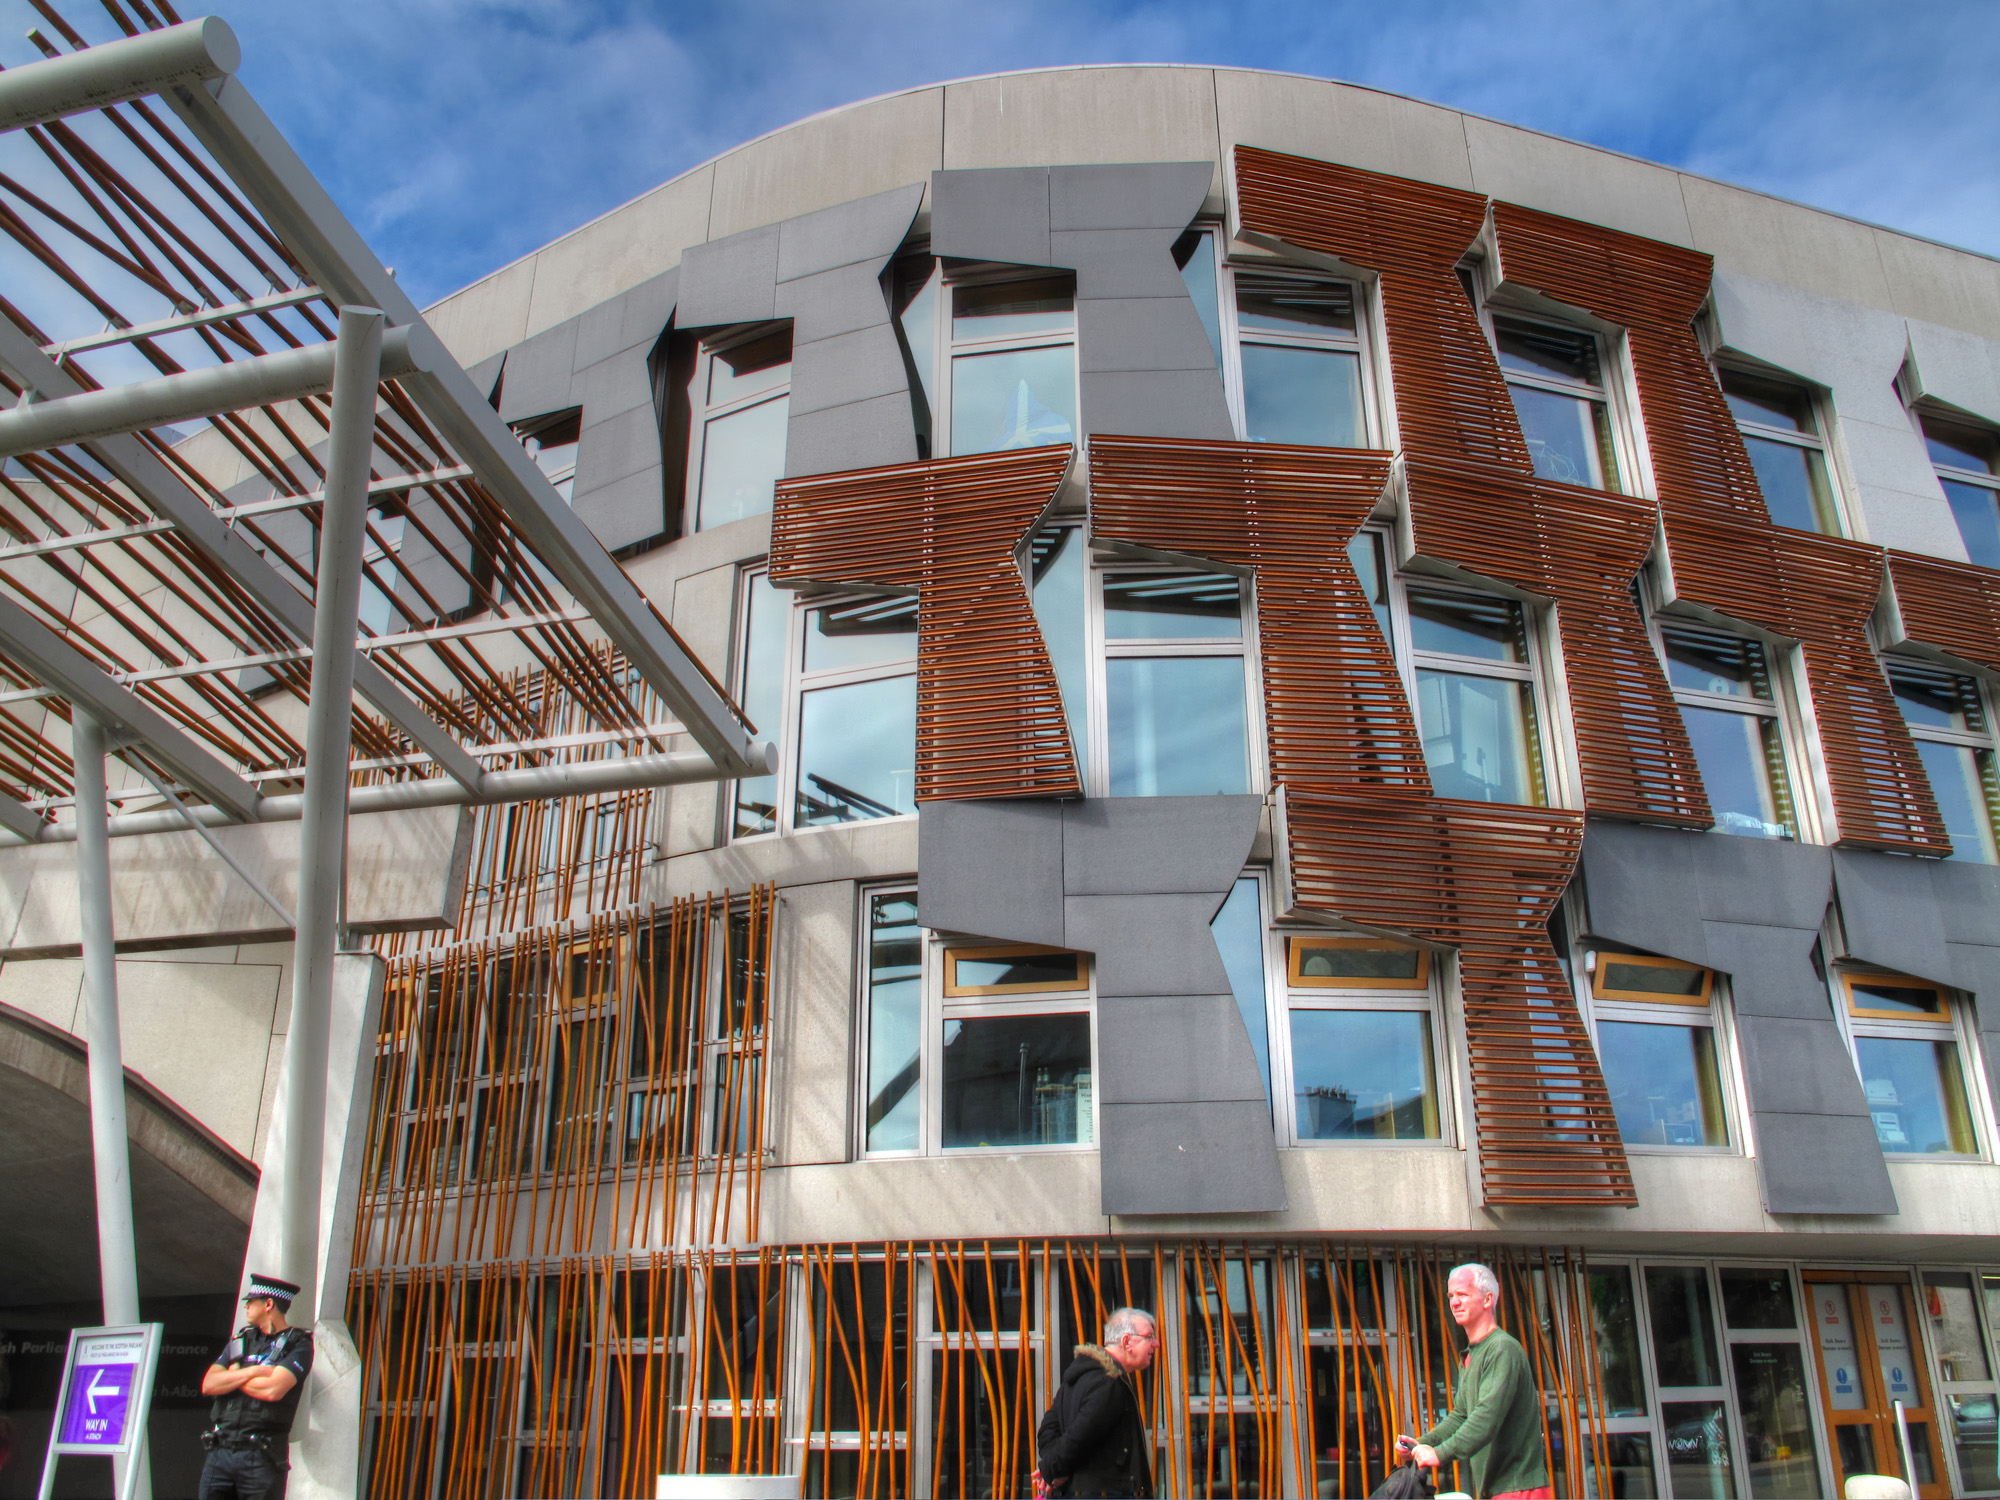
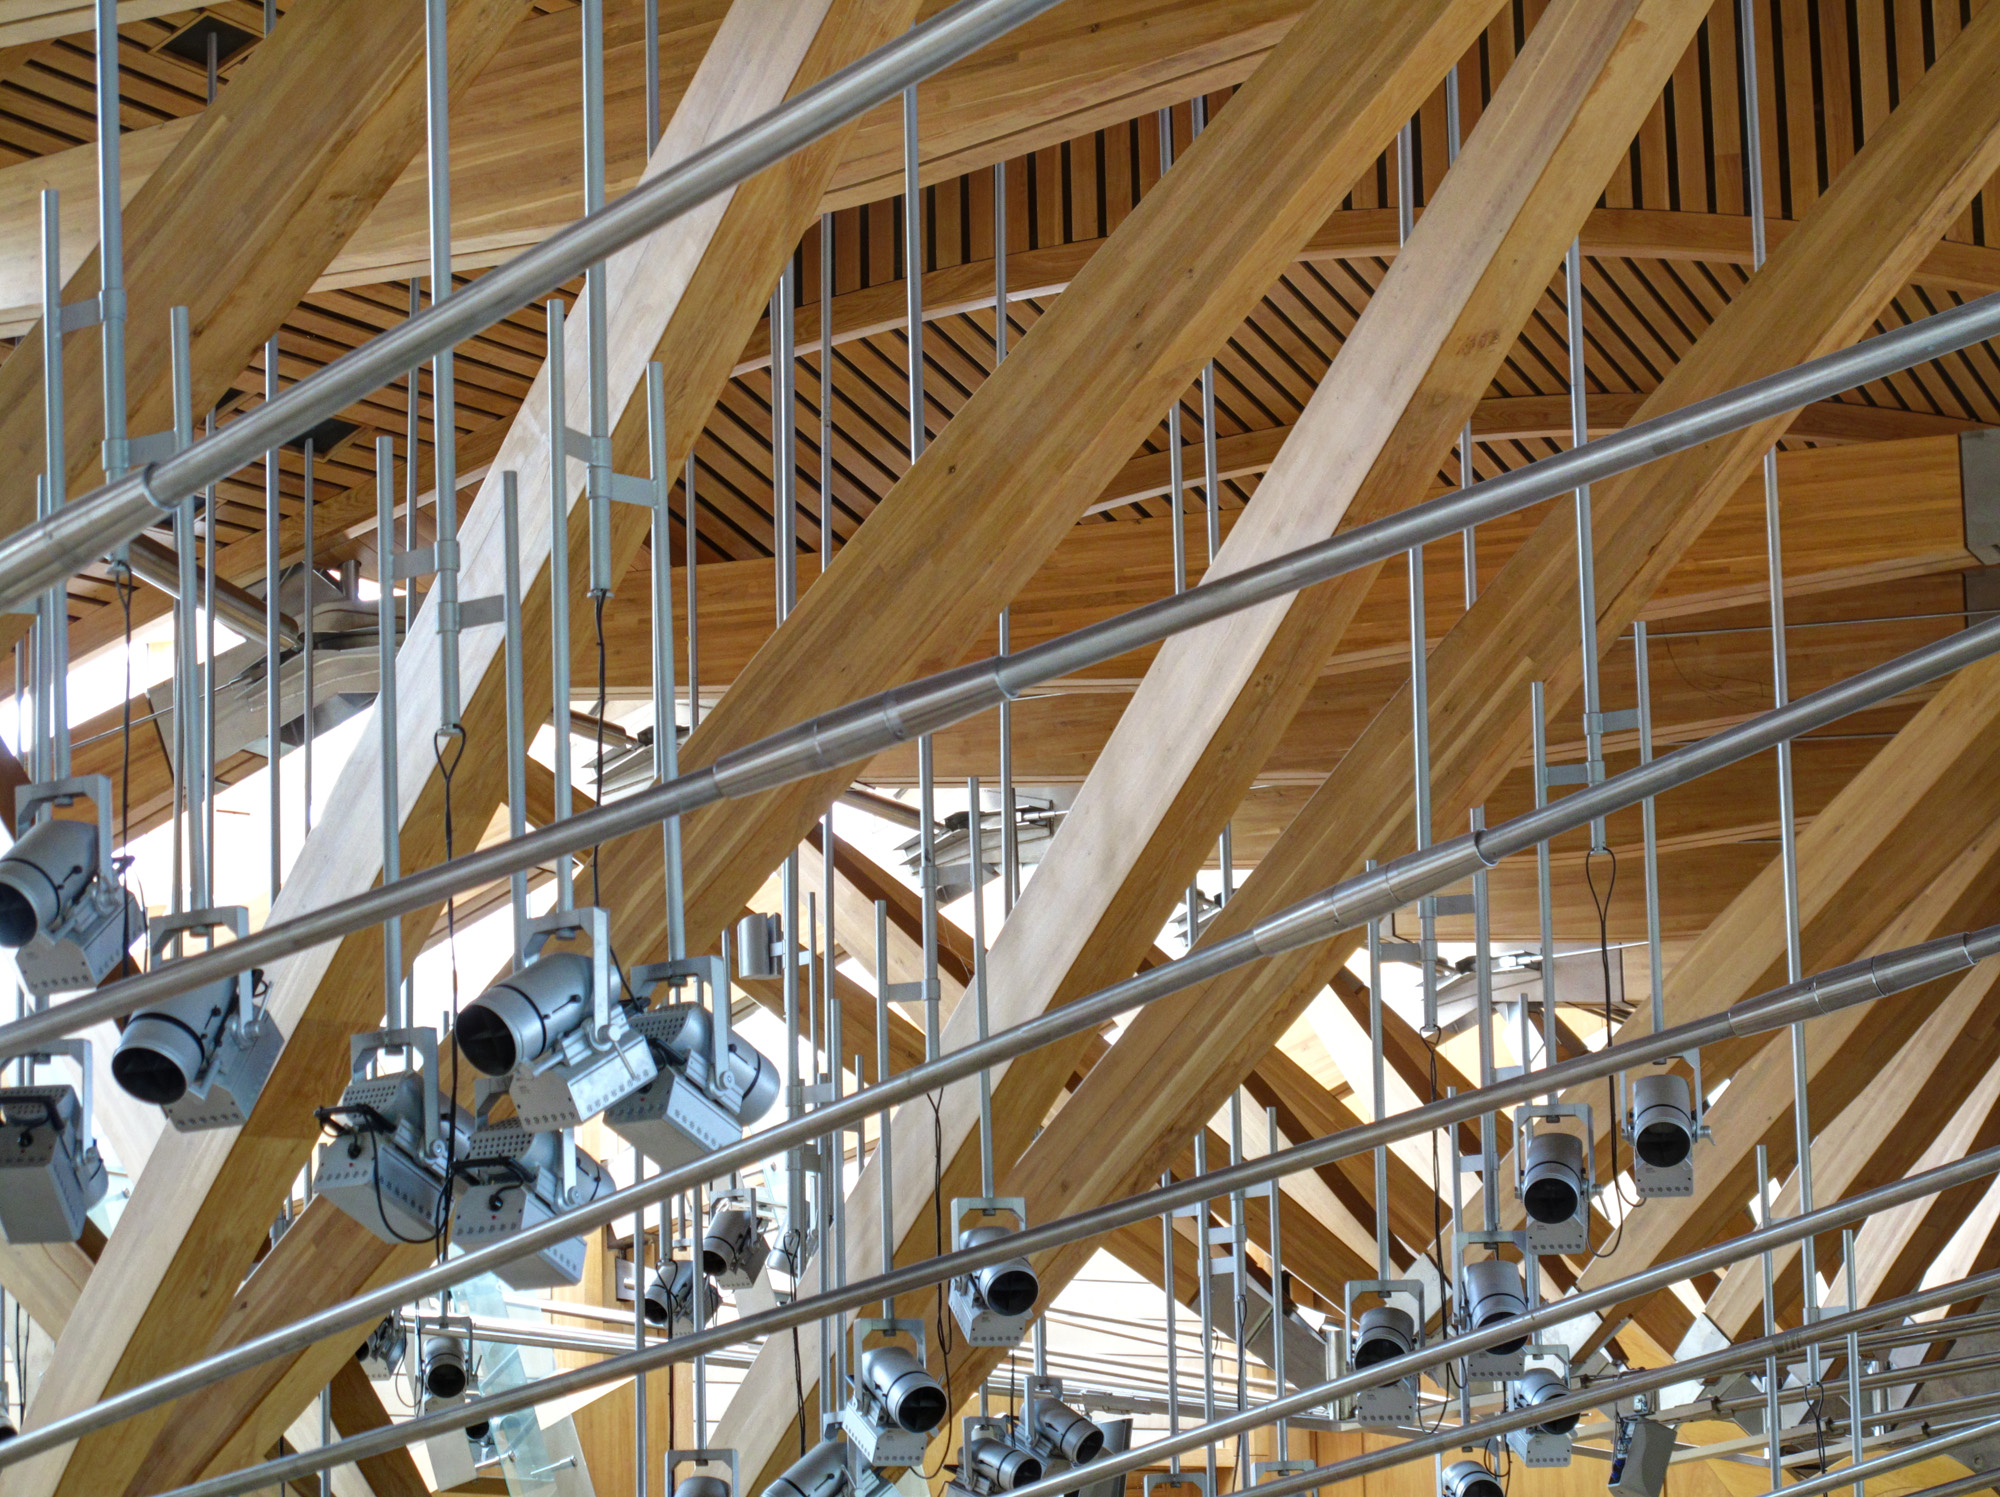
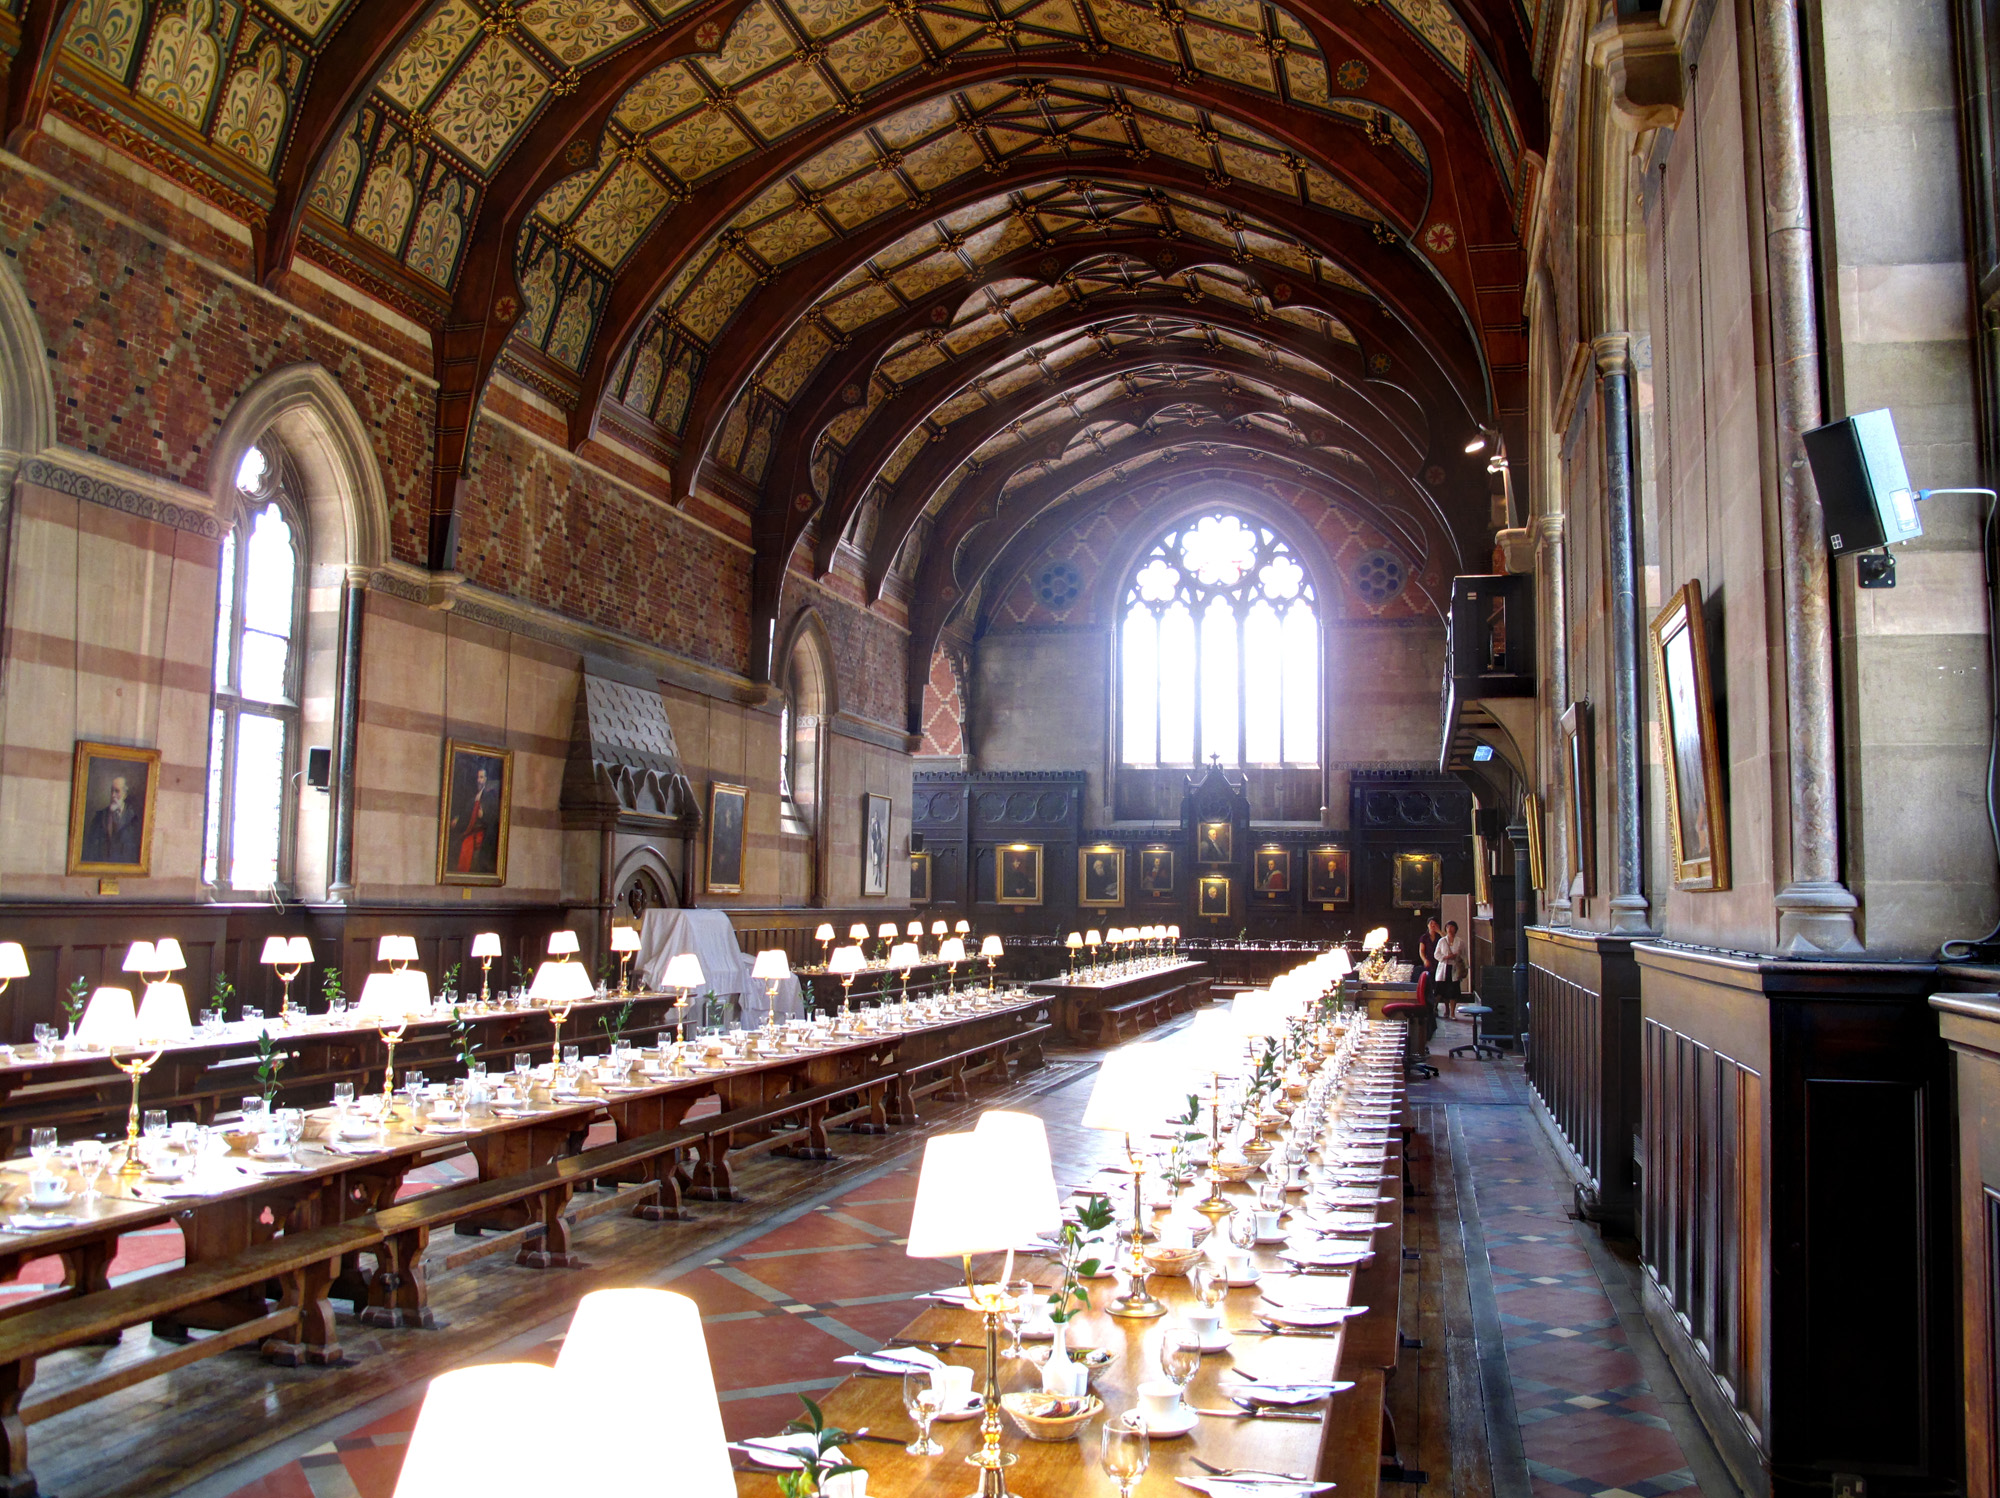
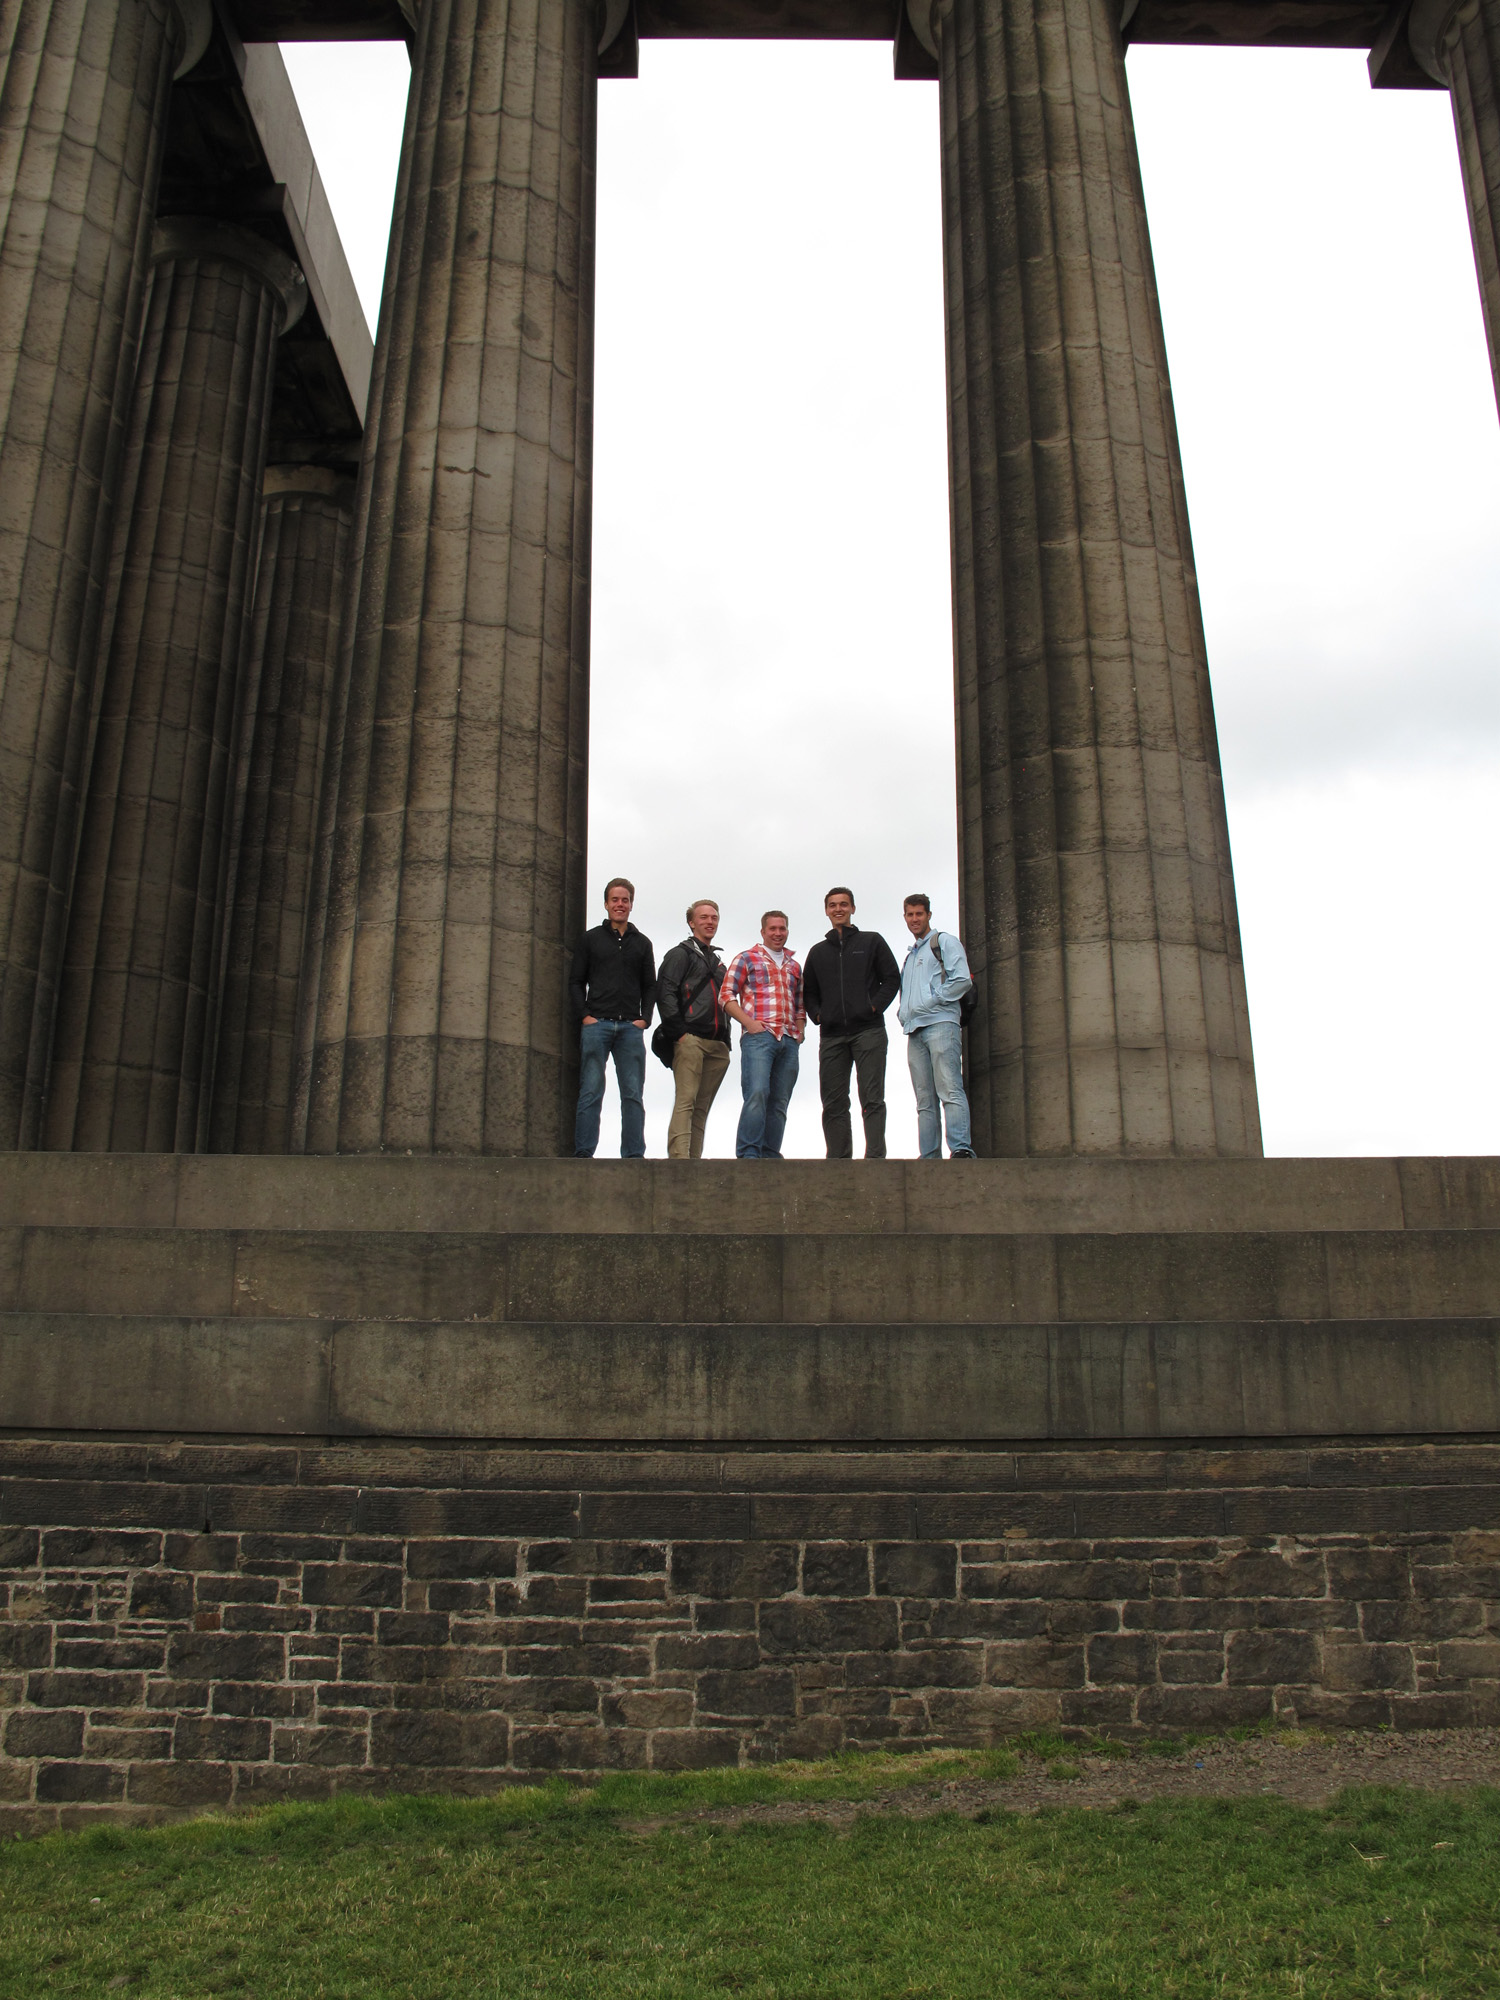
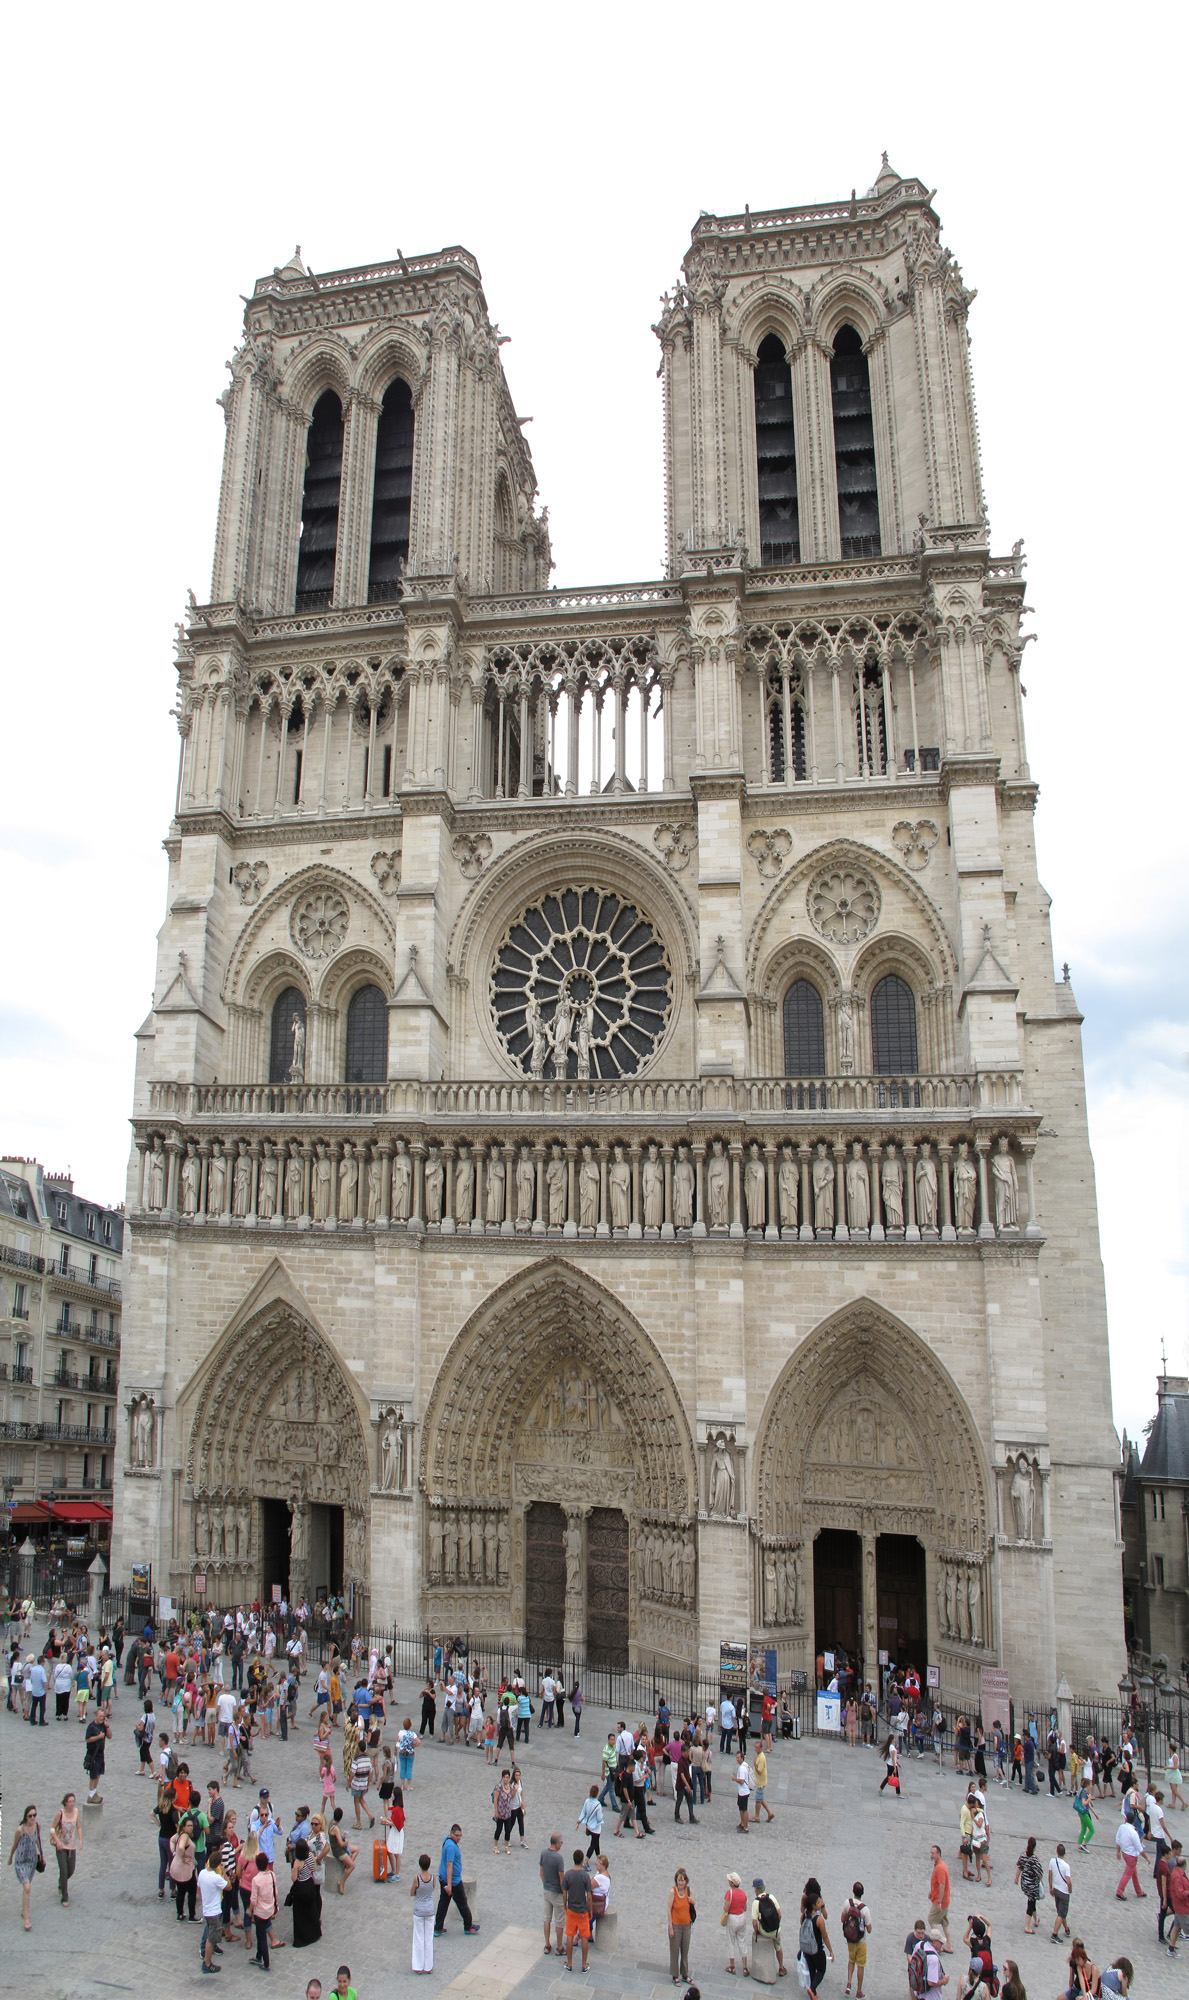
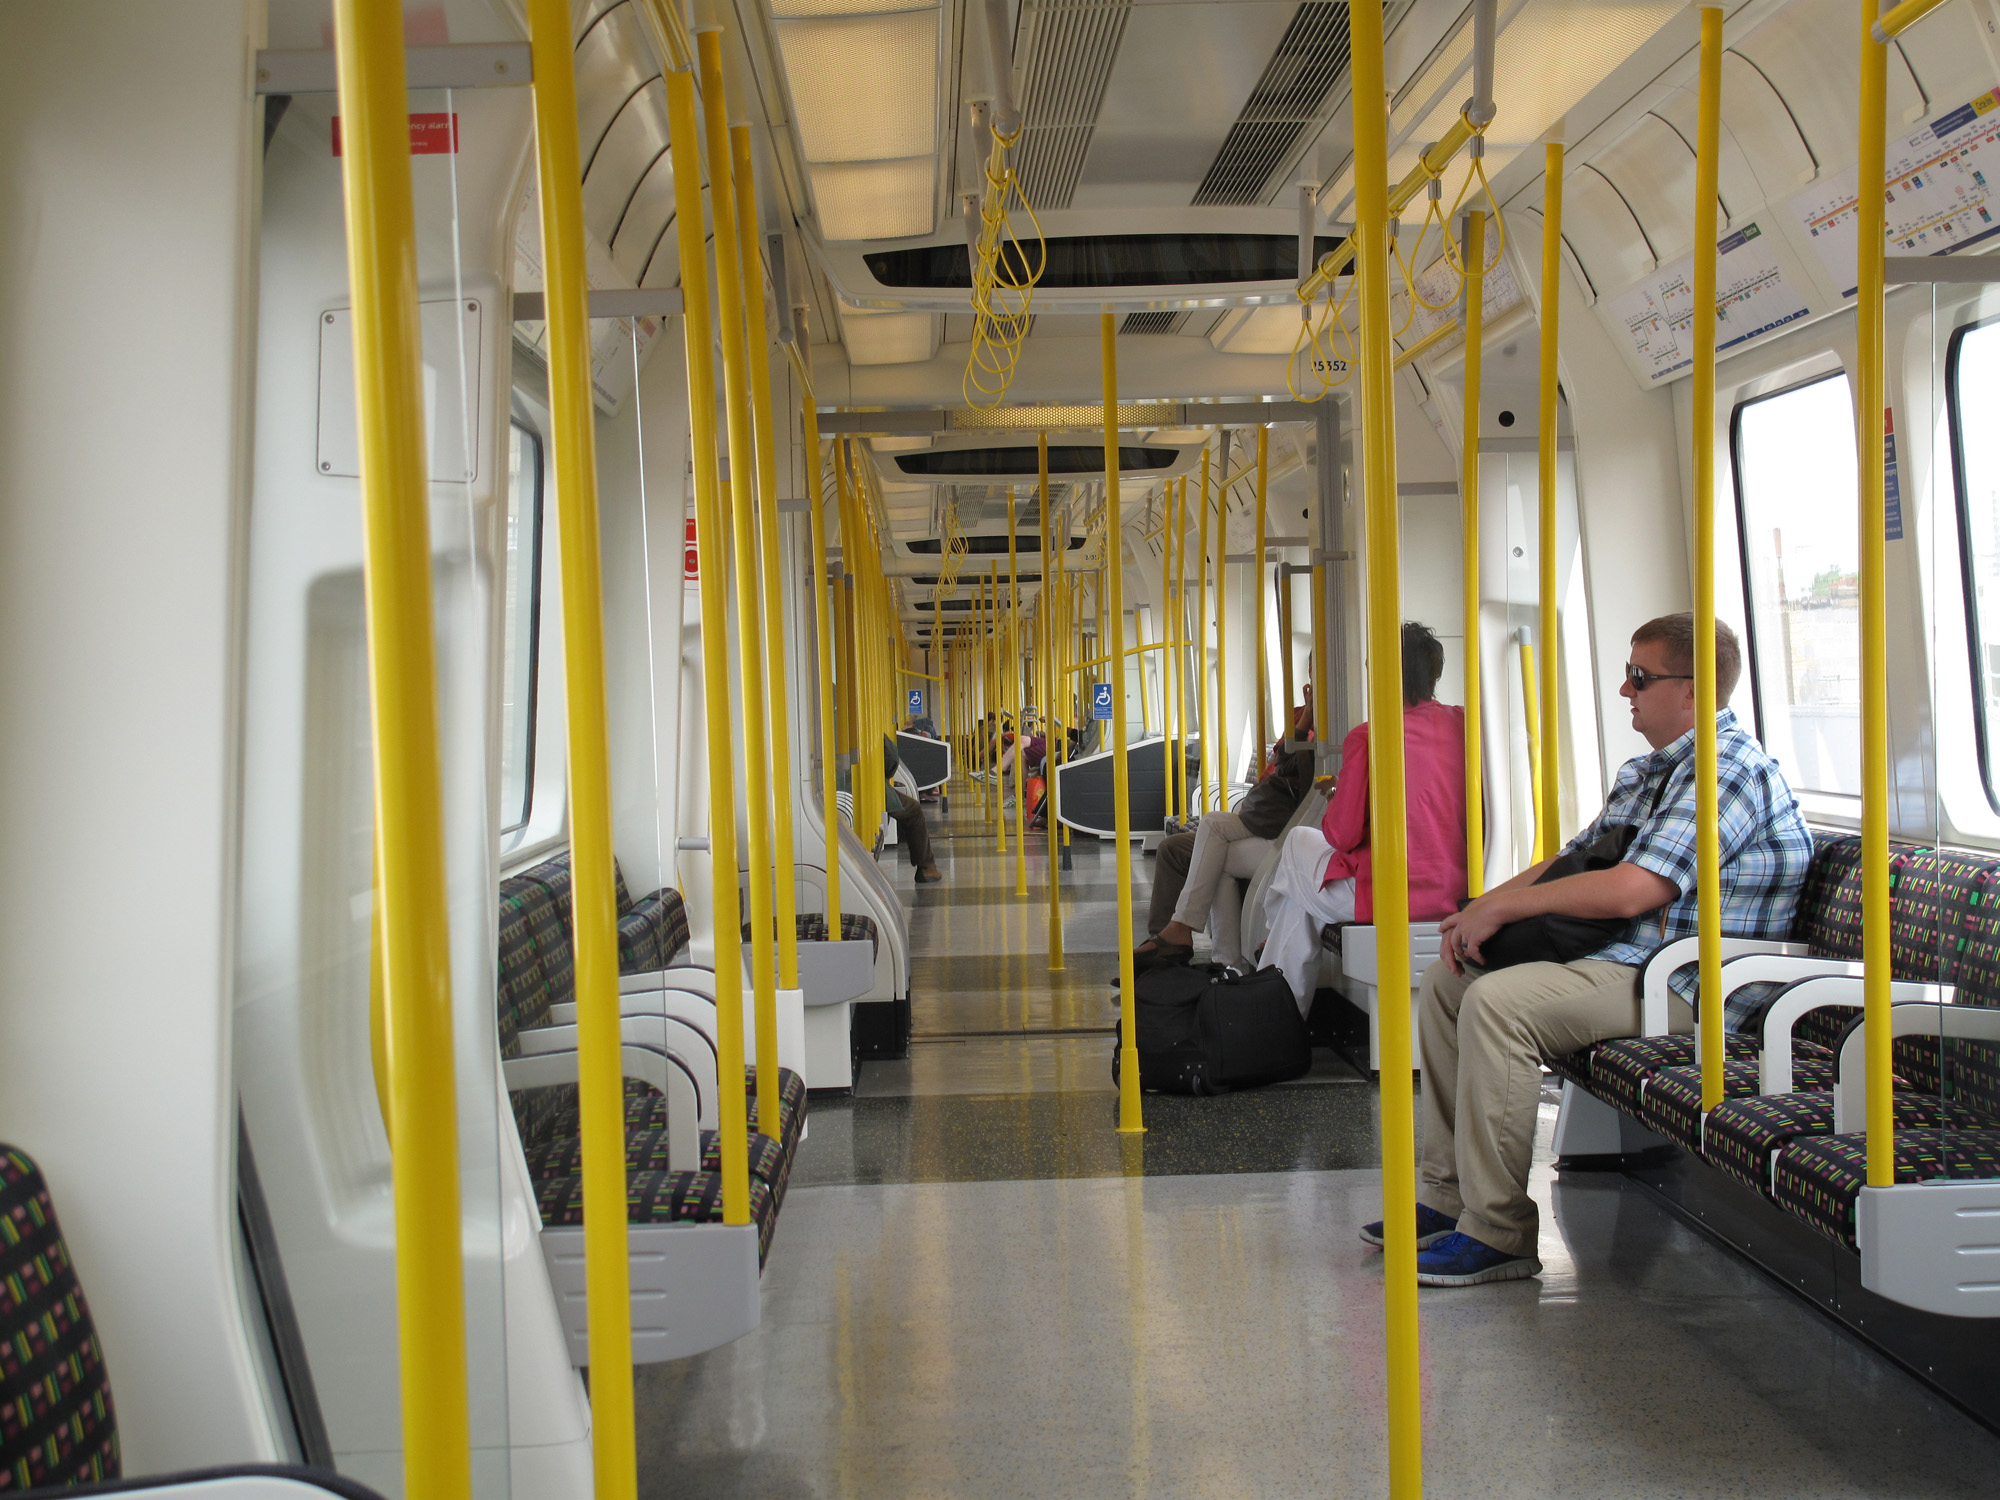
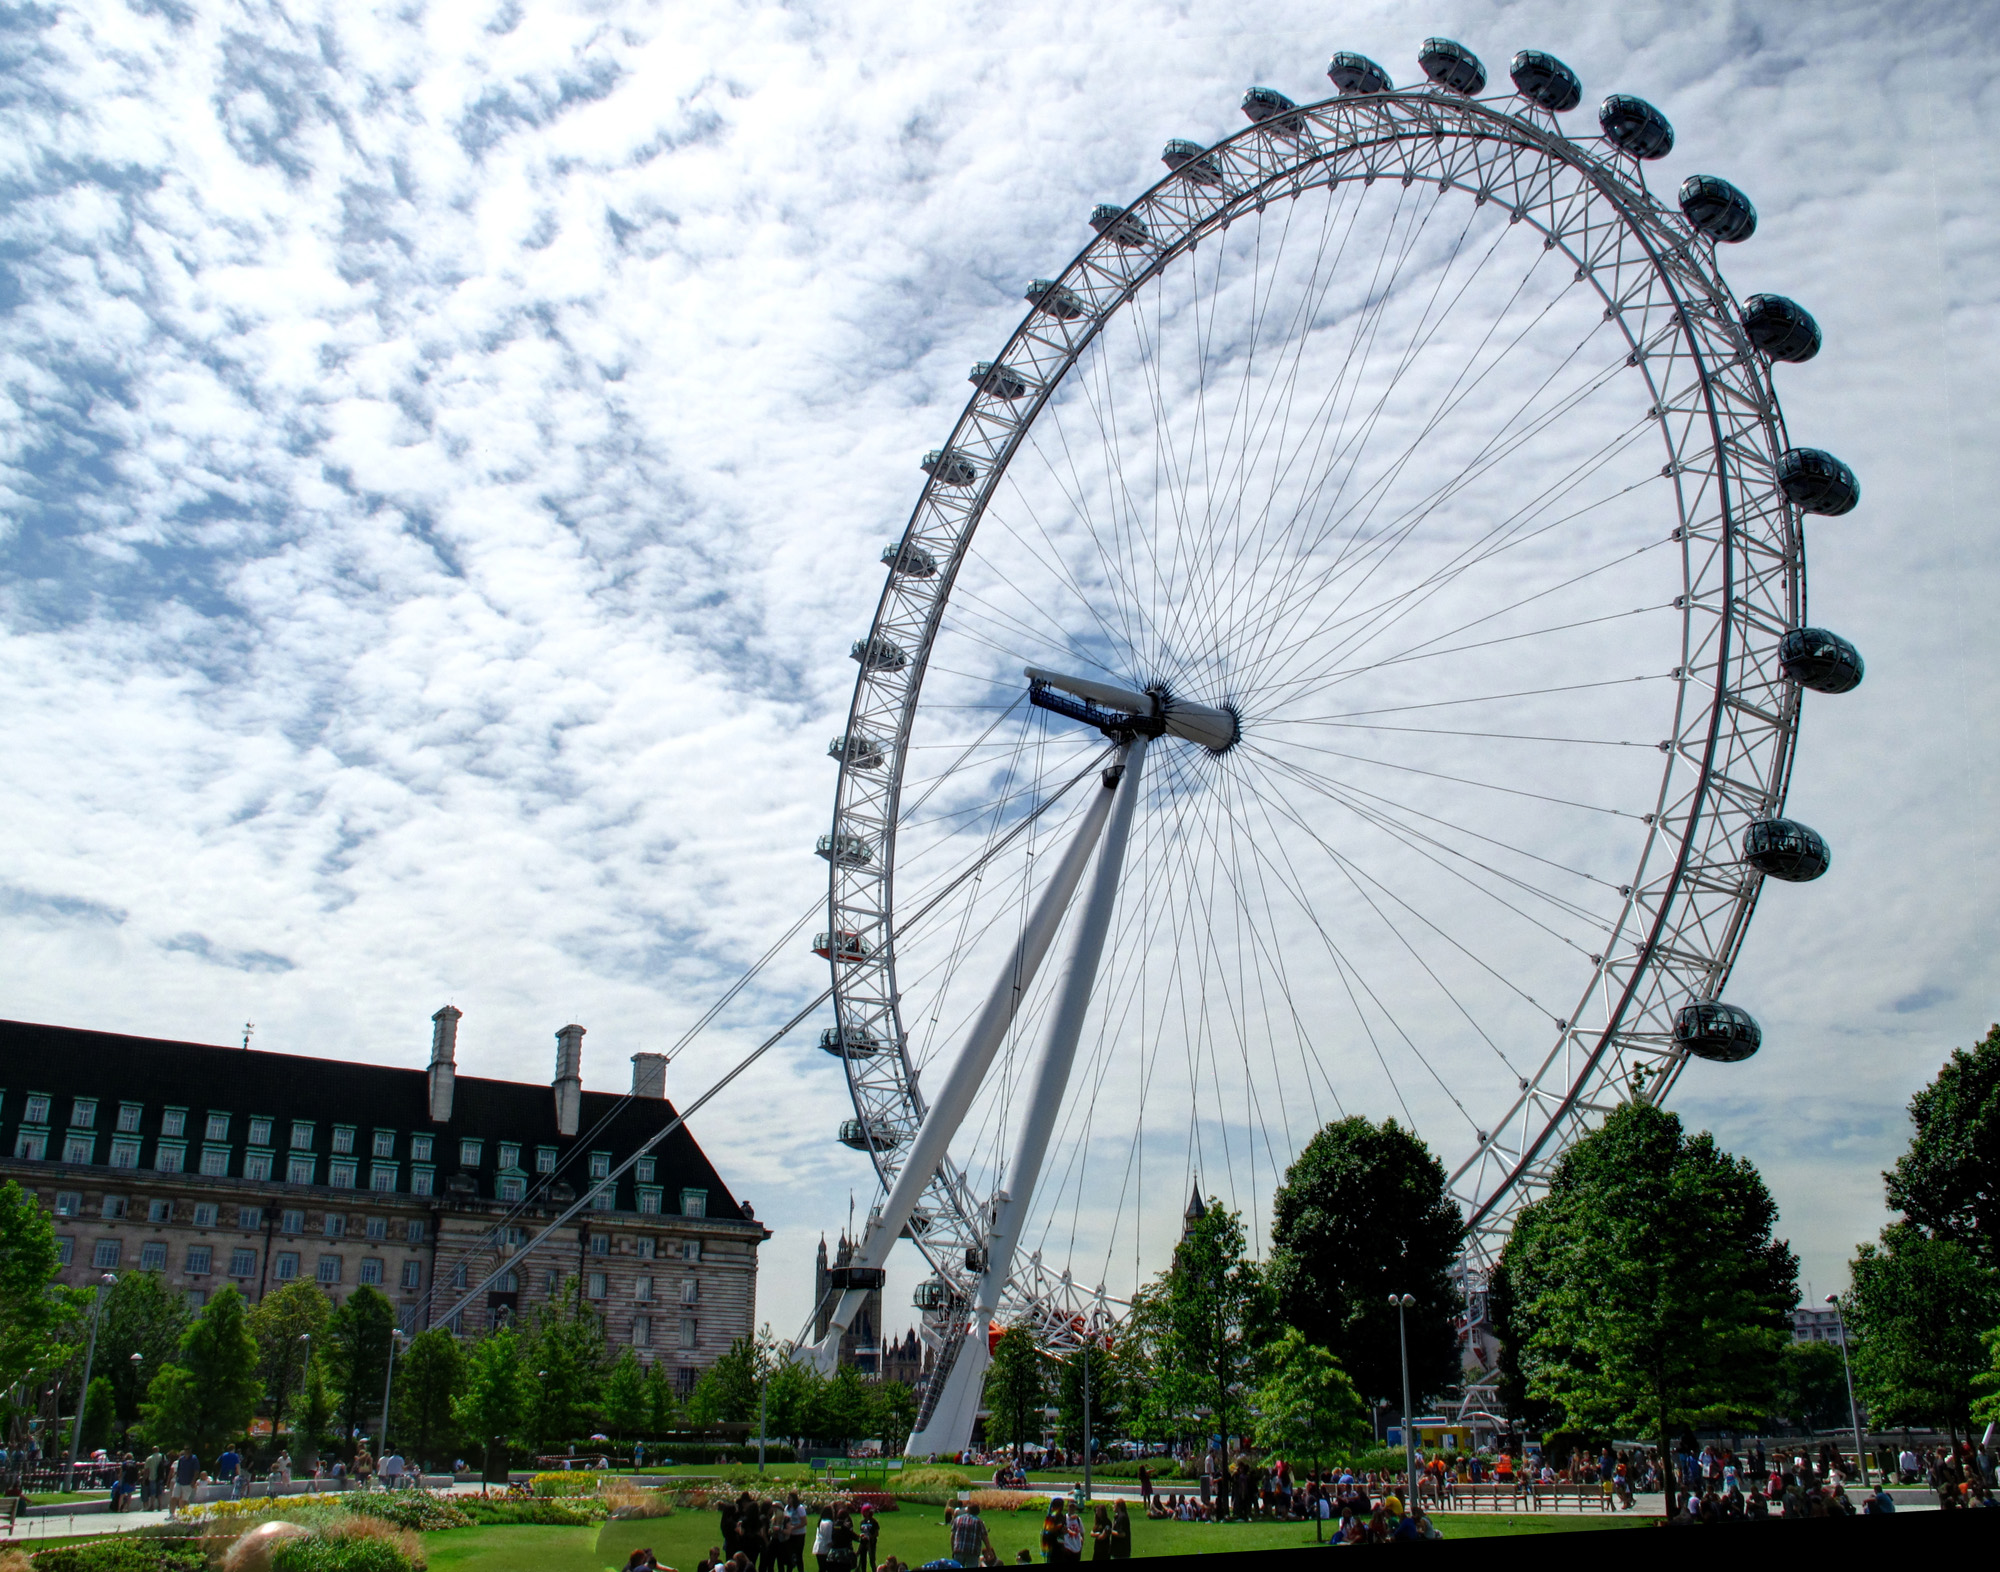
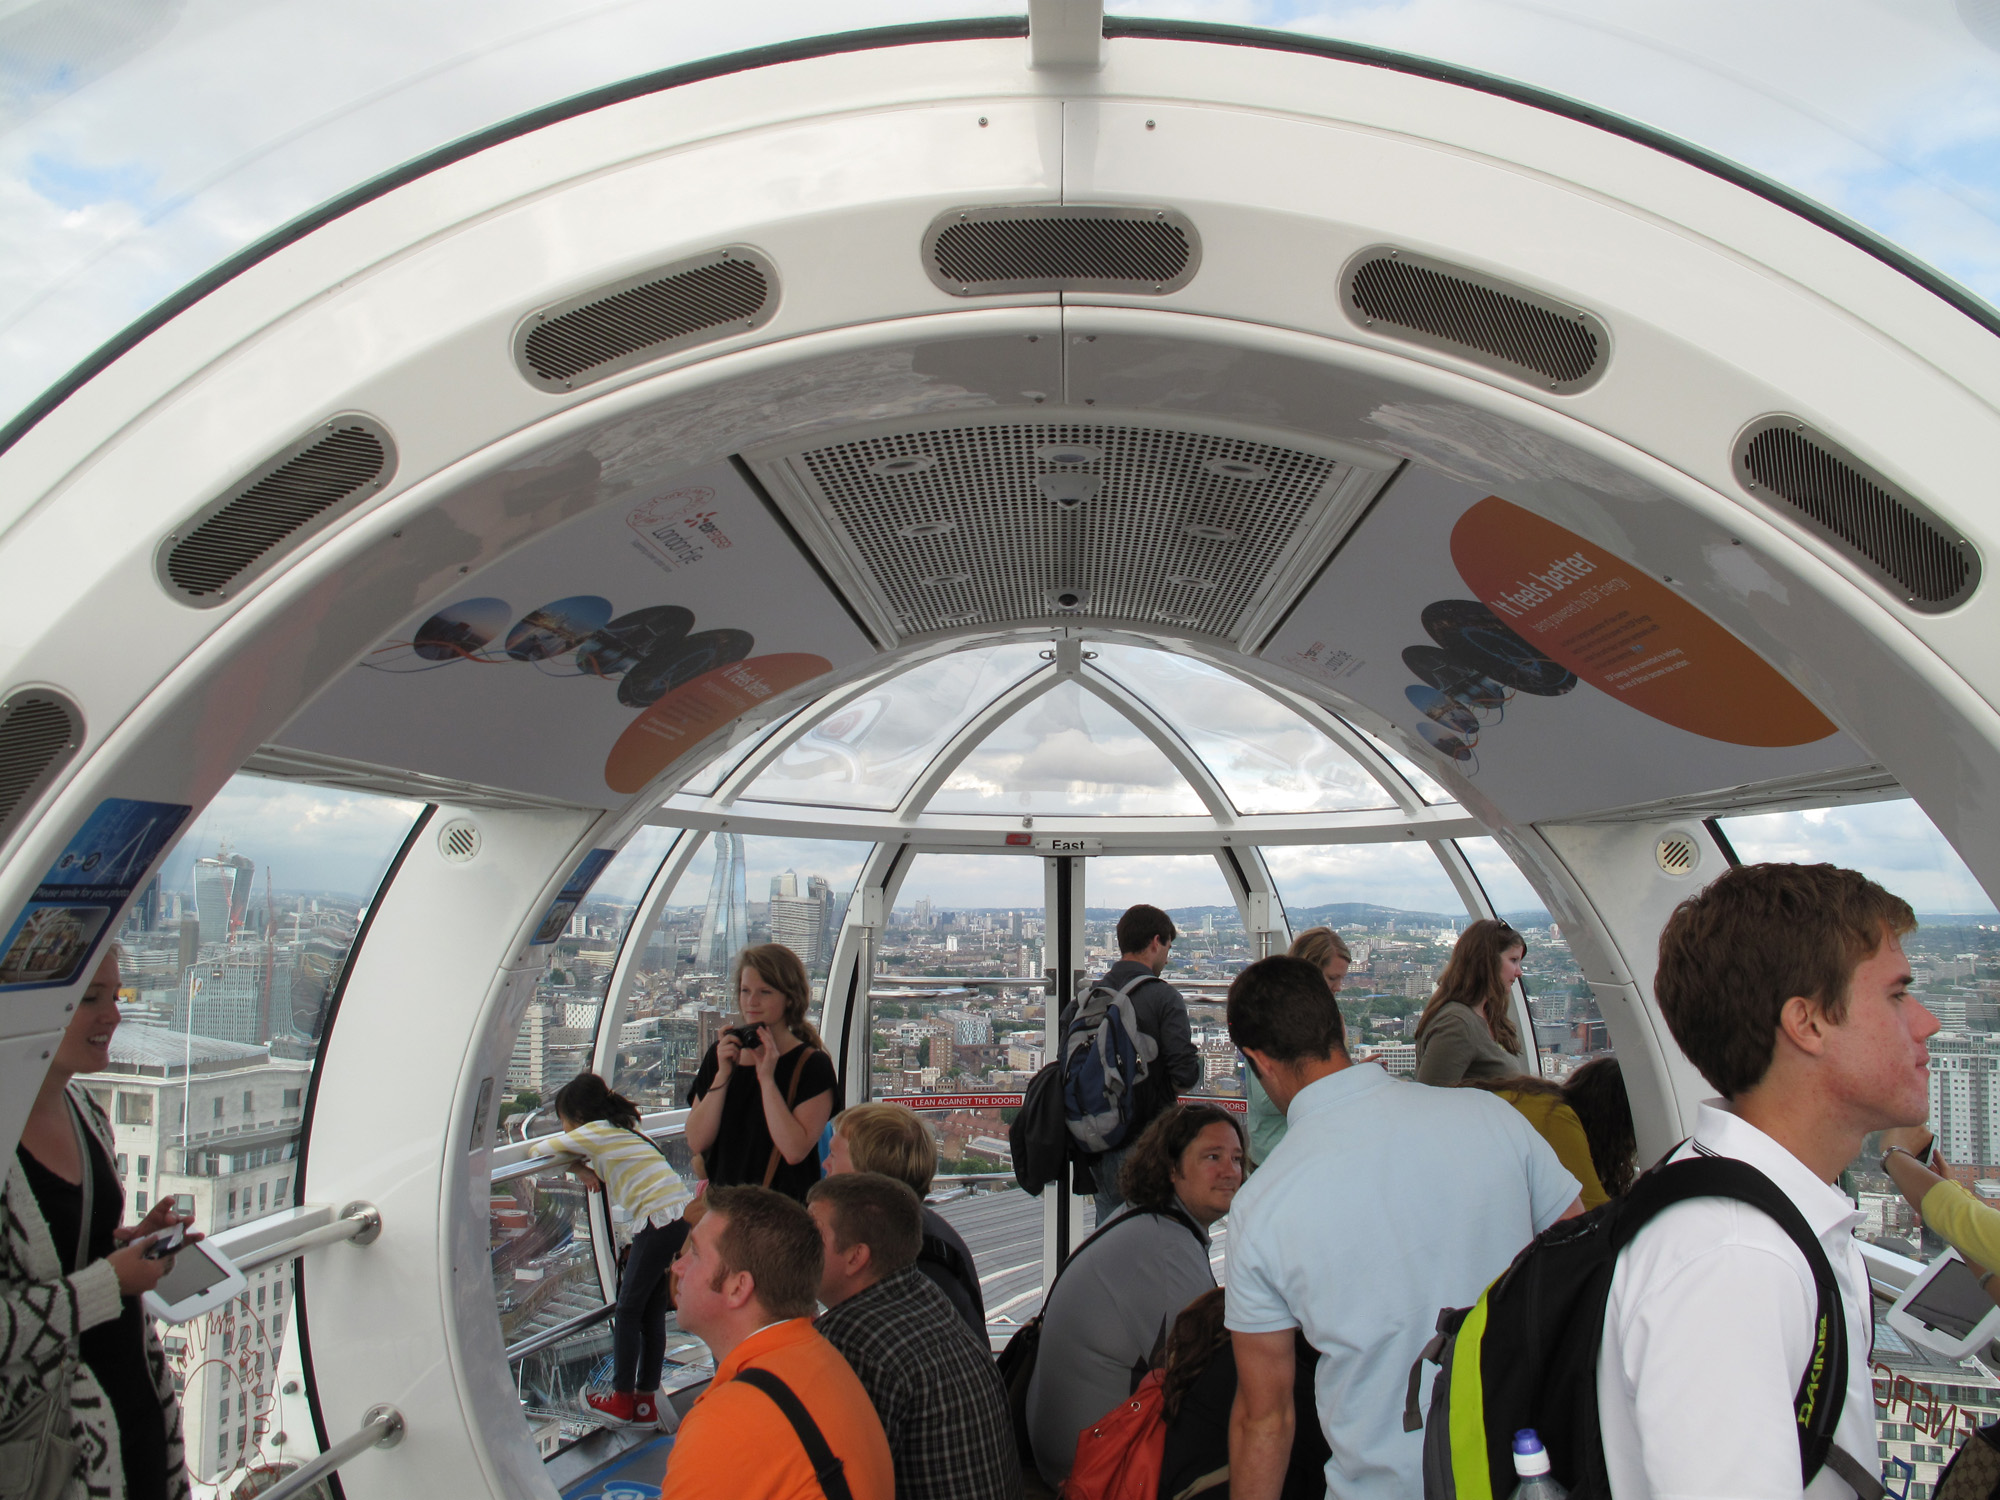
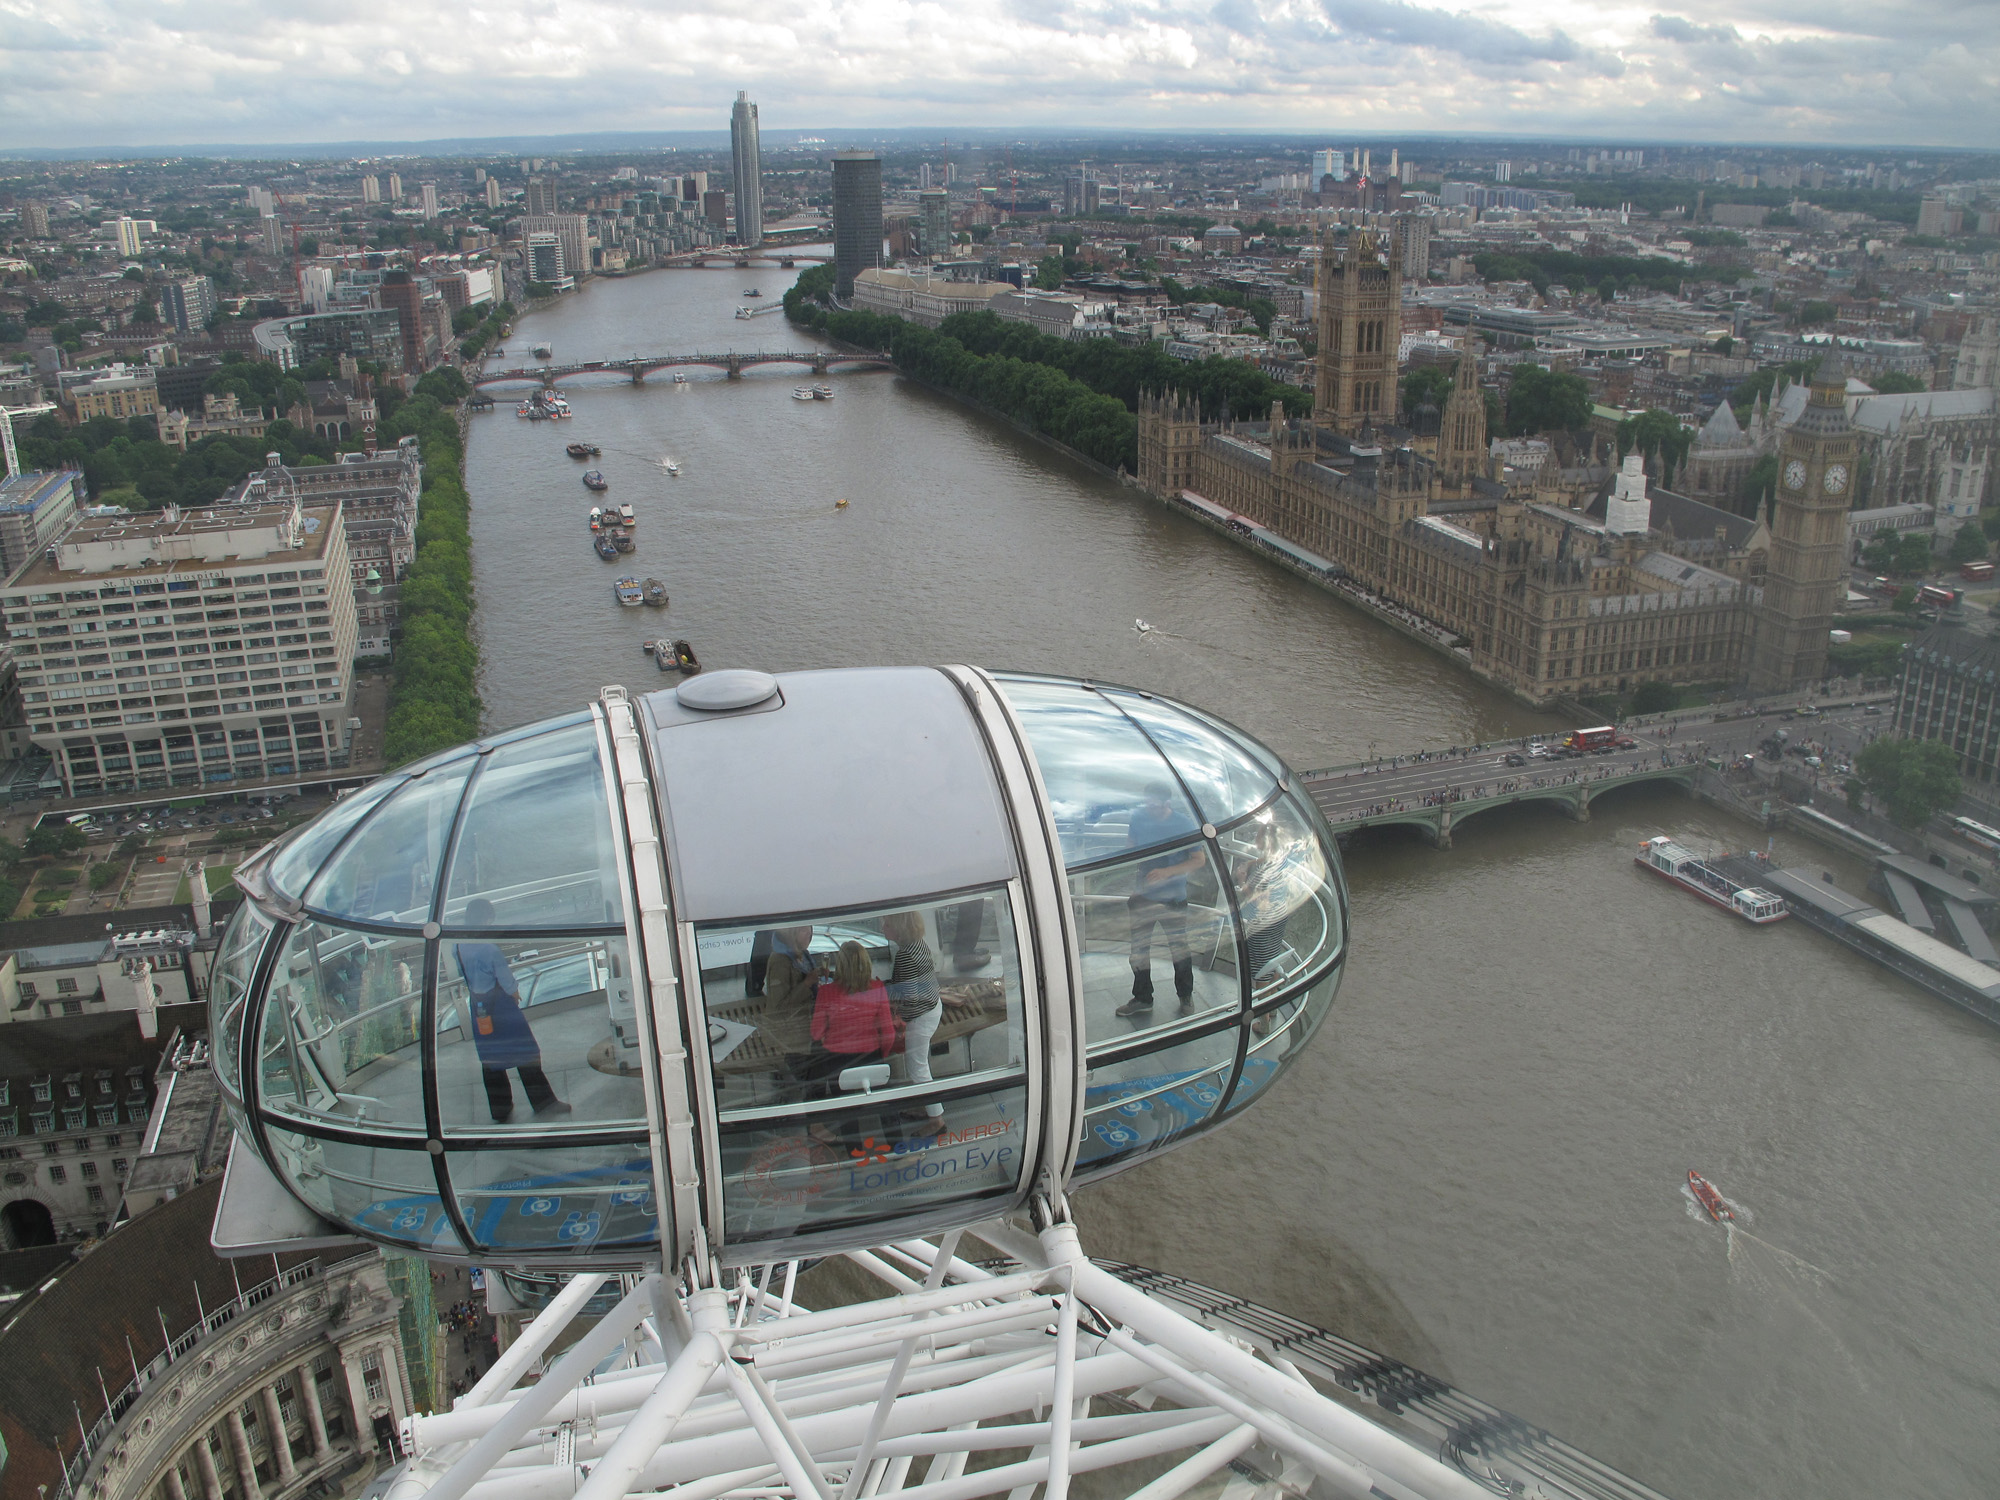
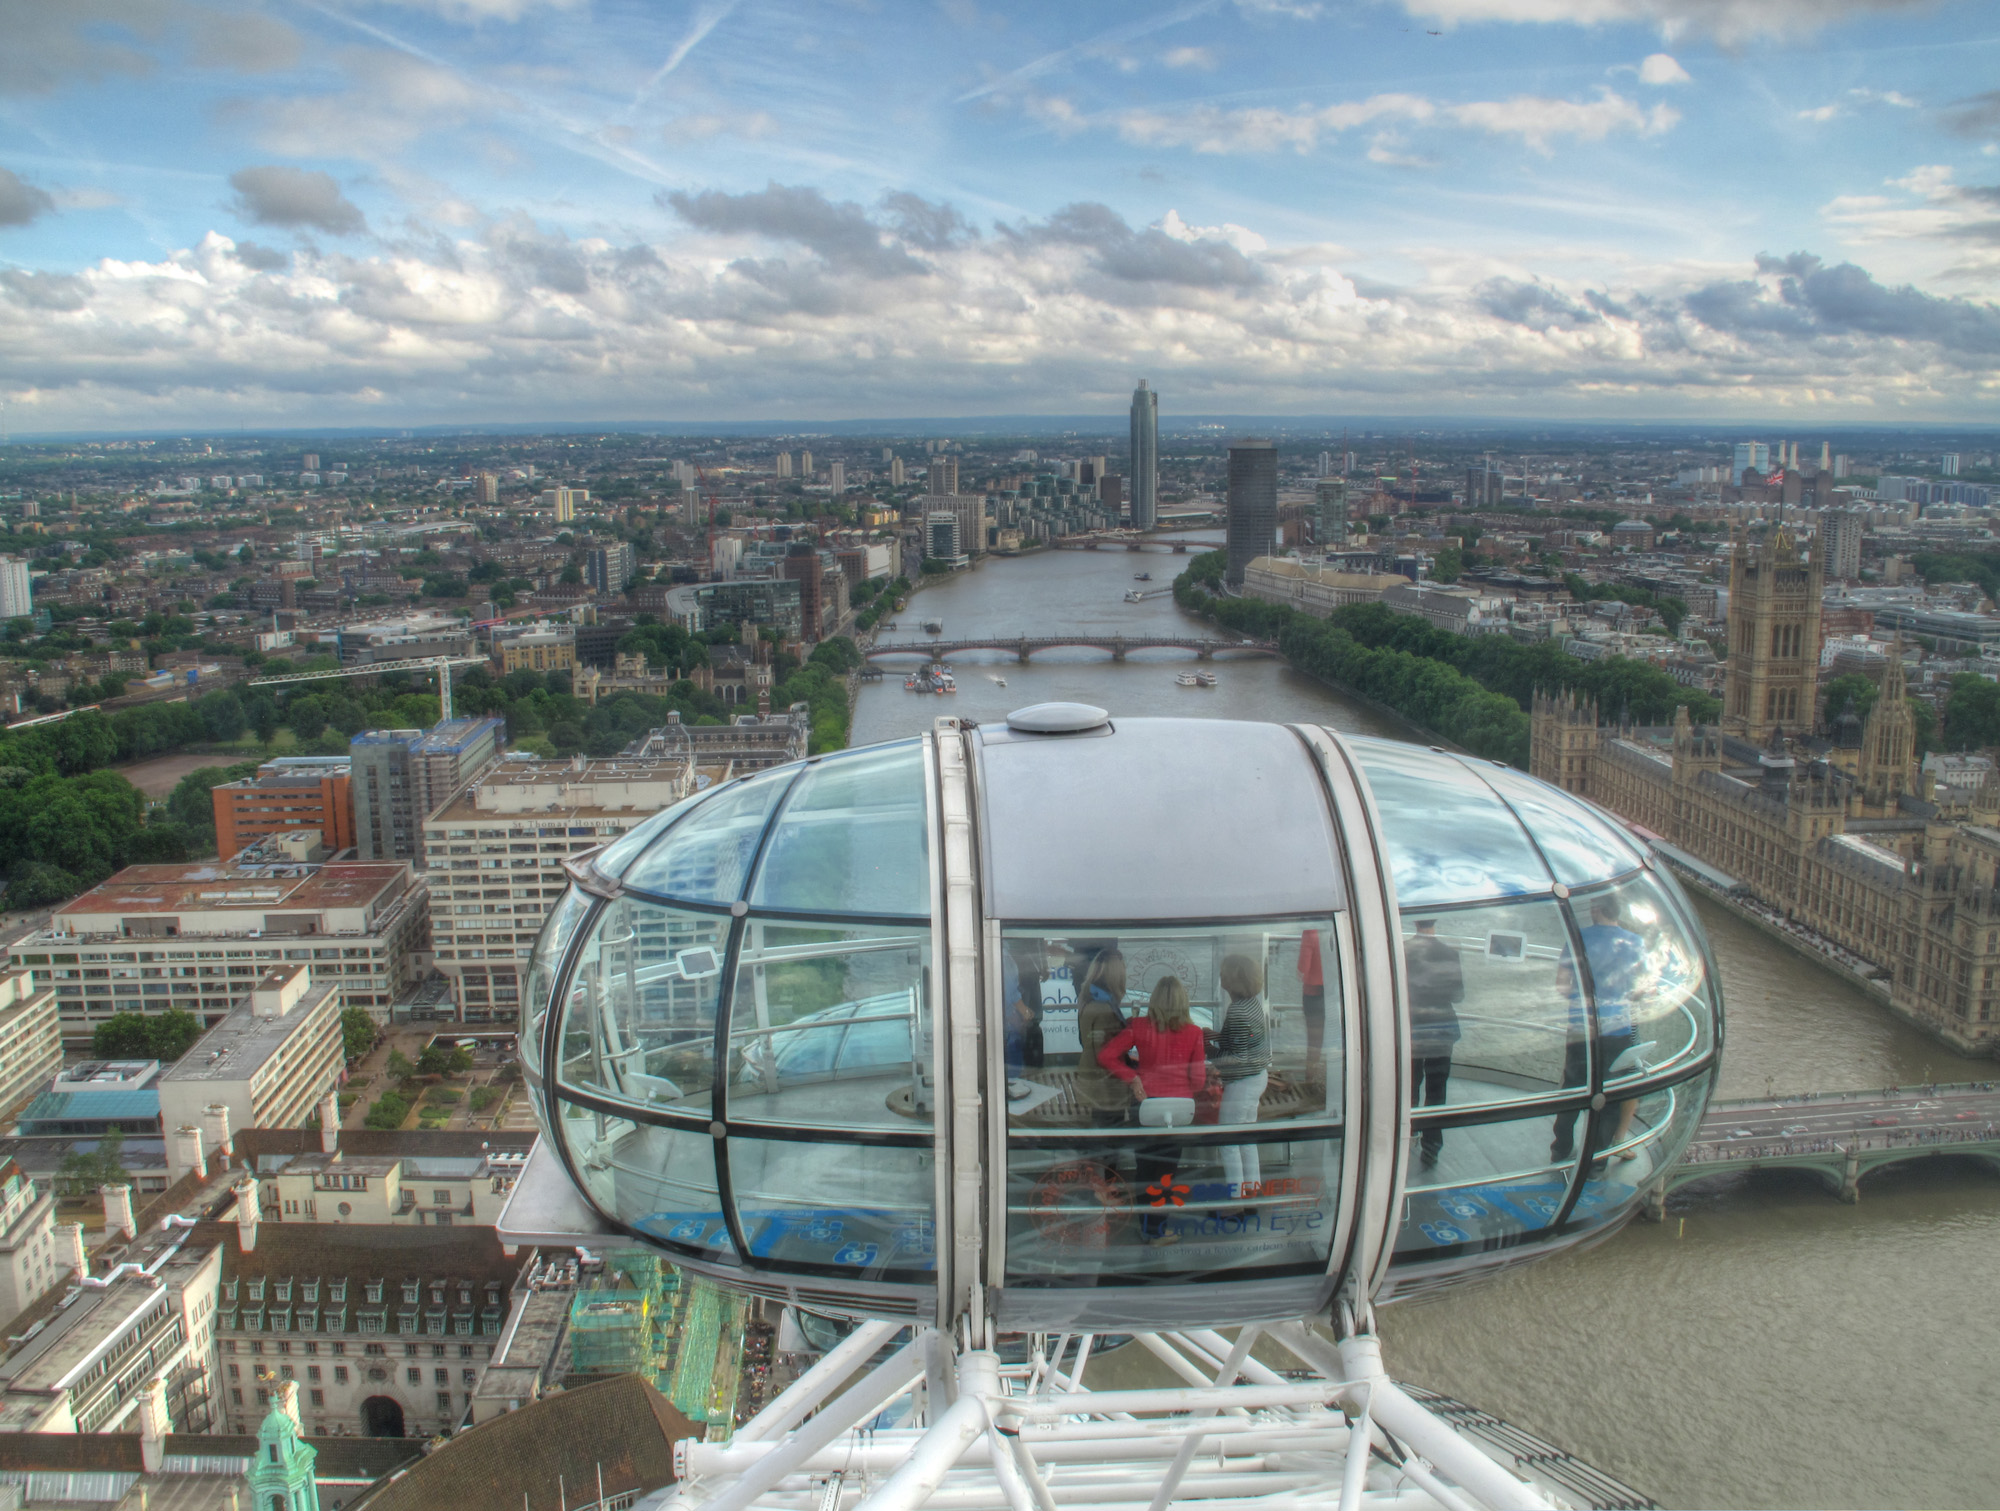
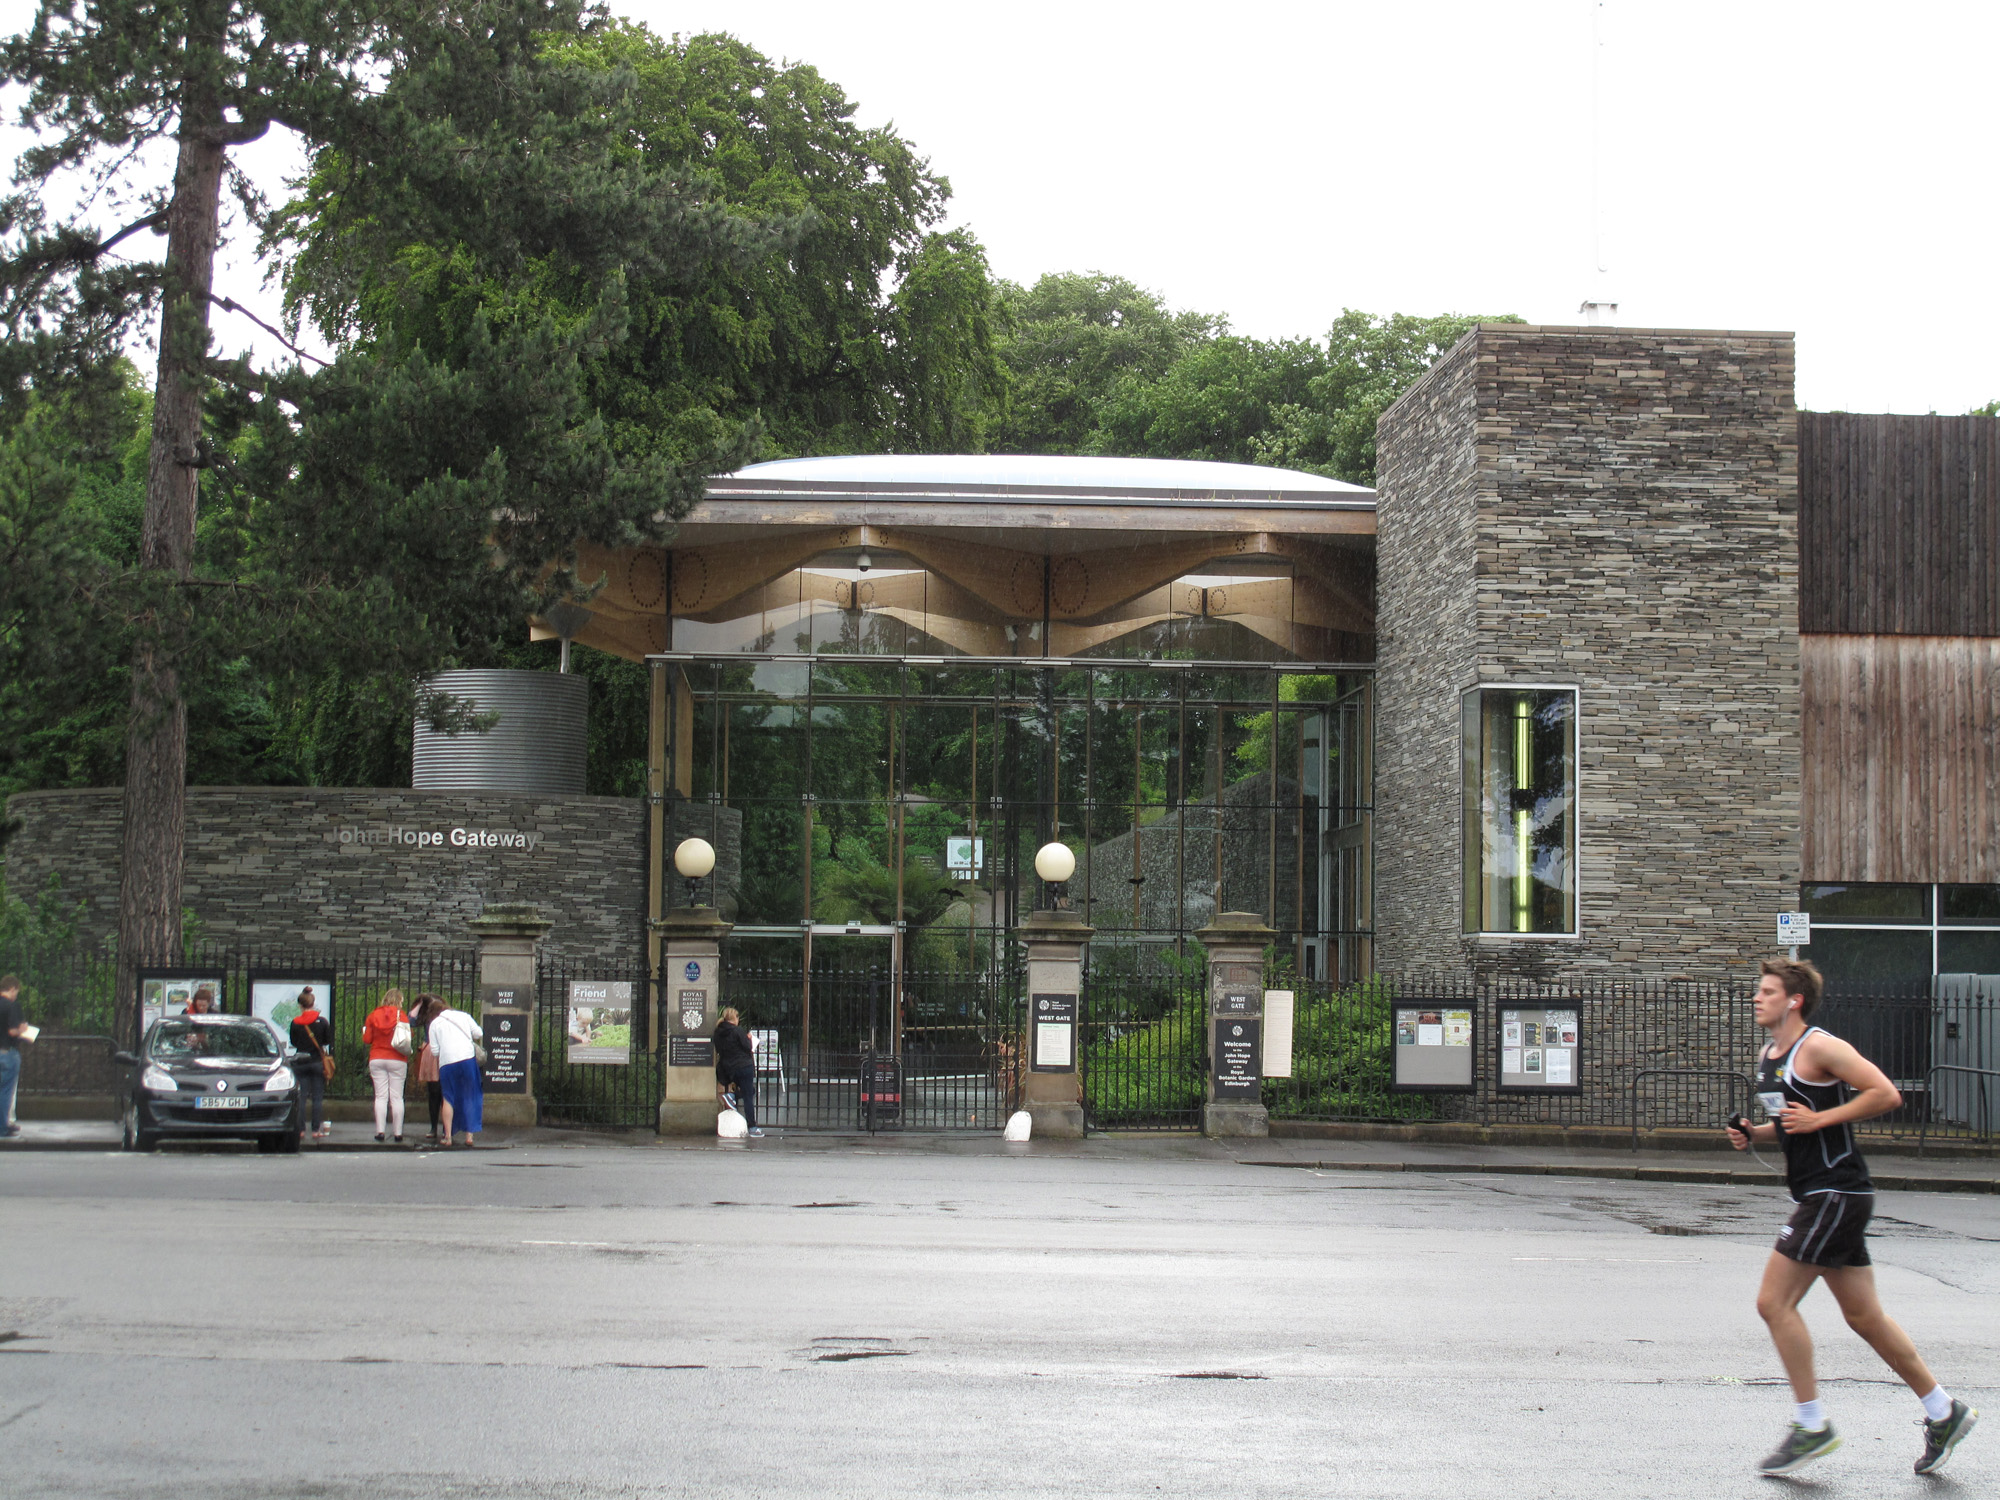
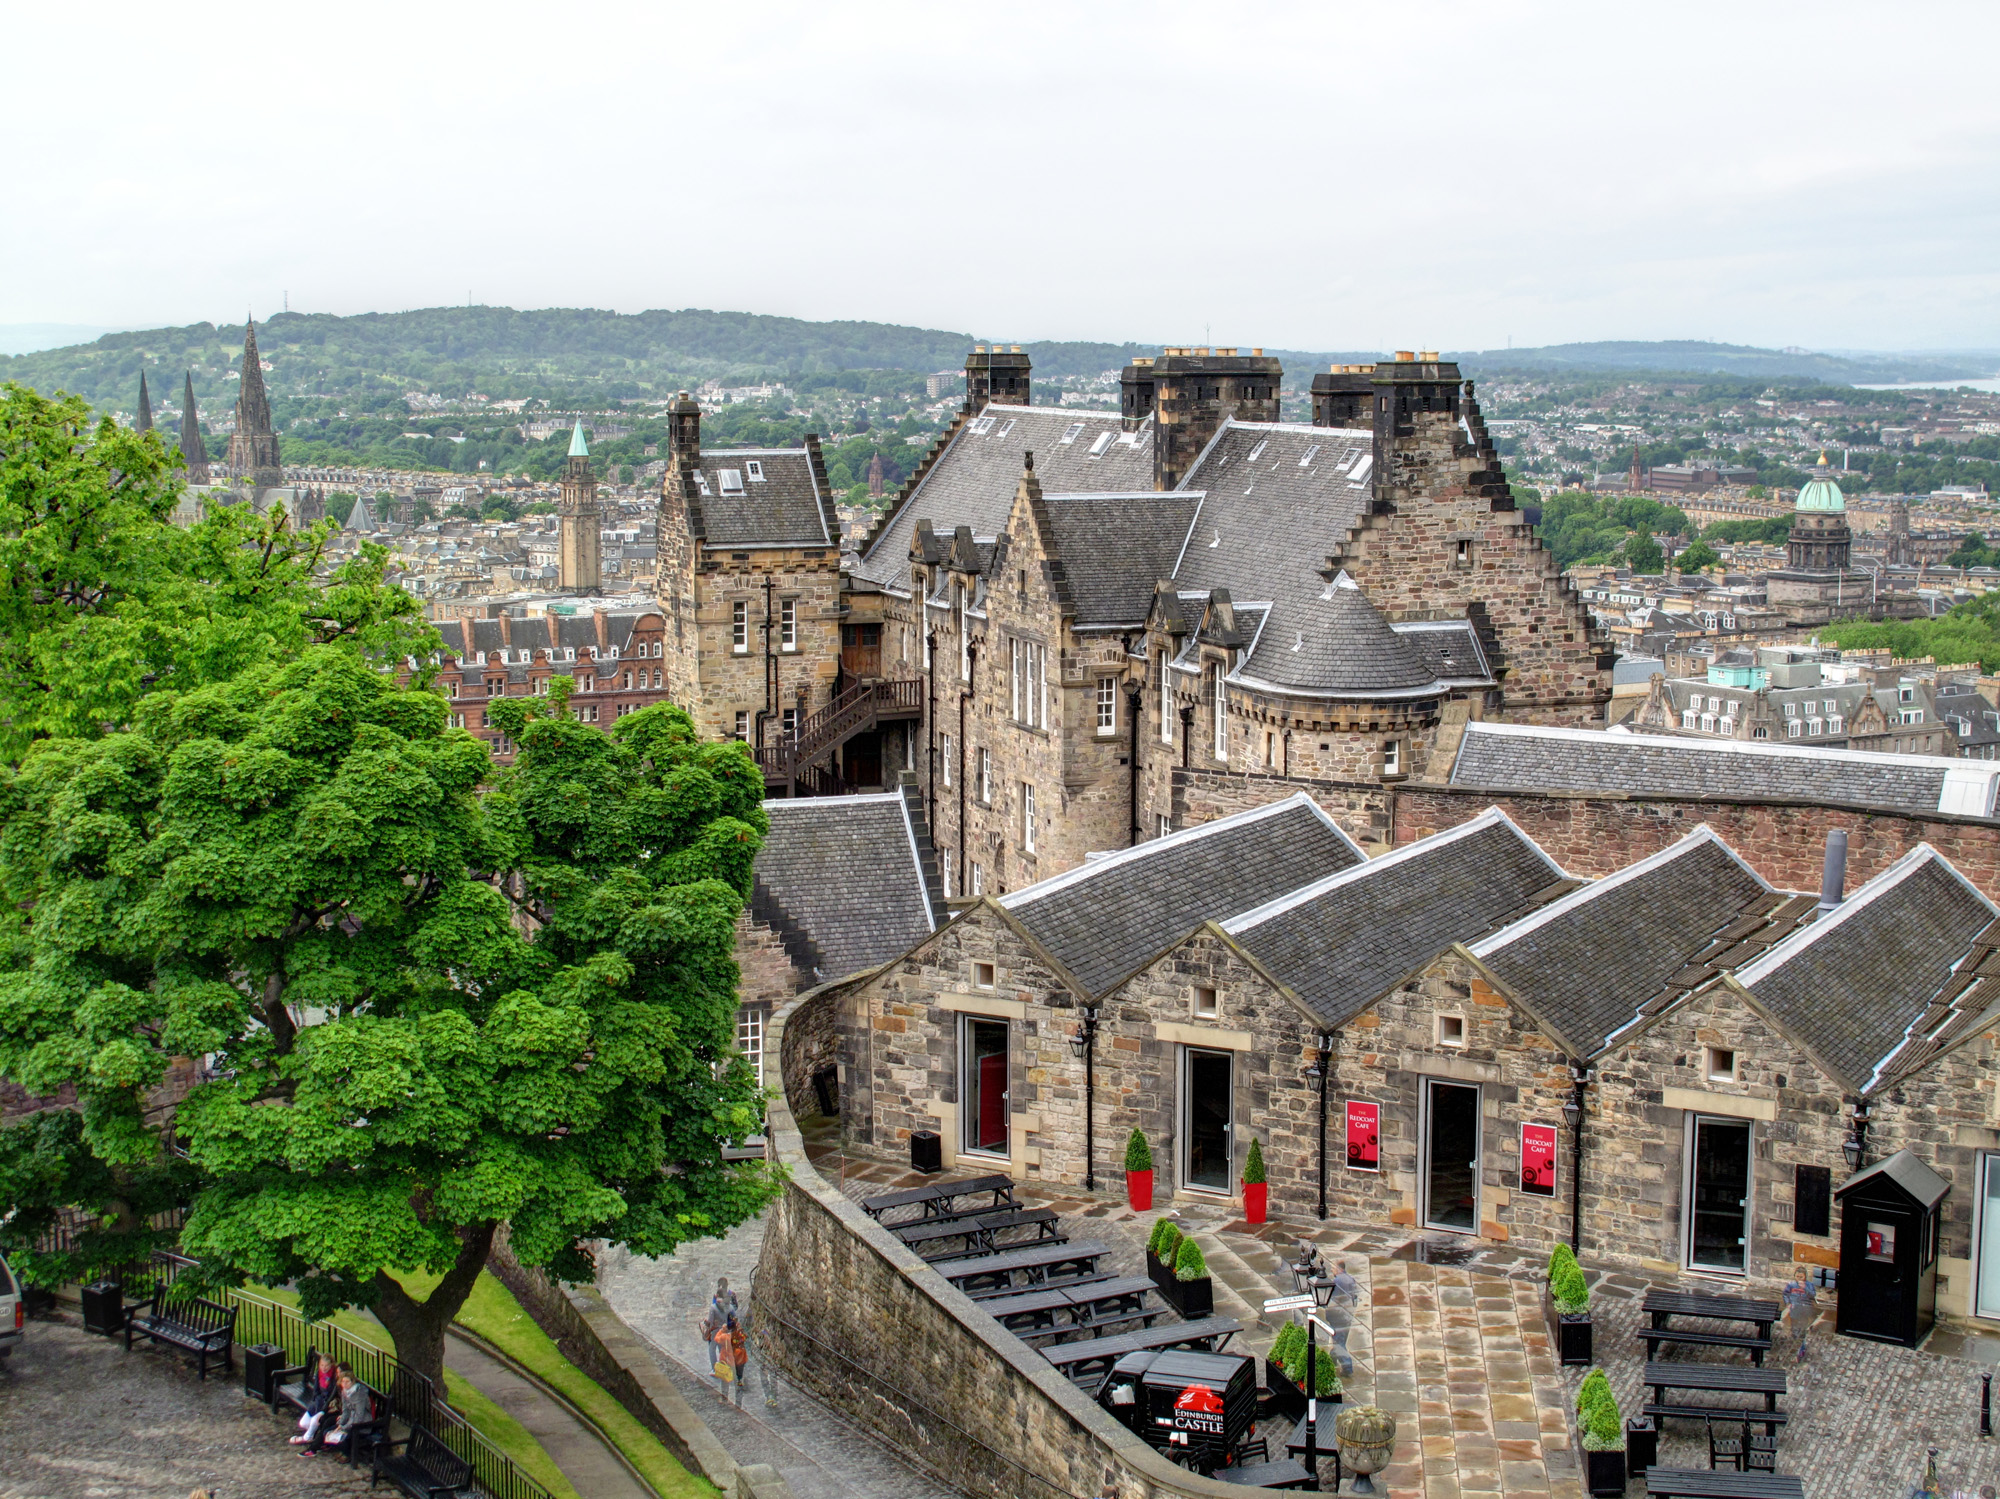
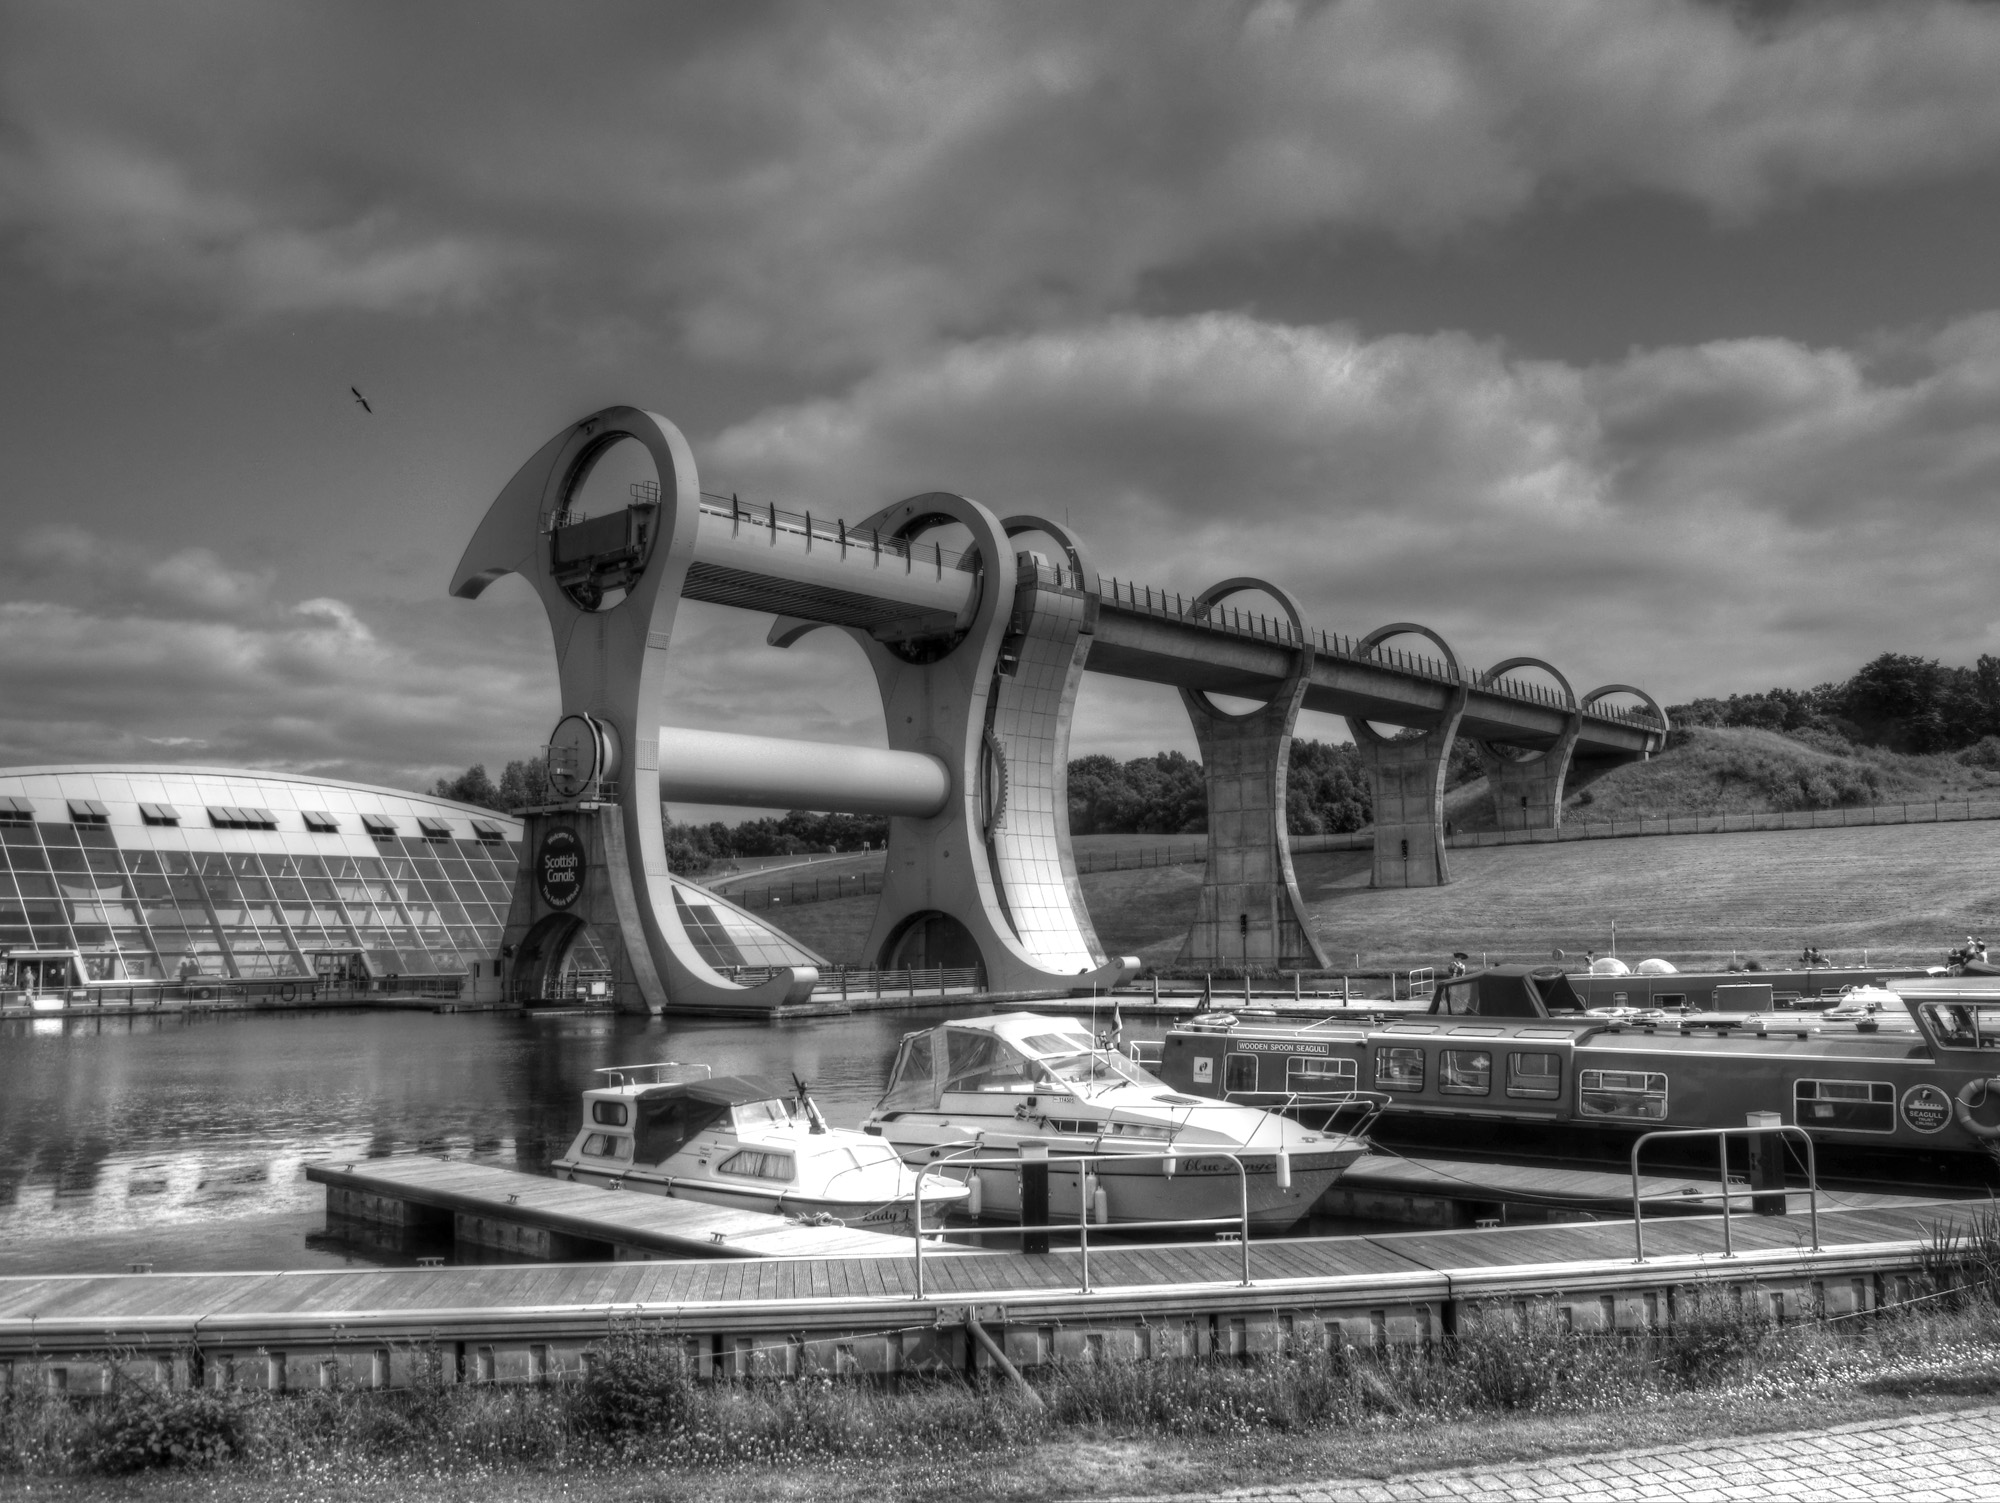
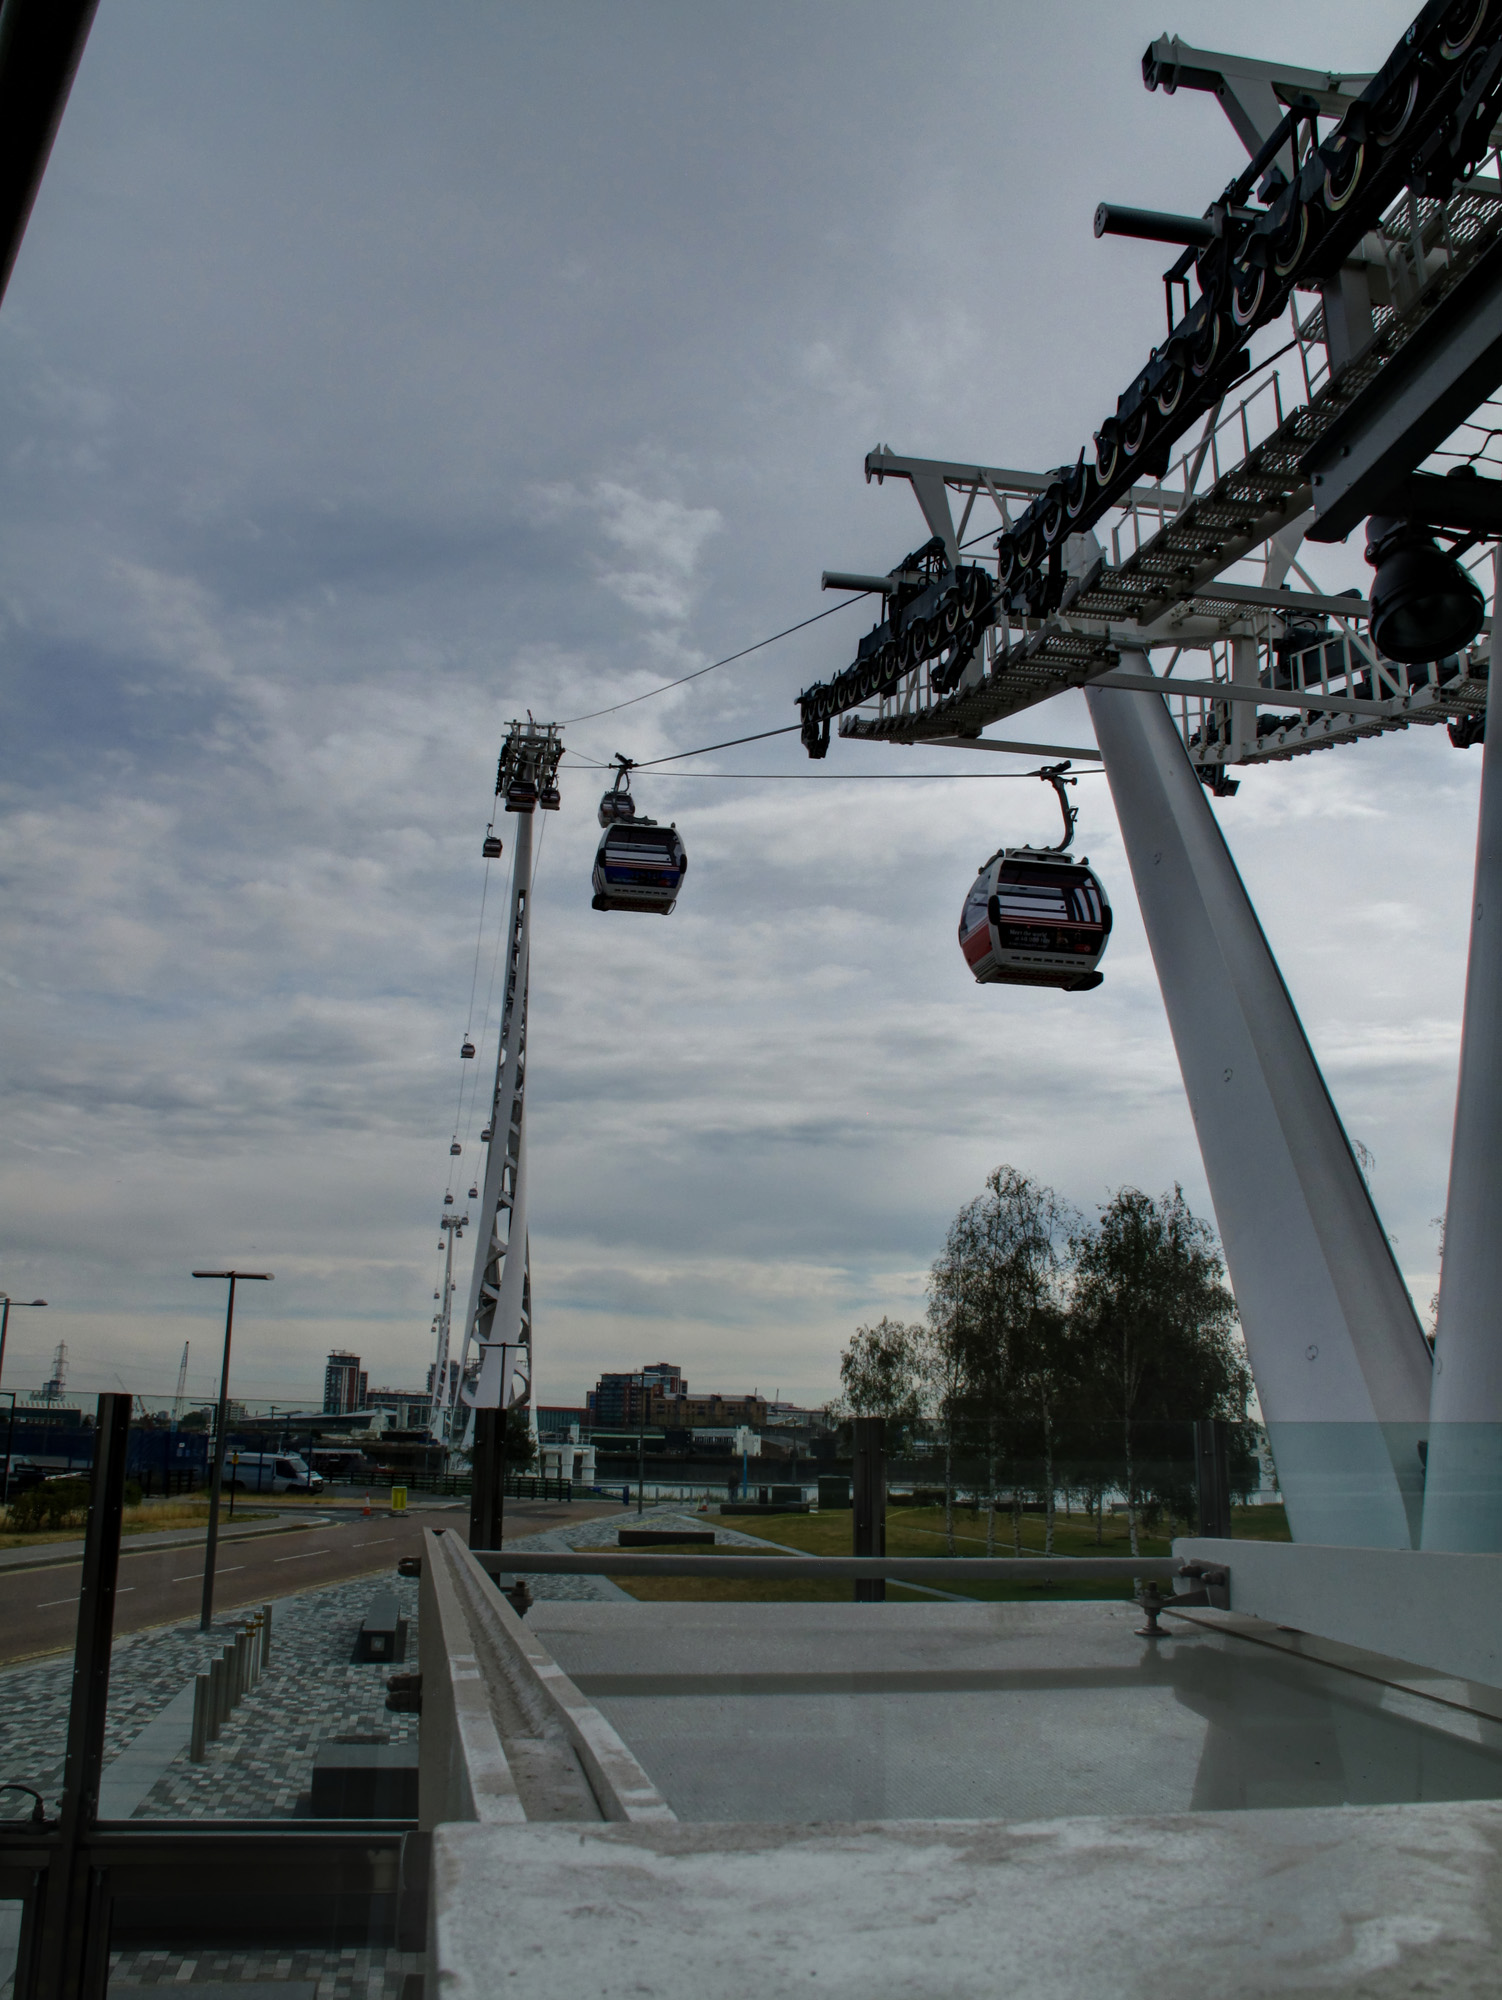
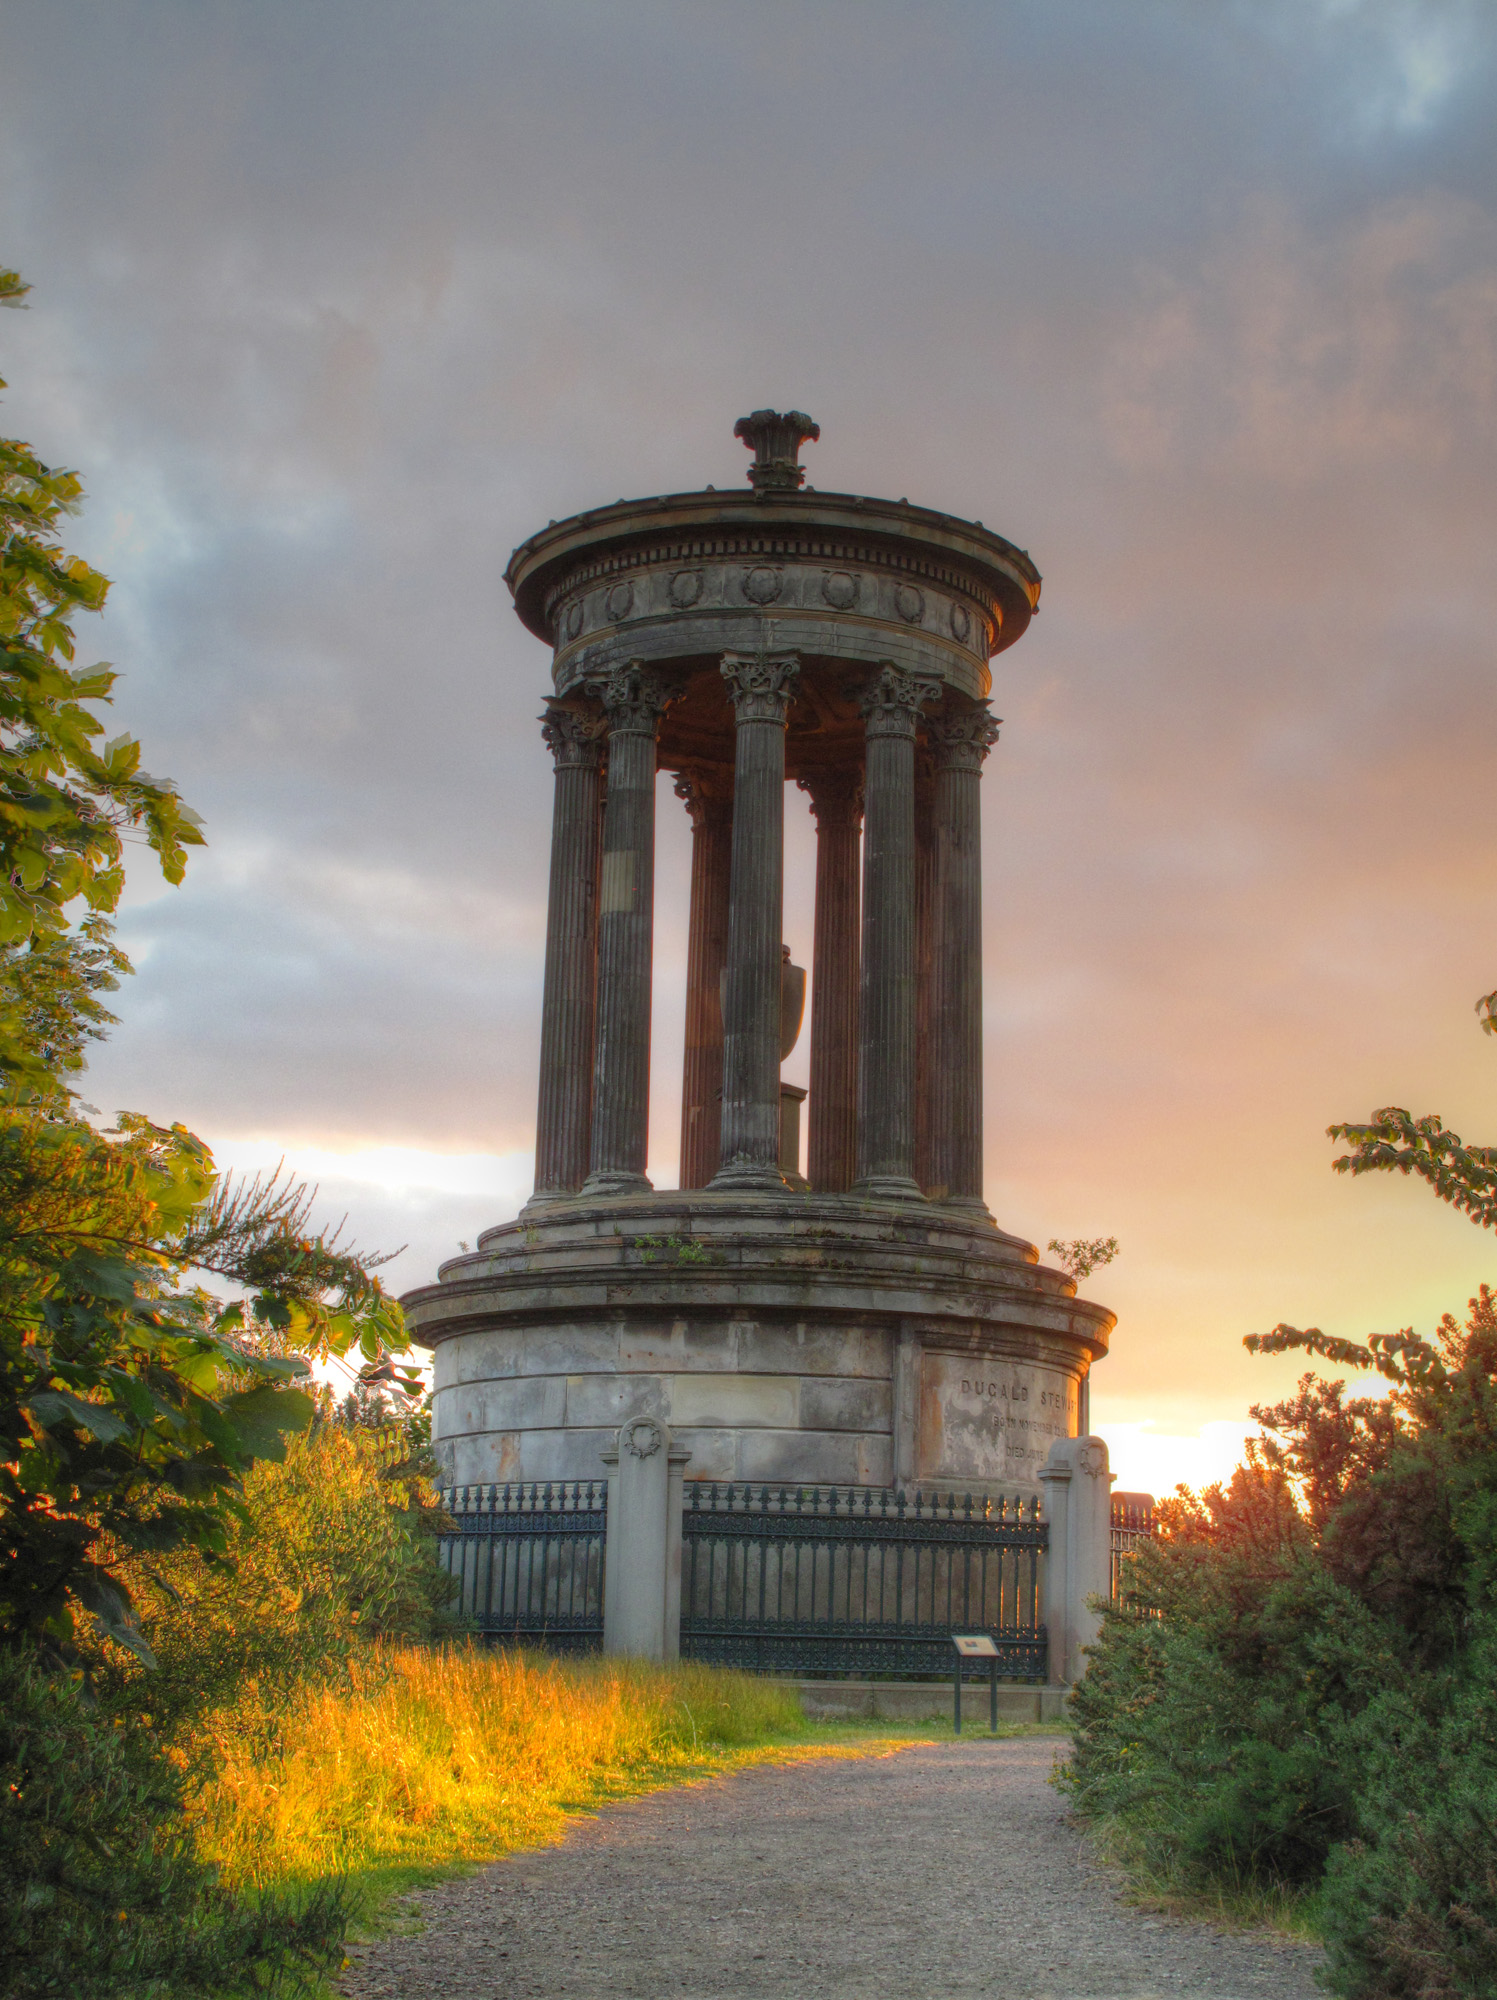
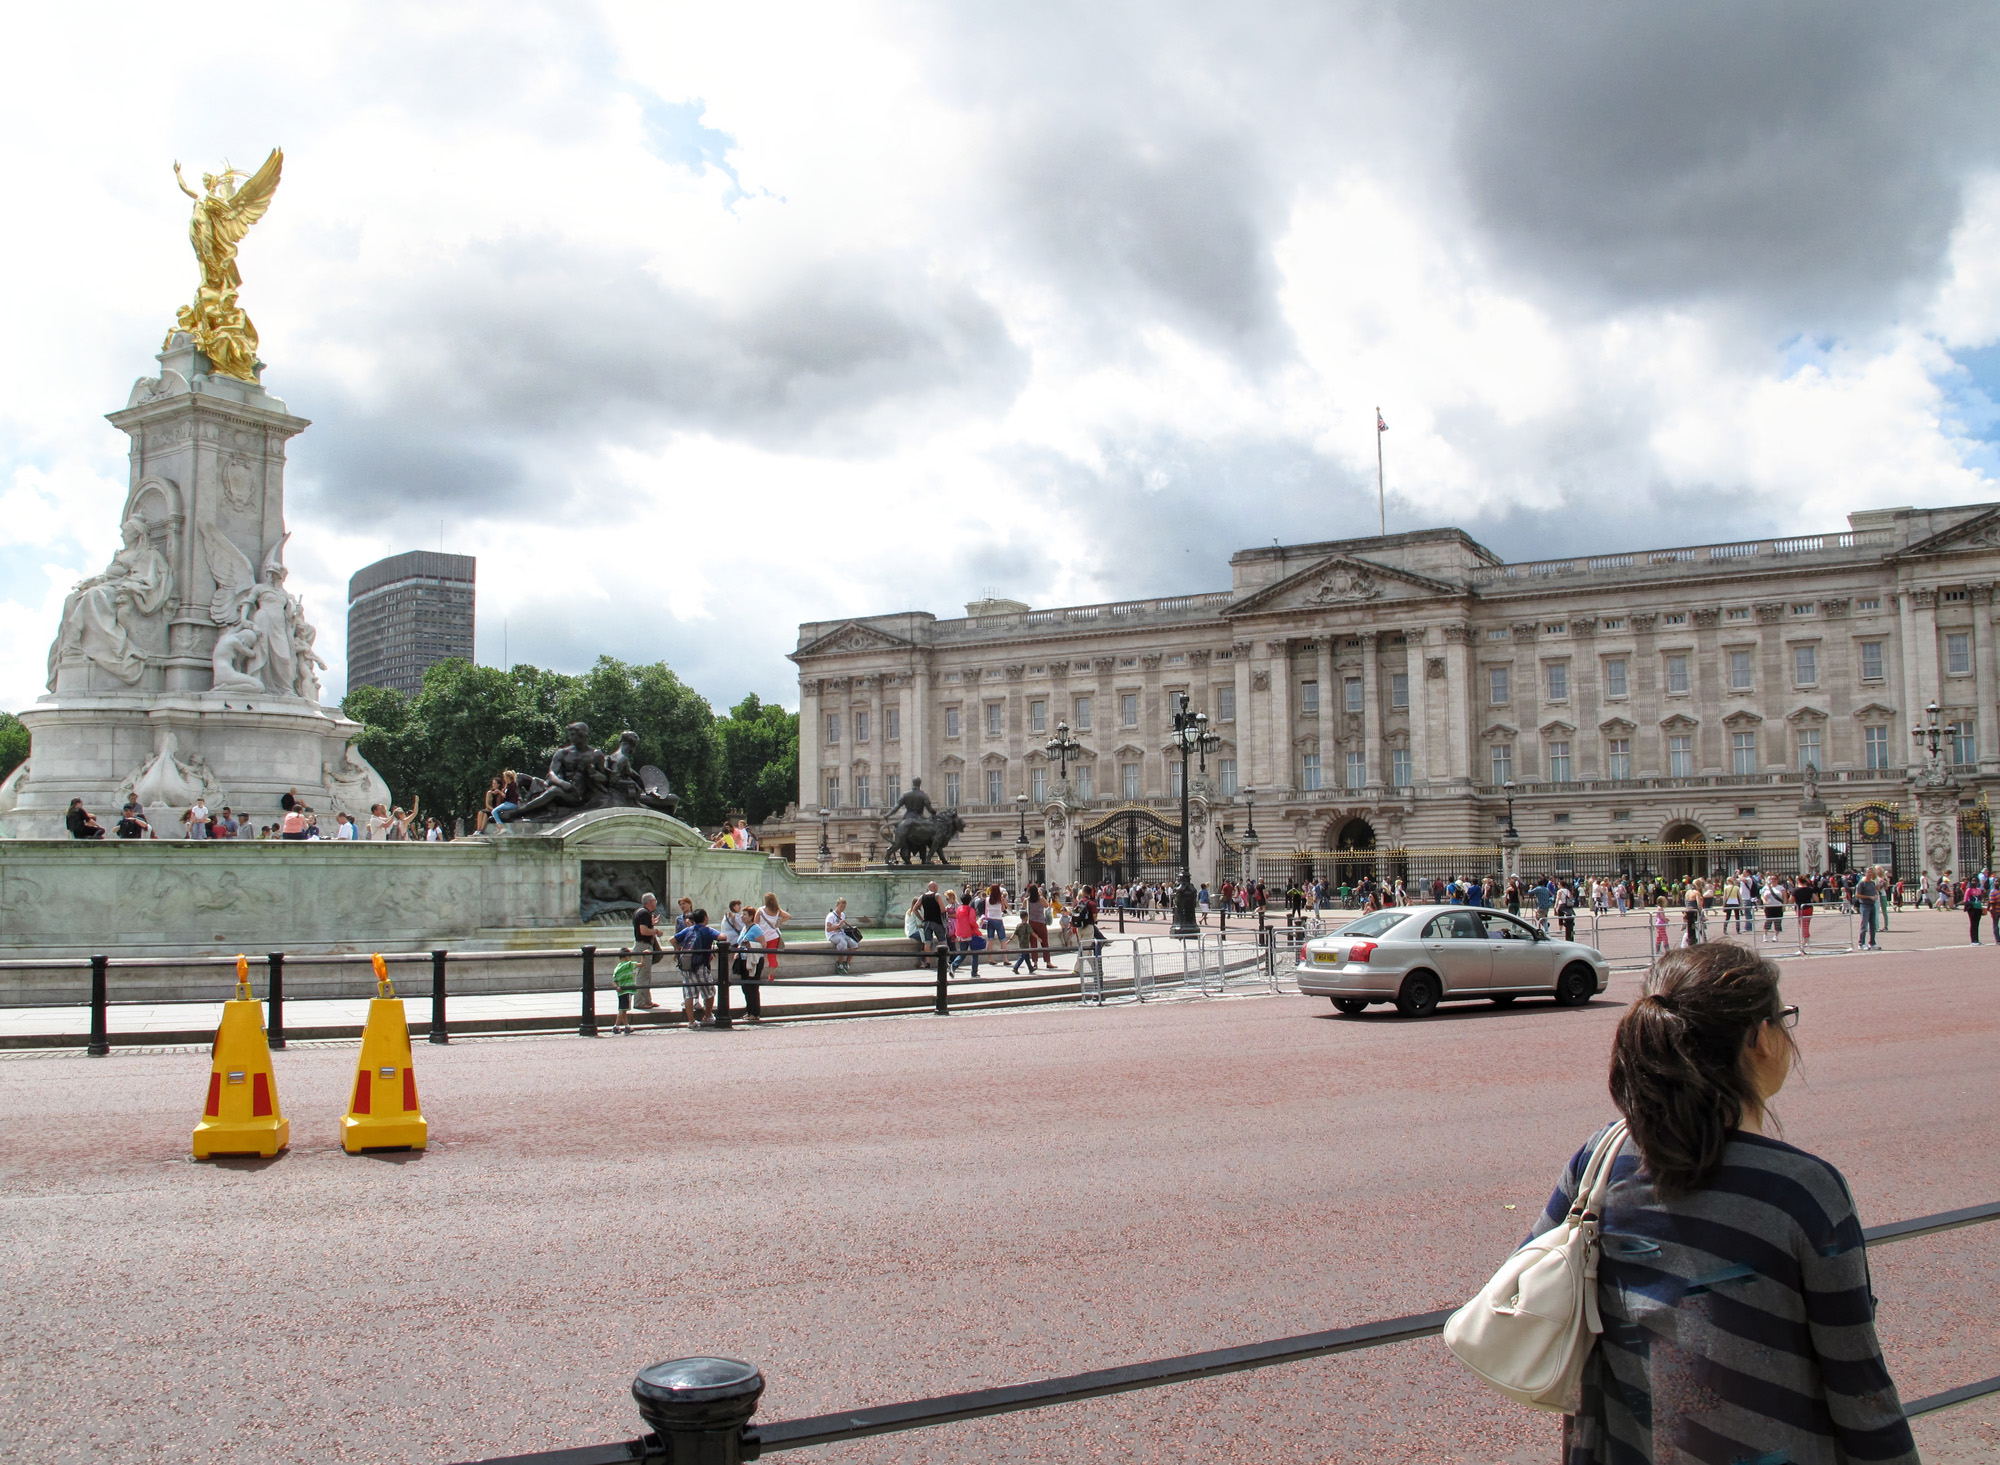
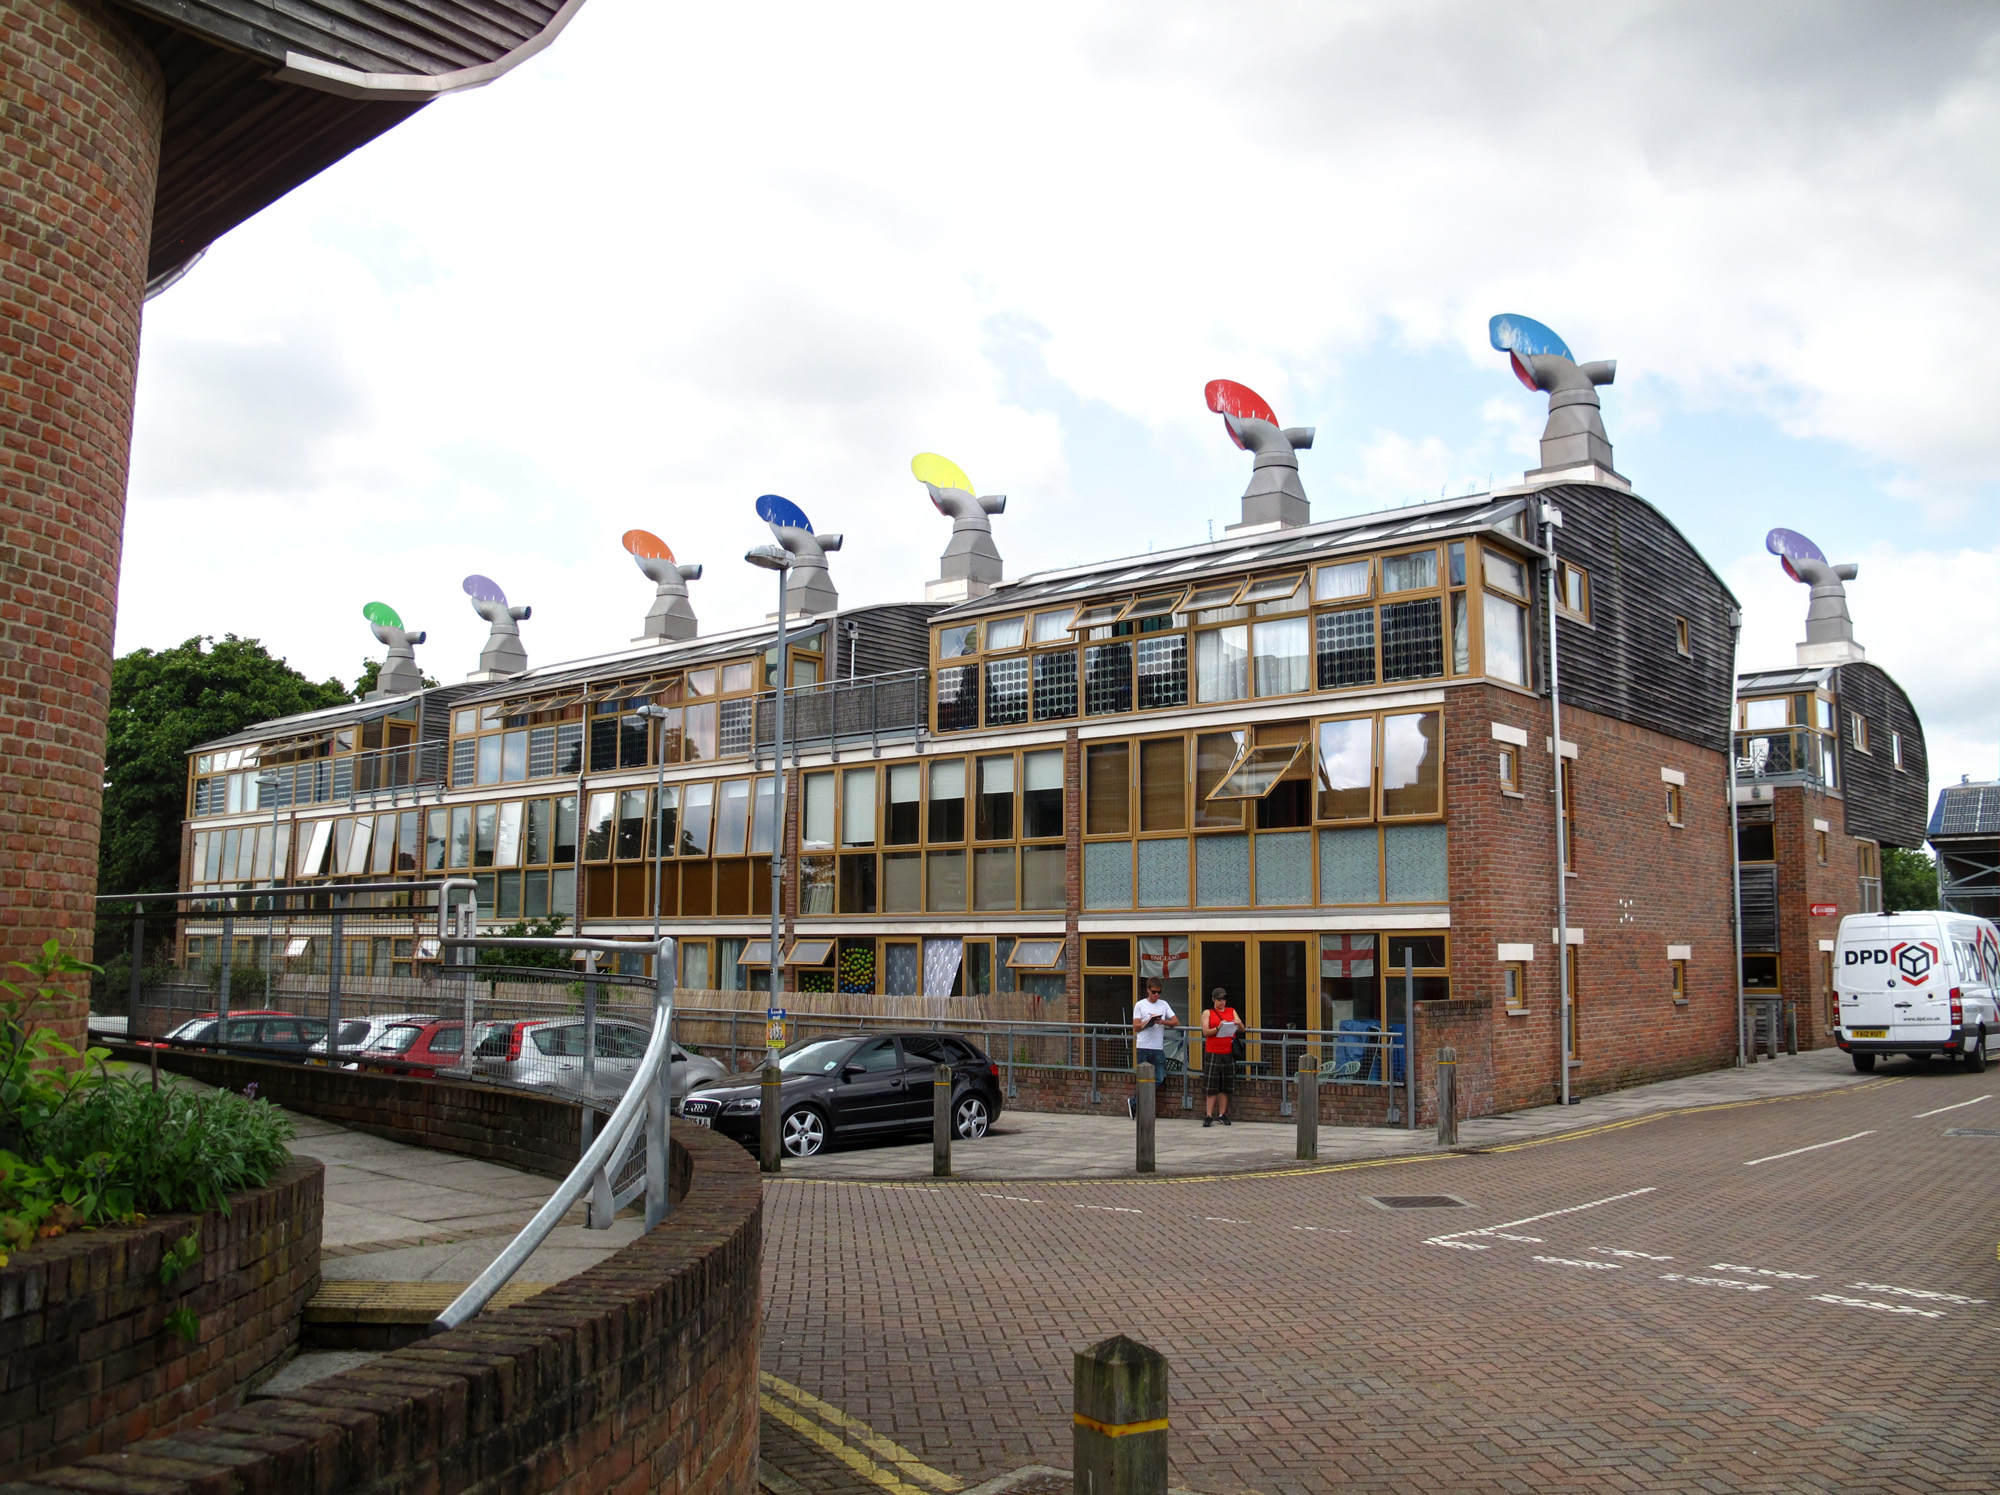
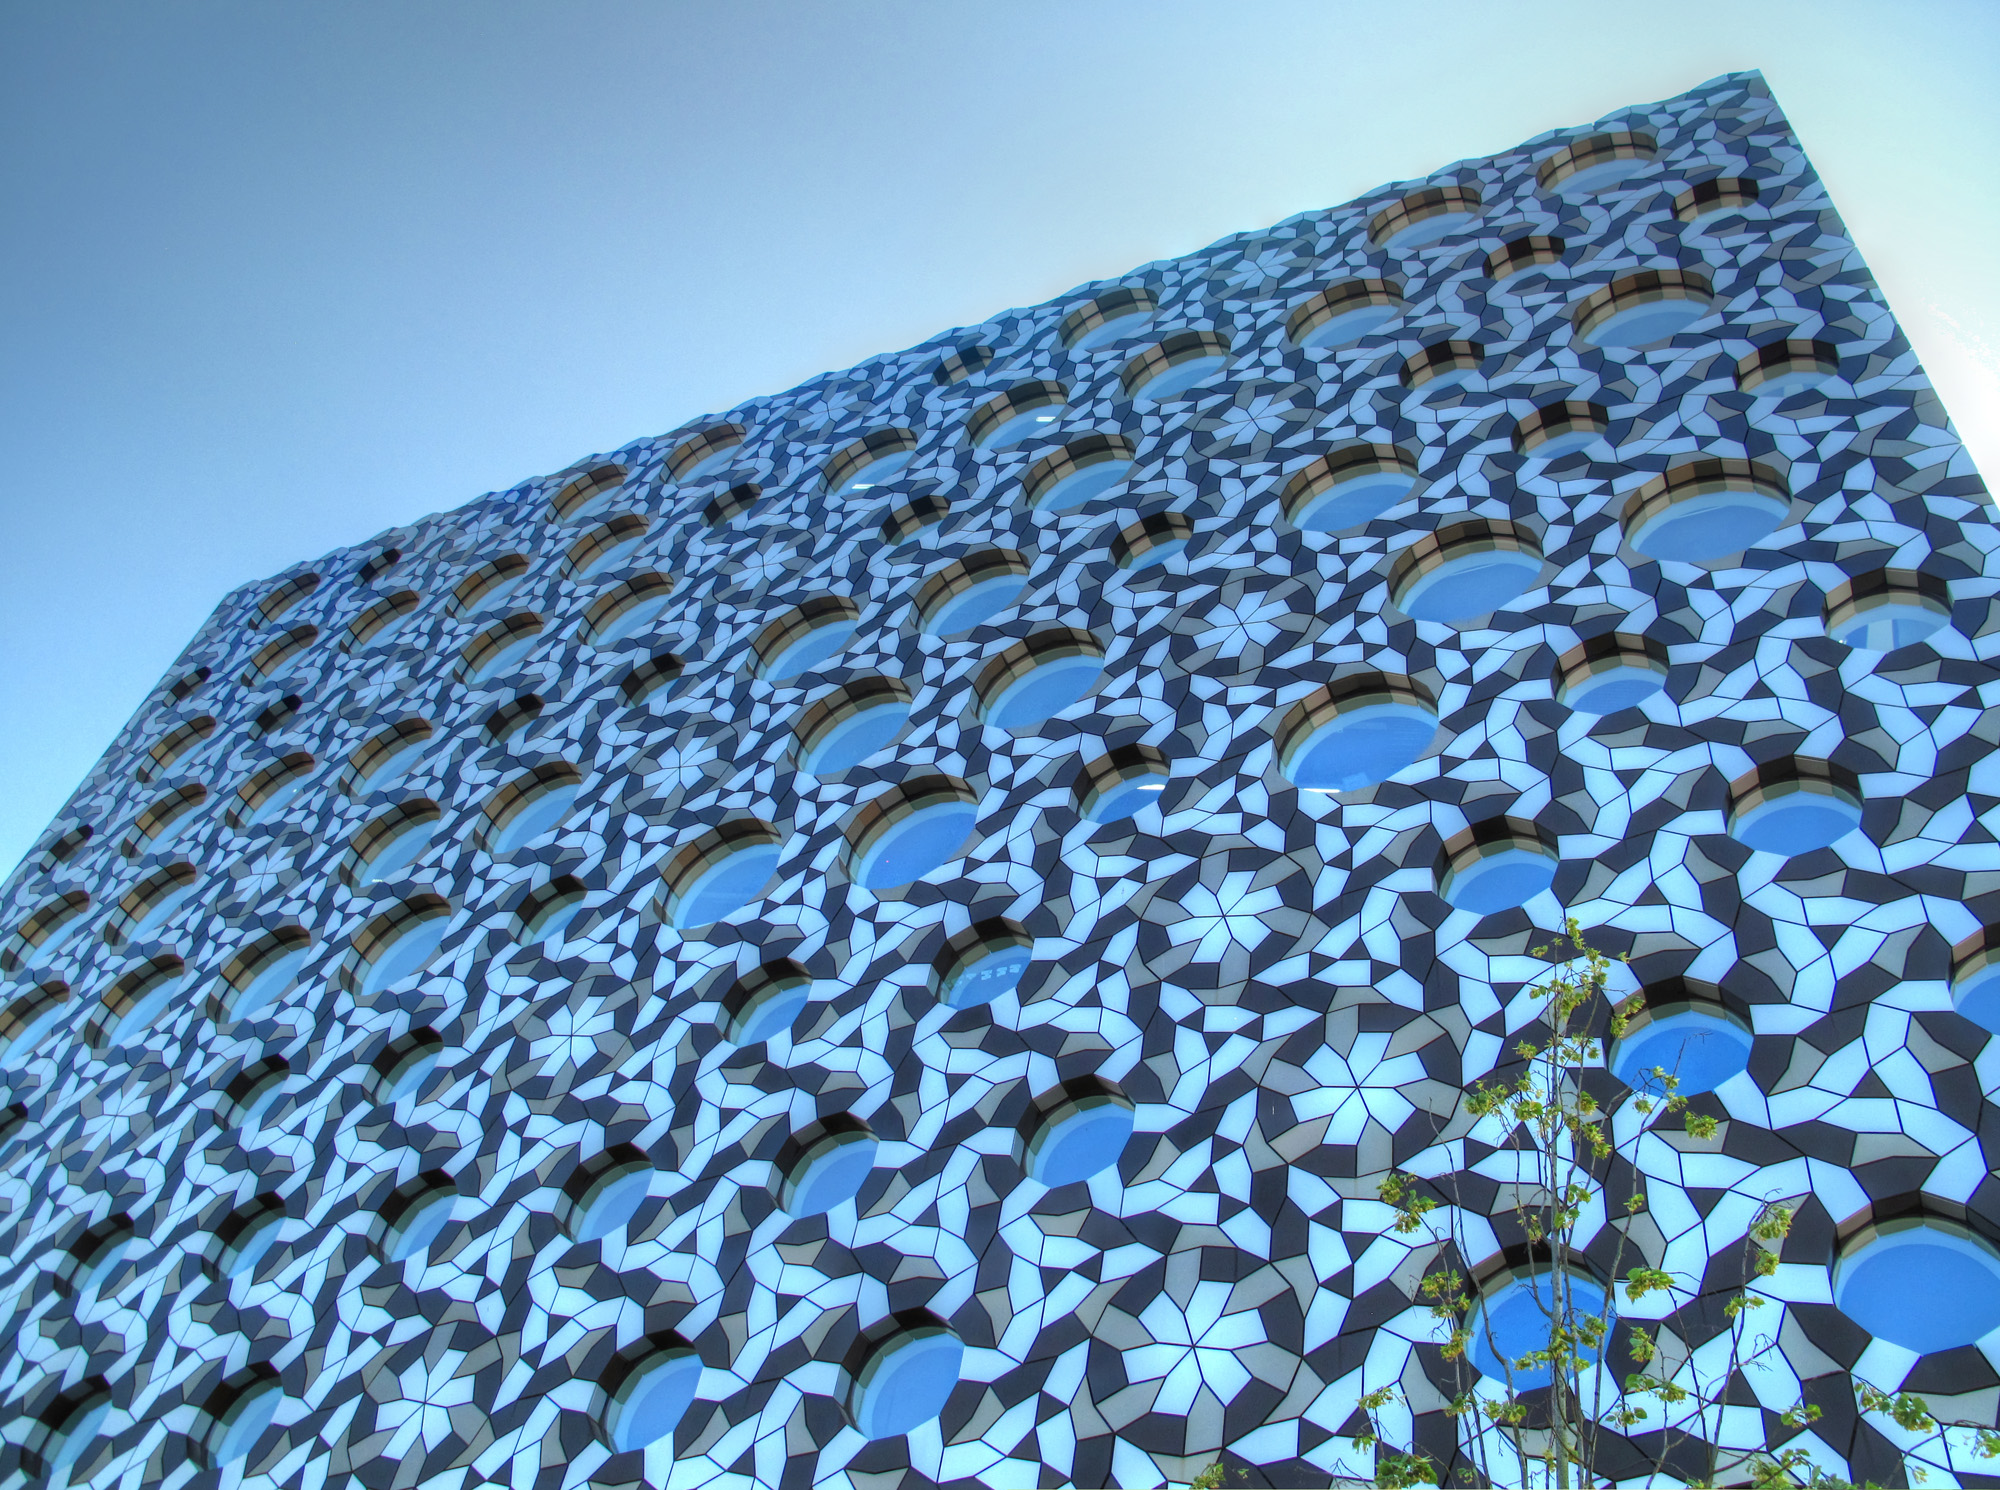
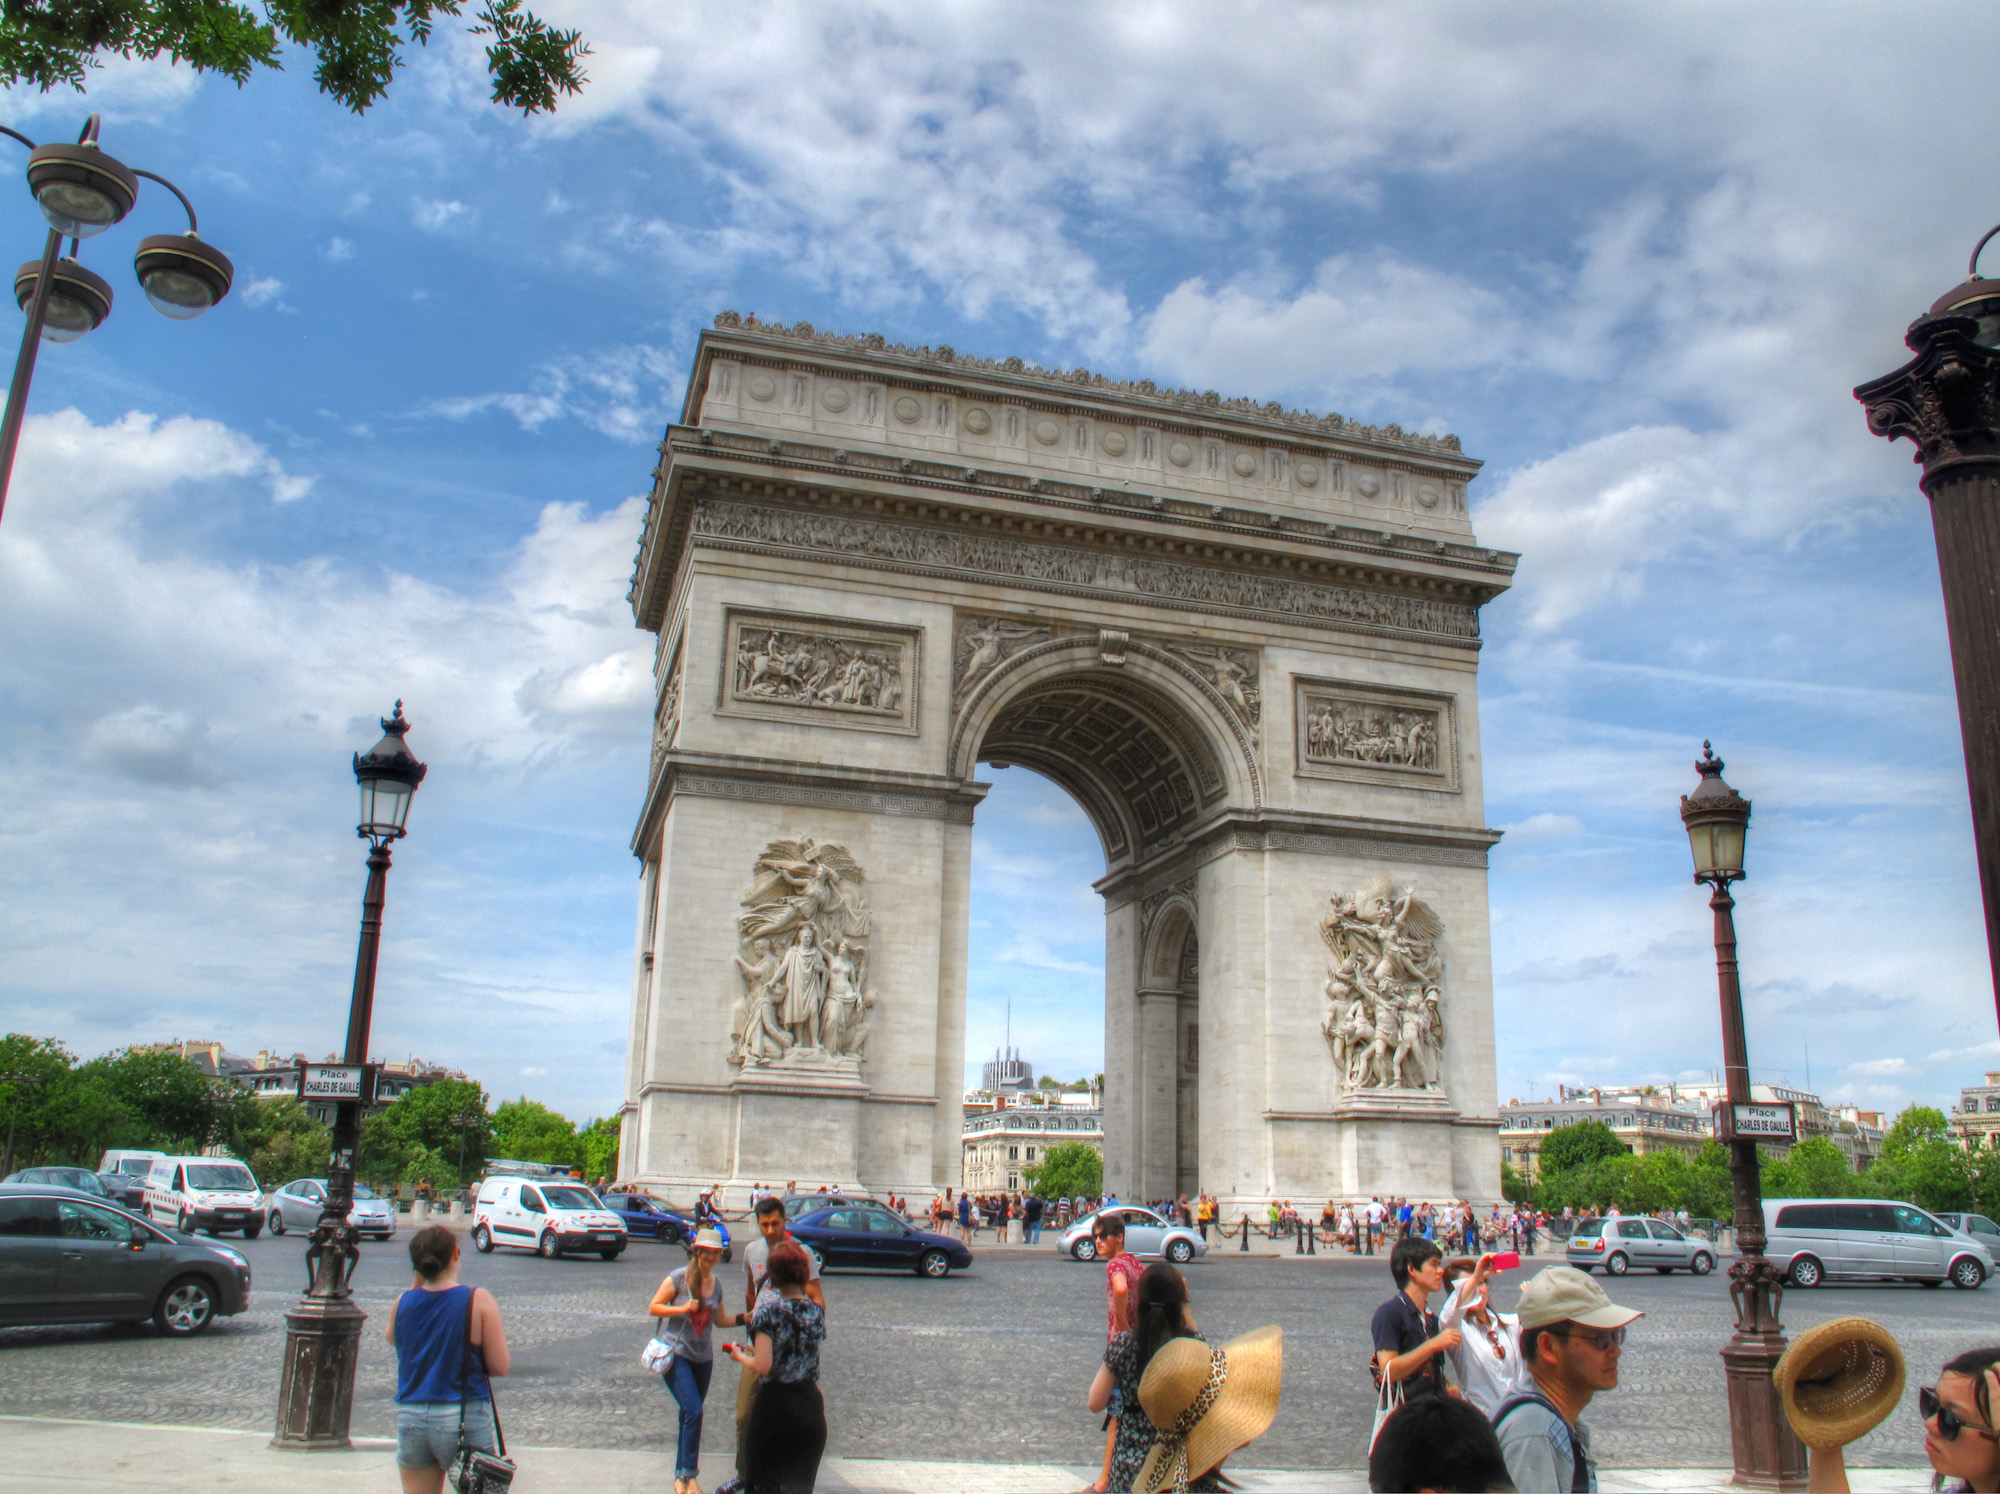
I studied green architecture in the UK this summer, visiting Edinburgh, Glasgow, Nottingham, Oxford, London, and eventually Paris (which I know is not in the UK). Here are some of the photos I took. Enjoy.

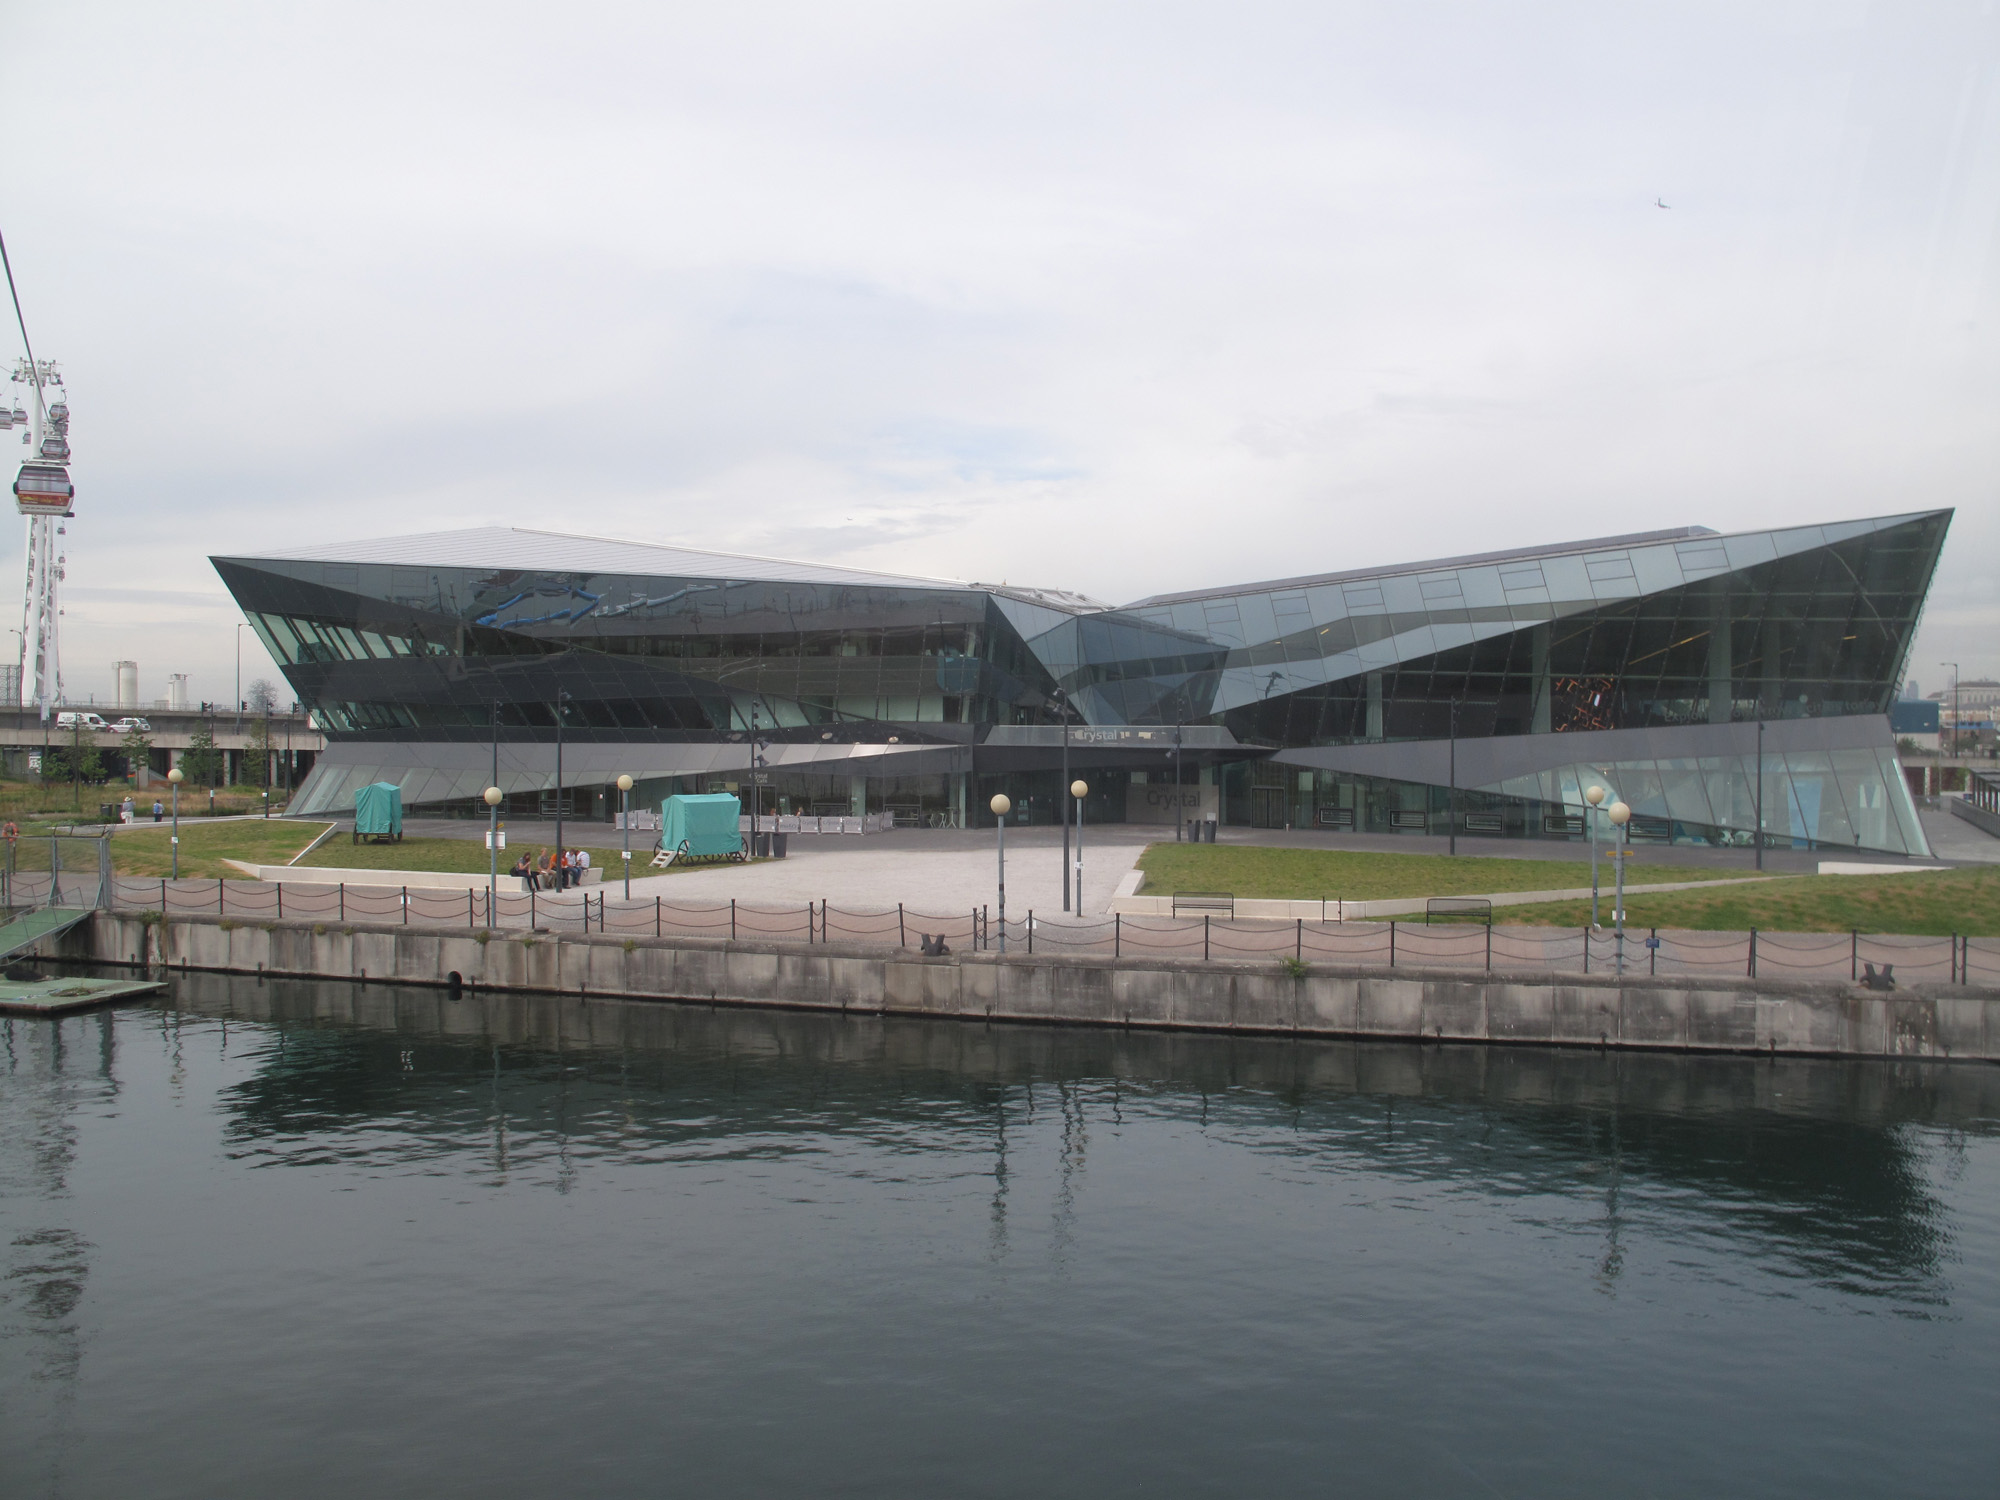
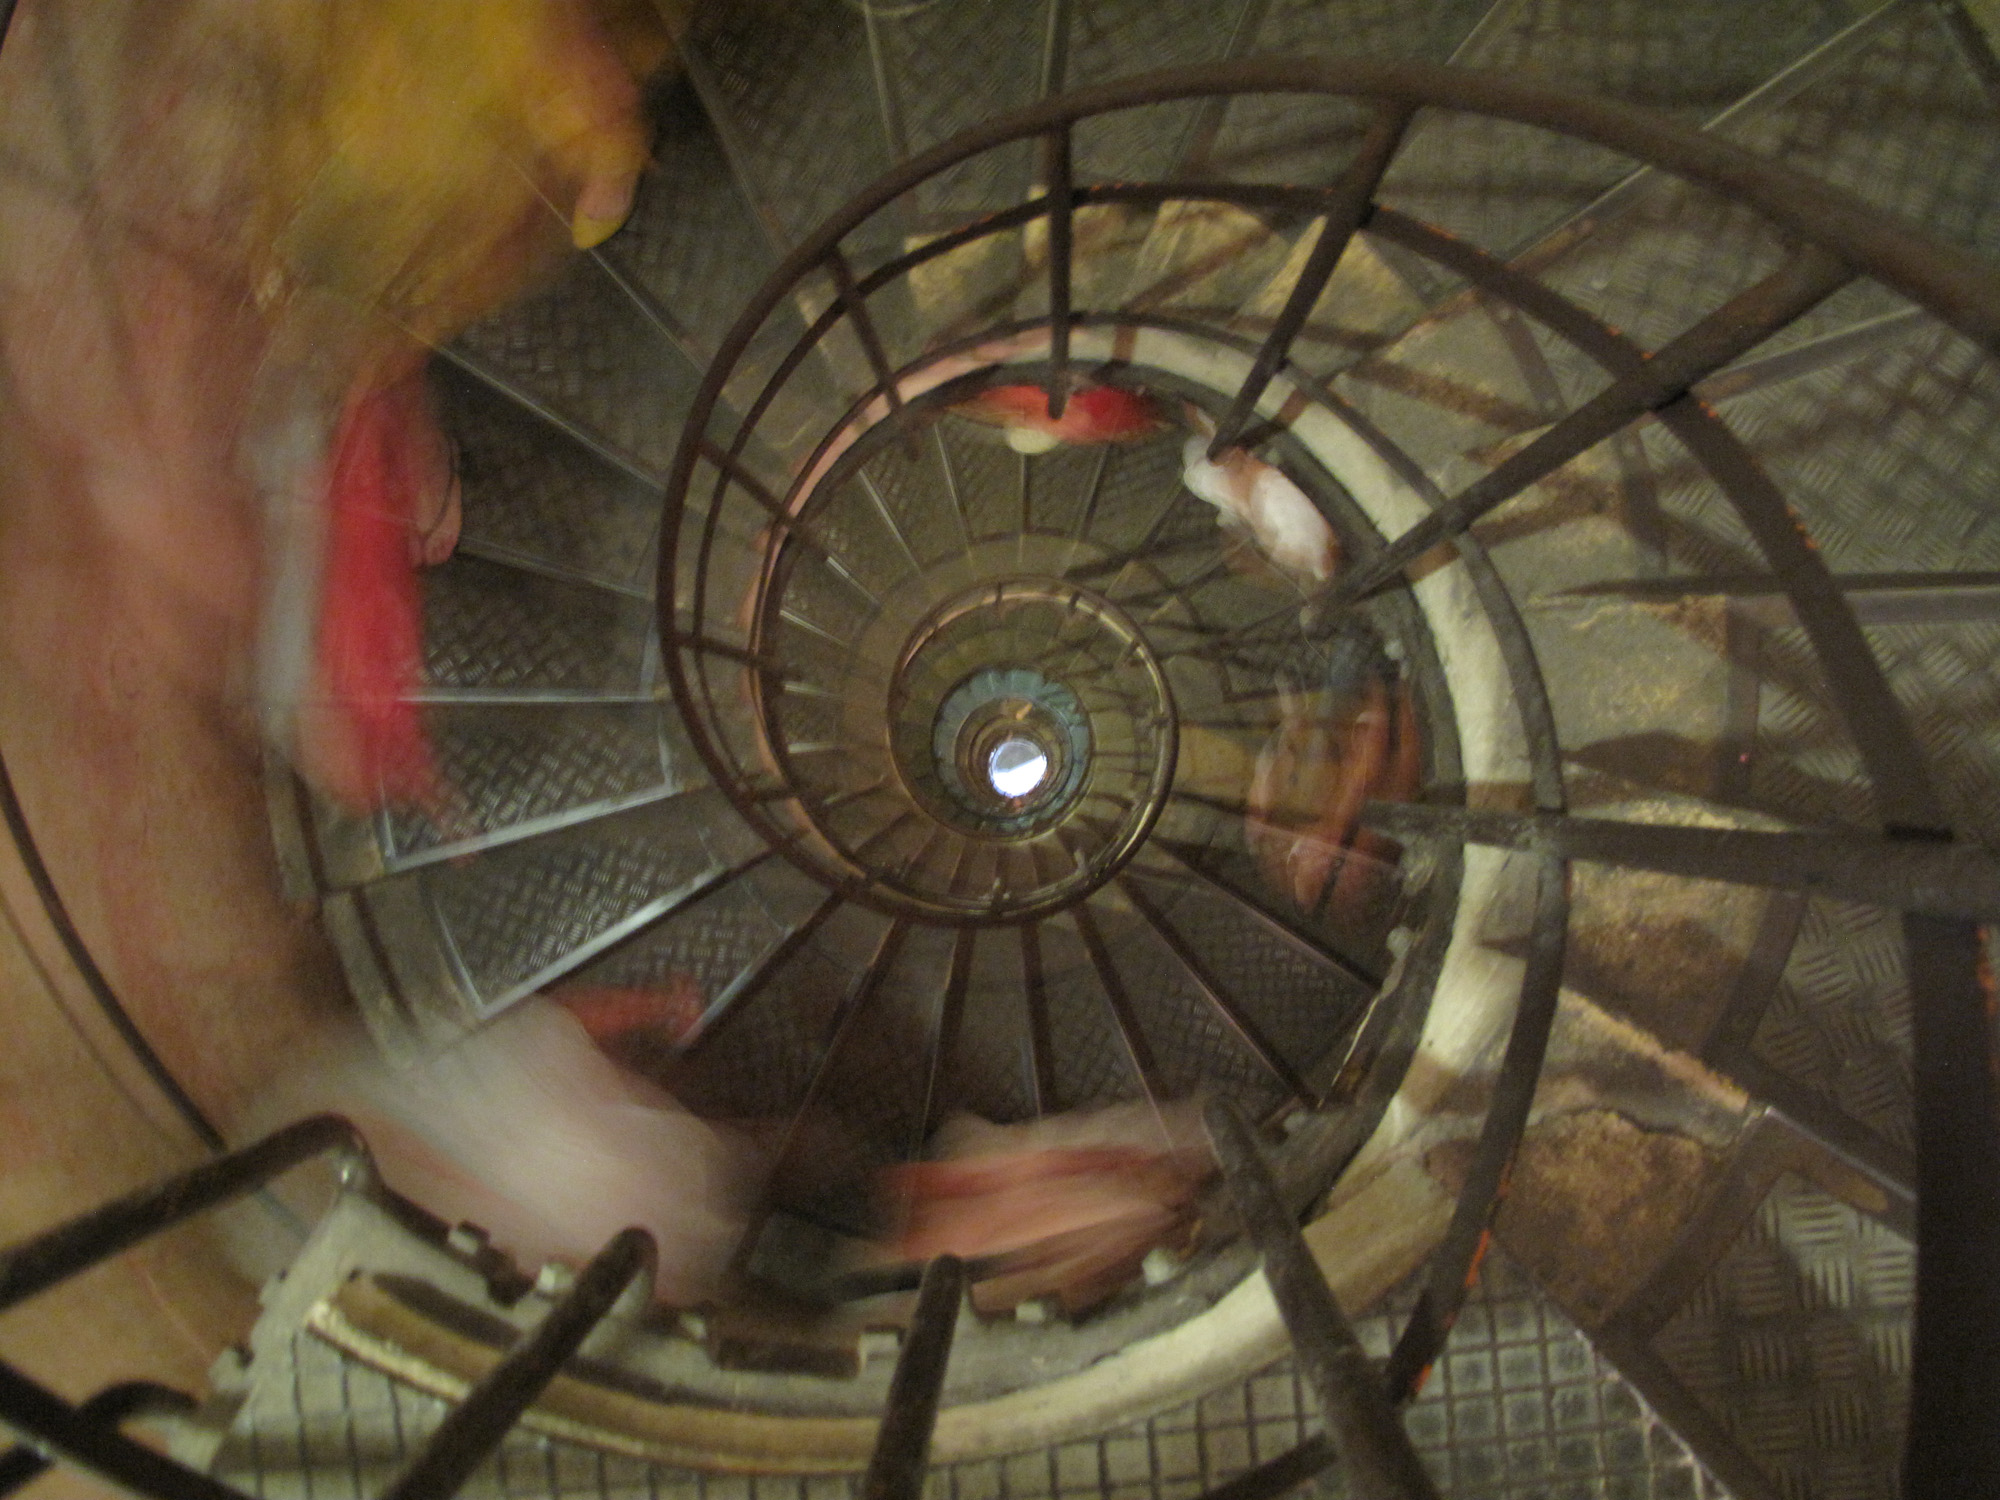
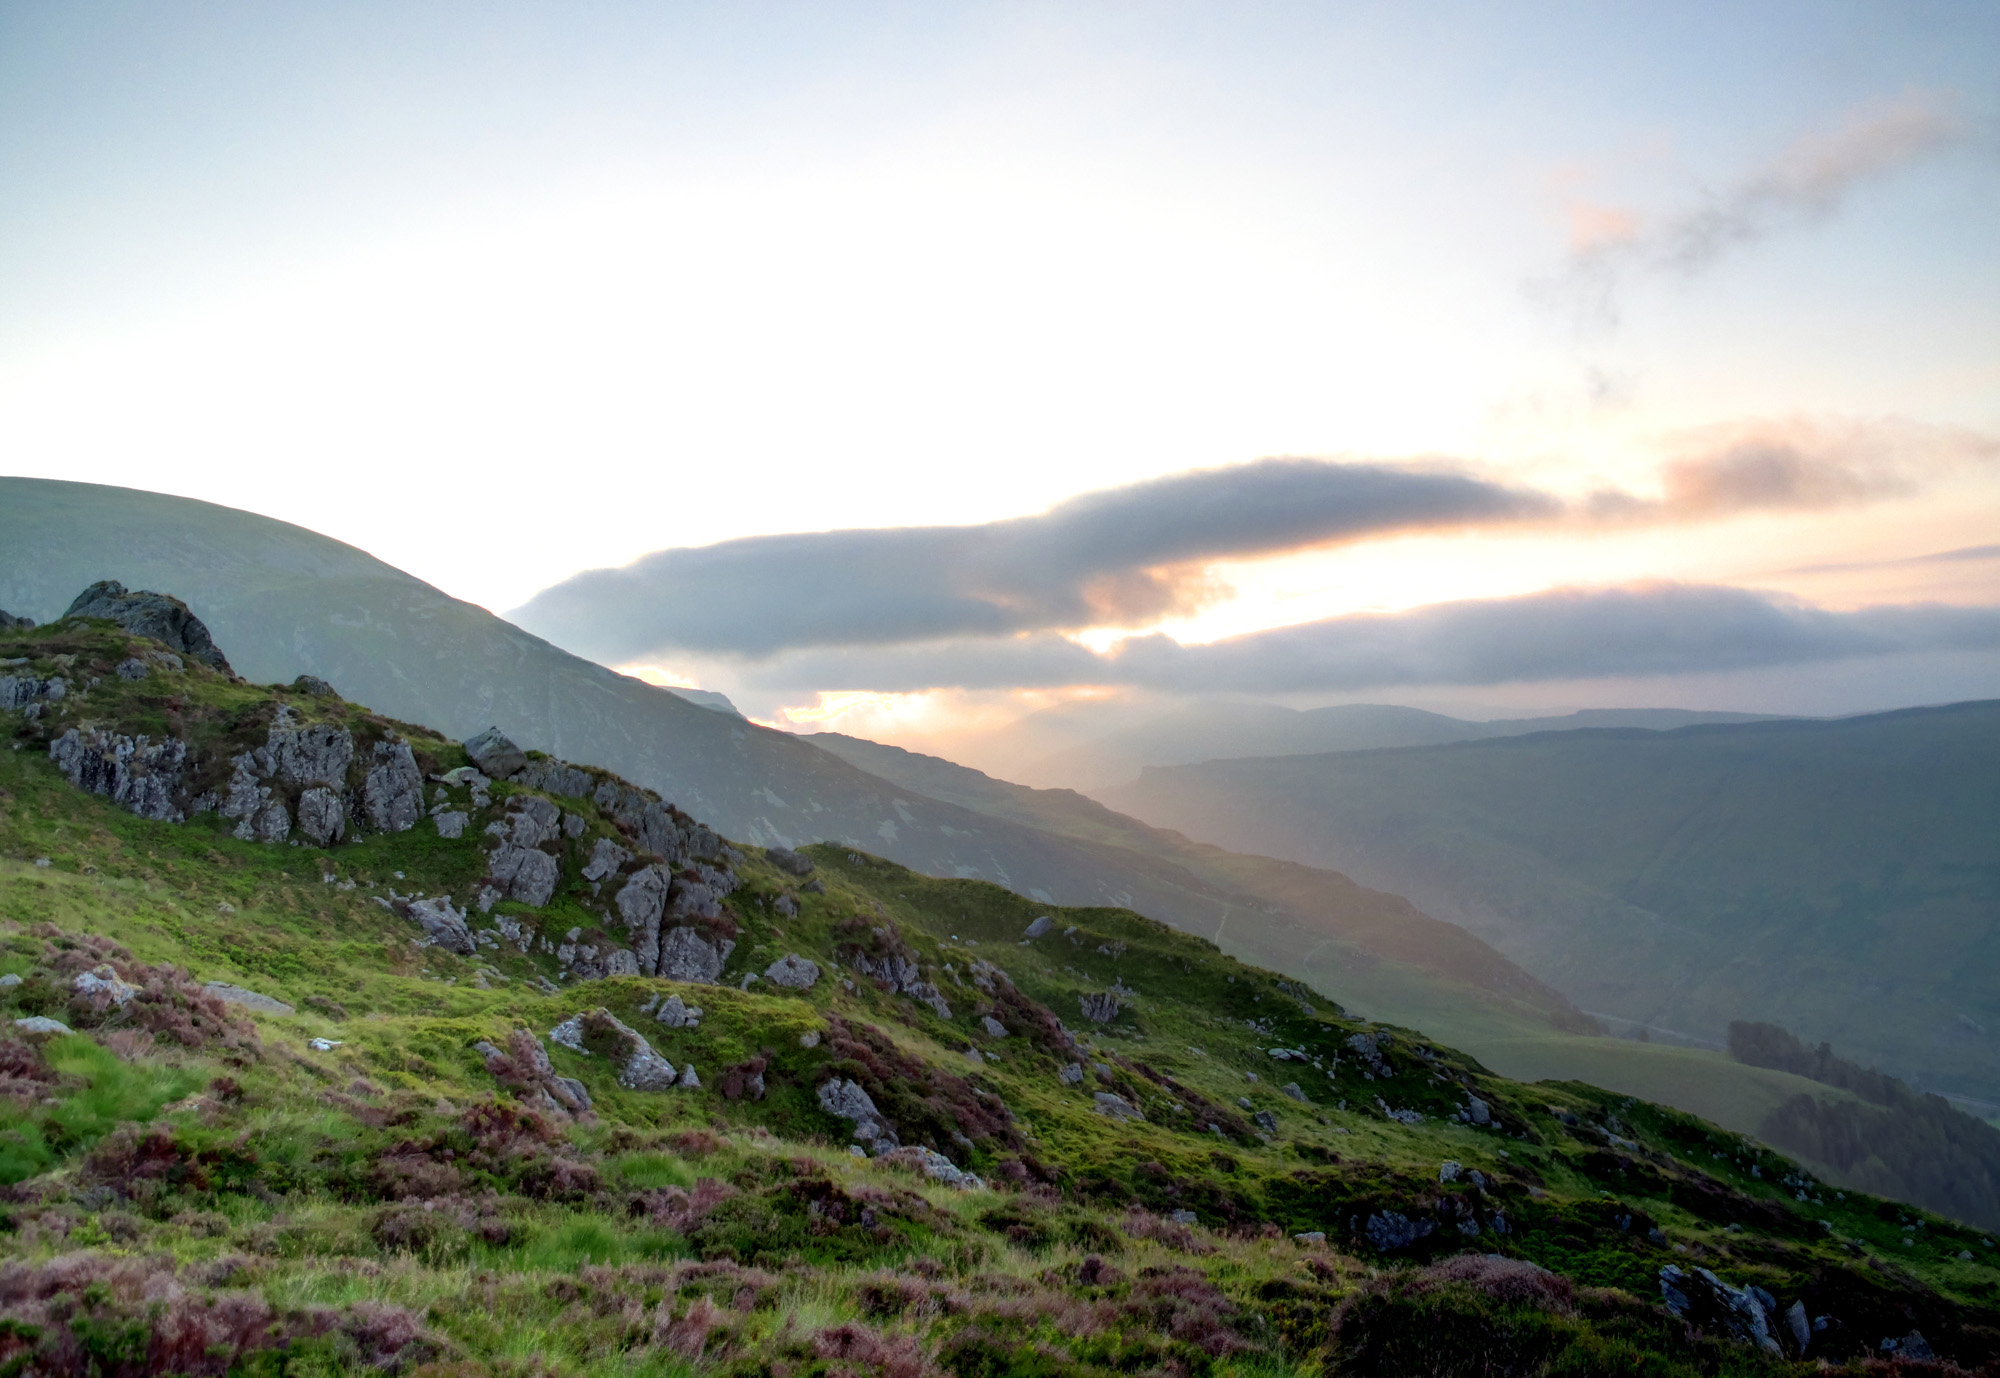
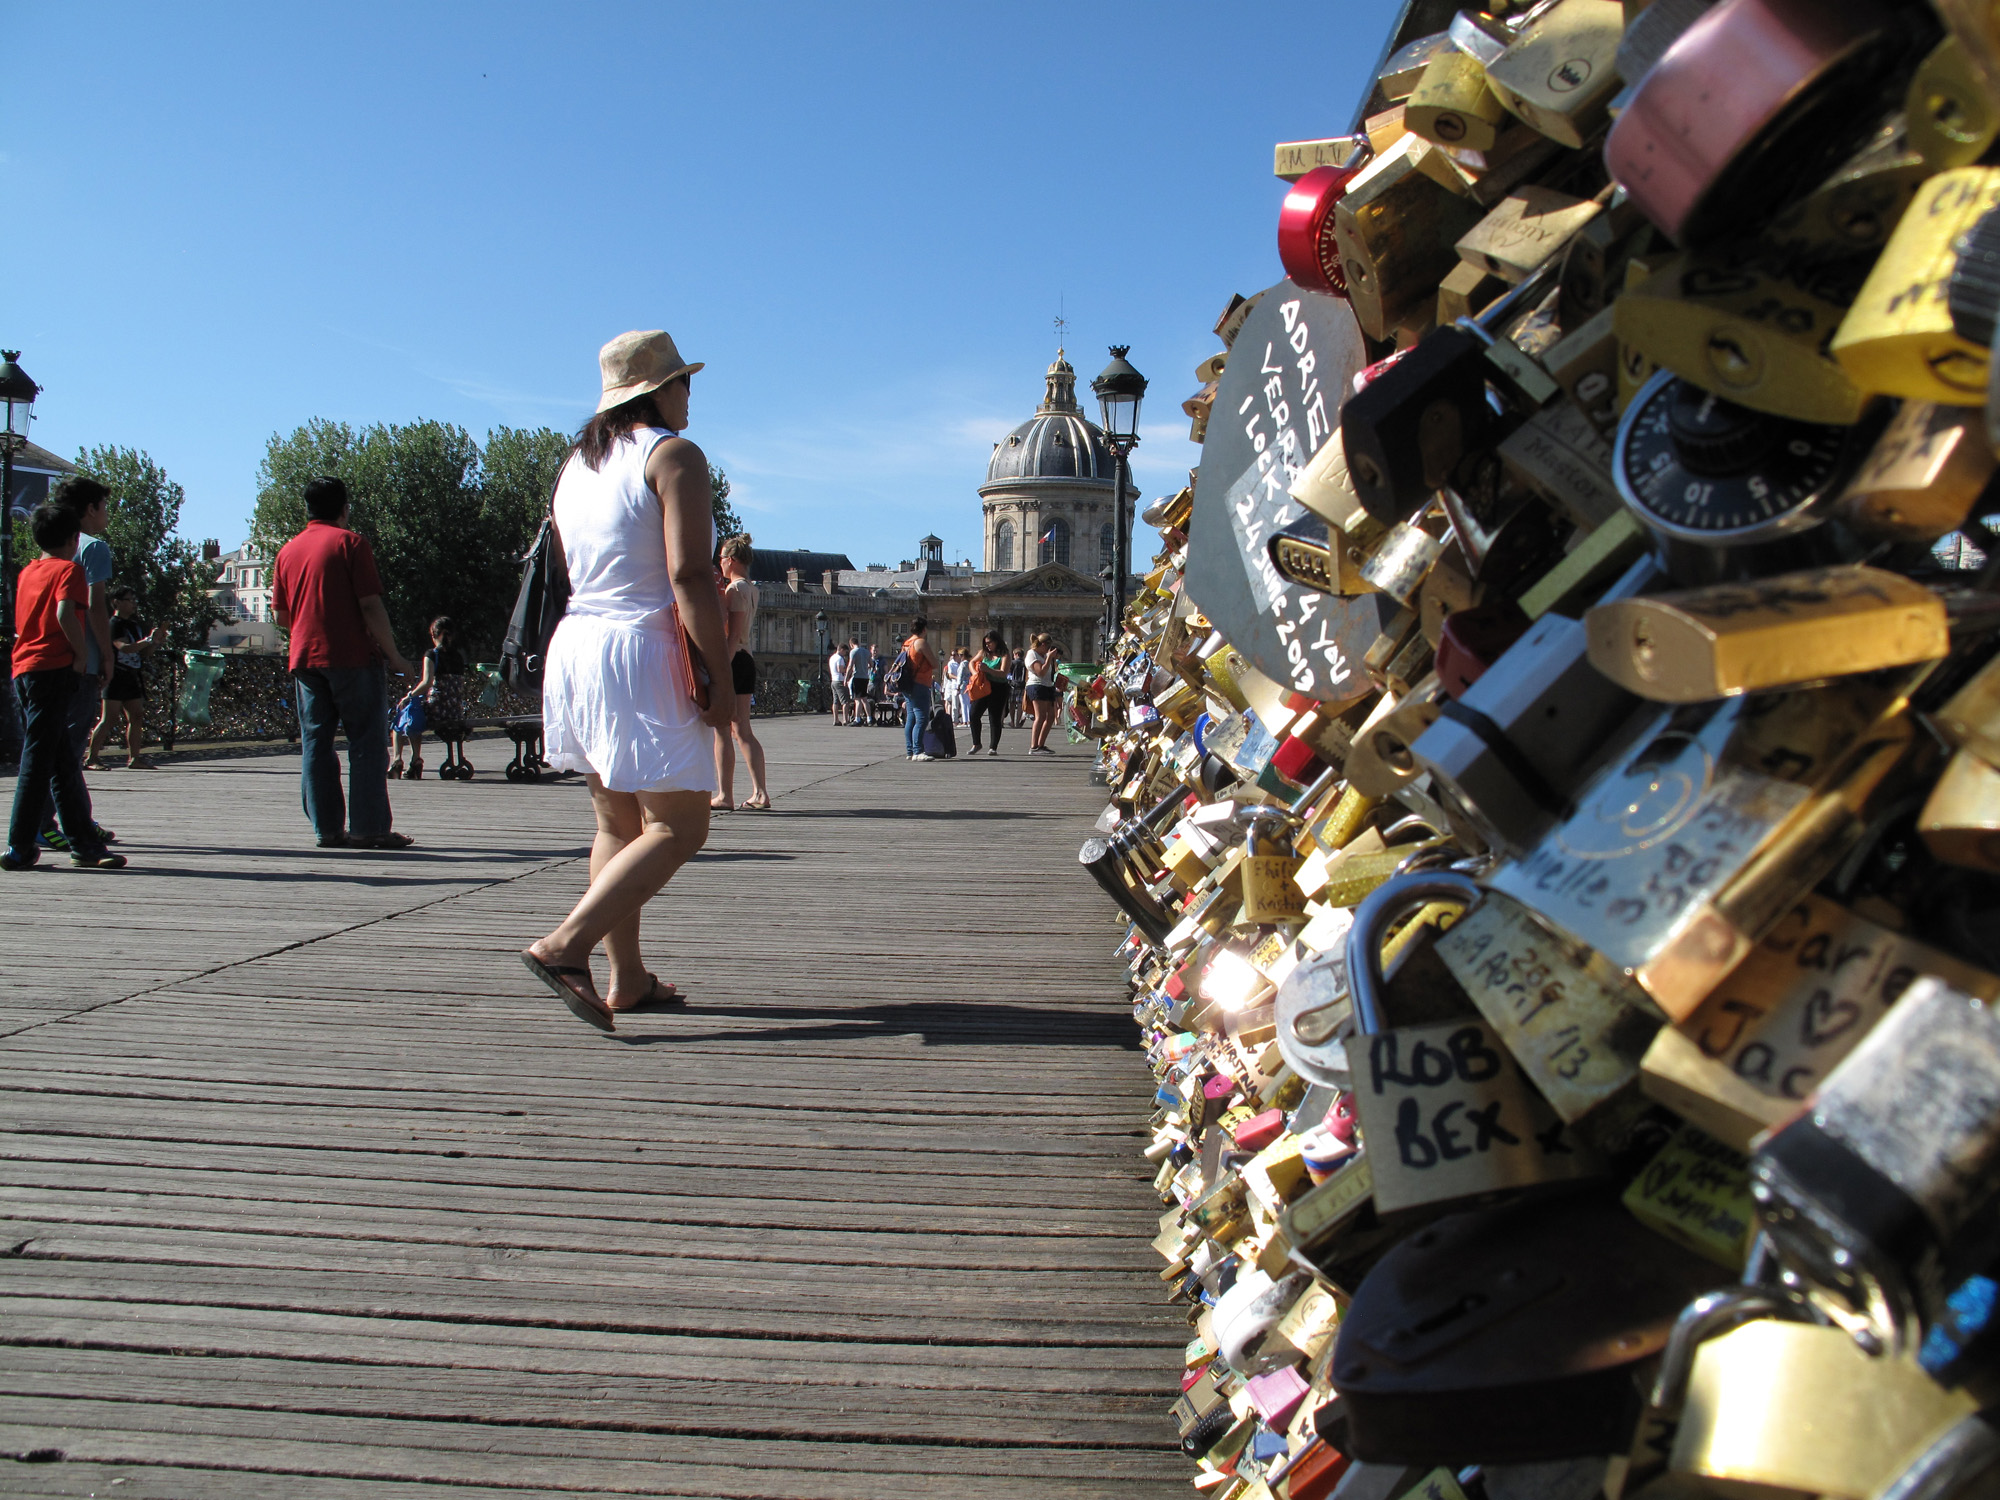

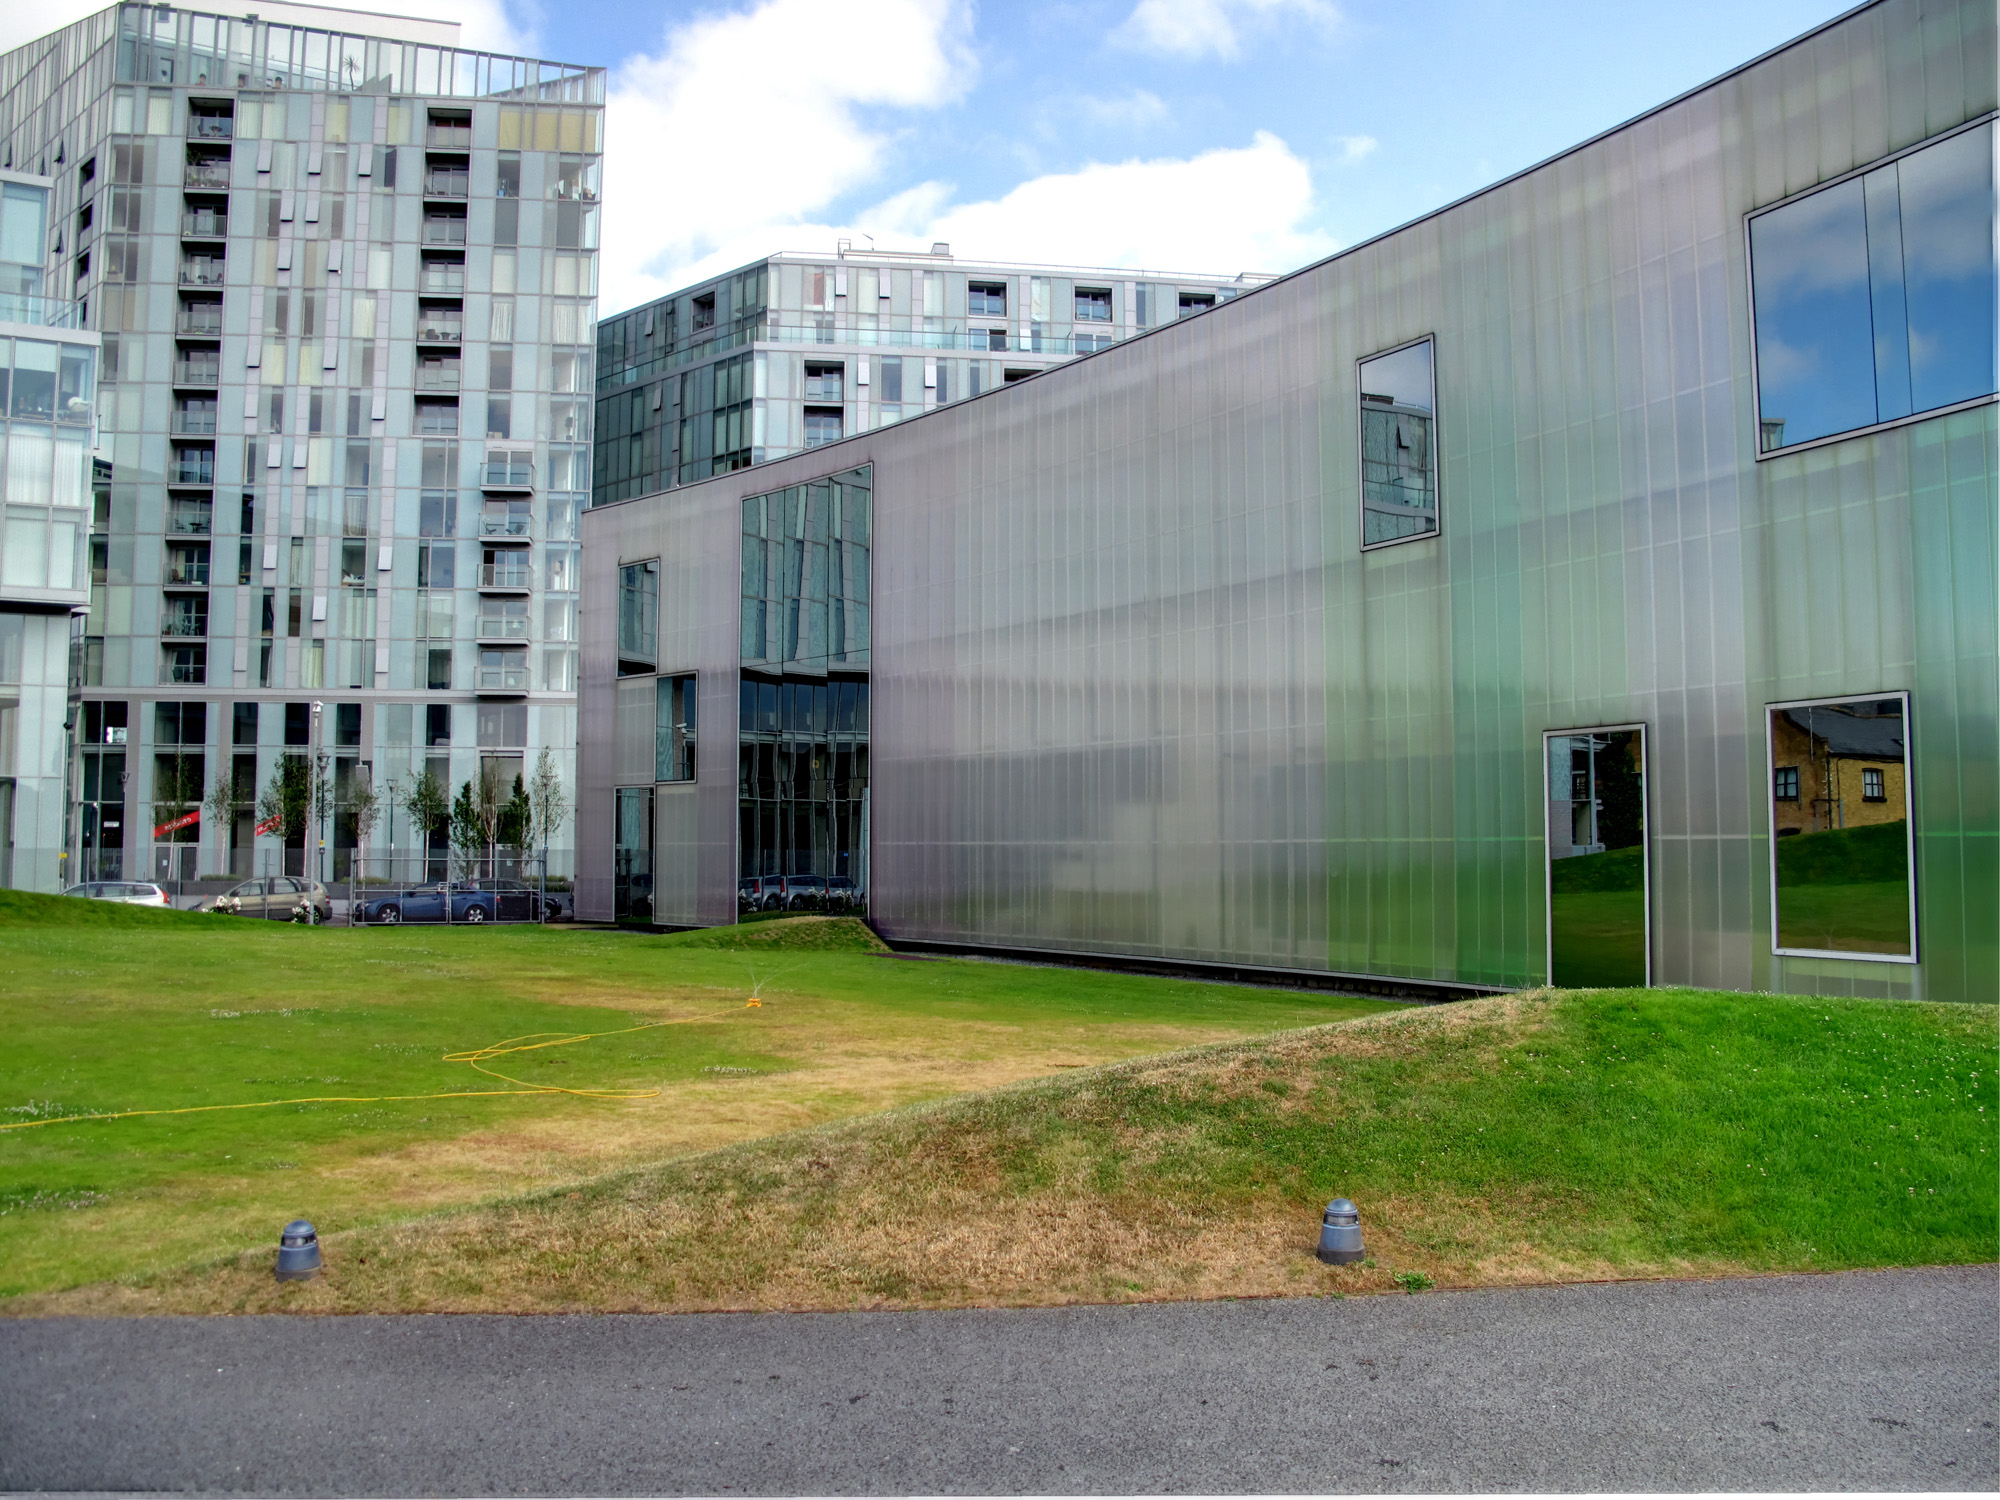
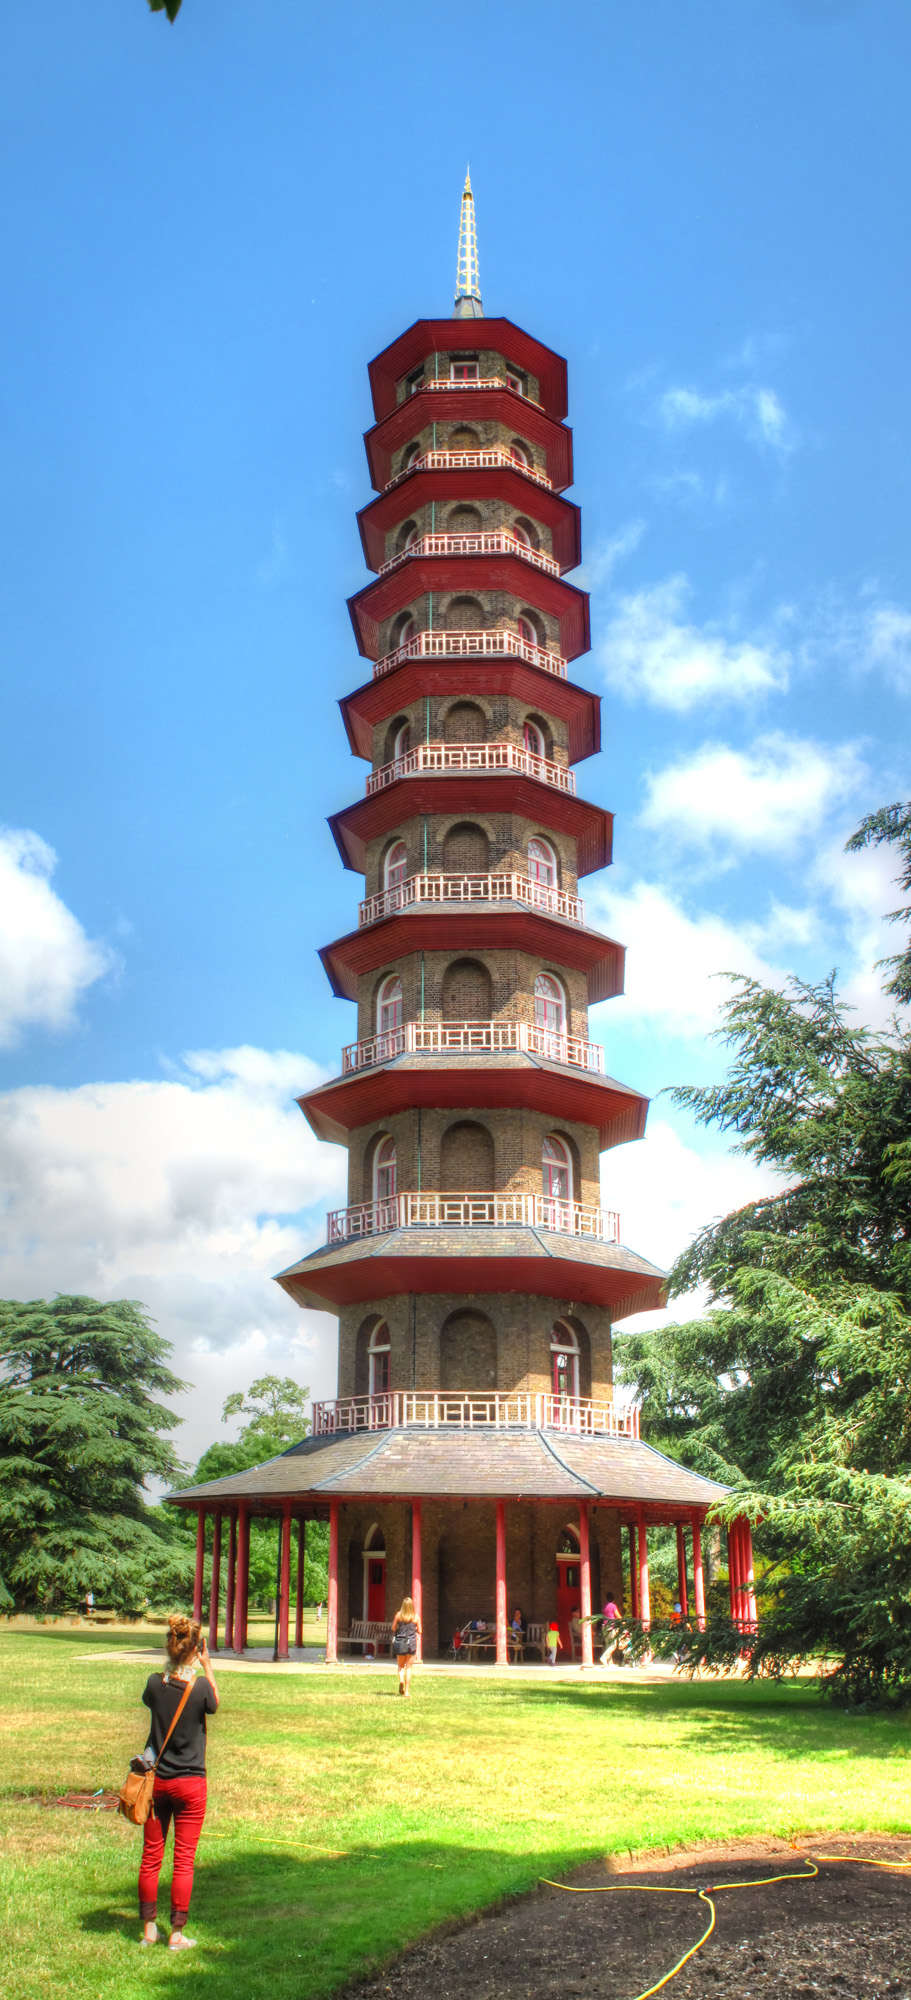
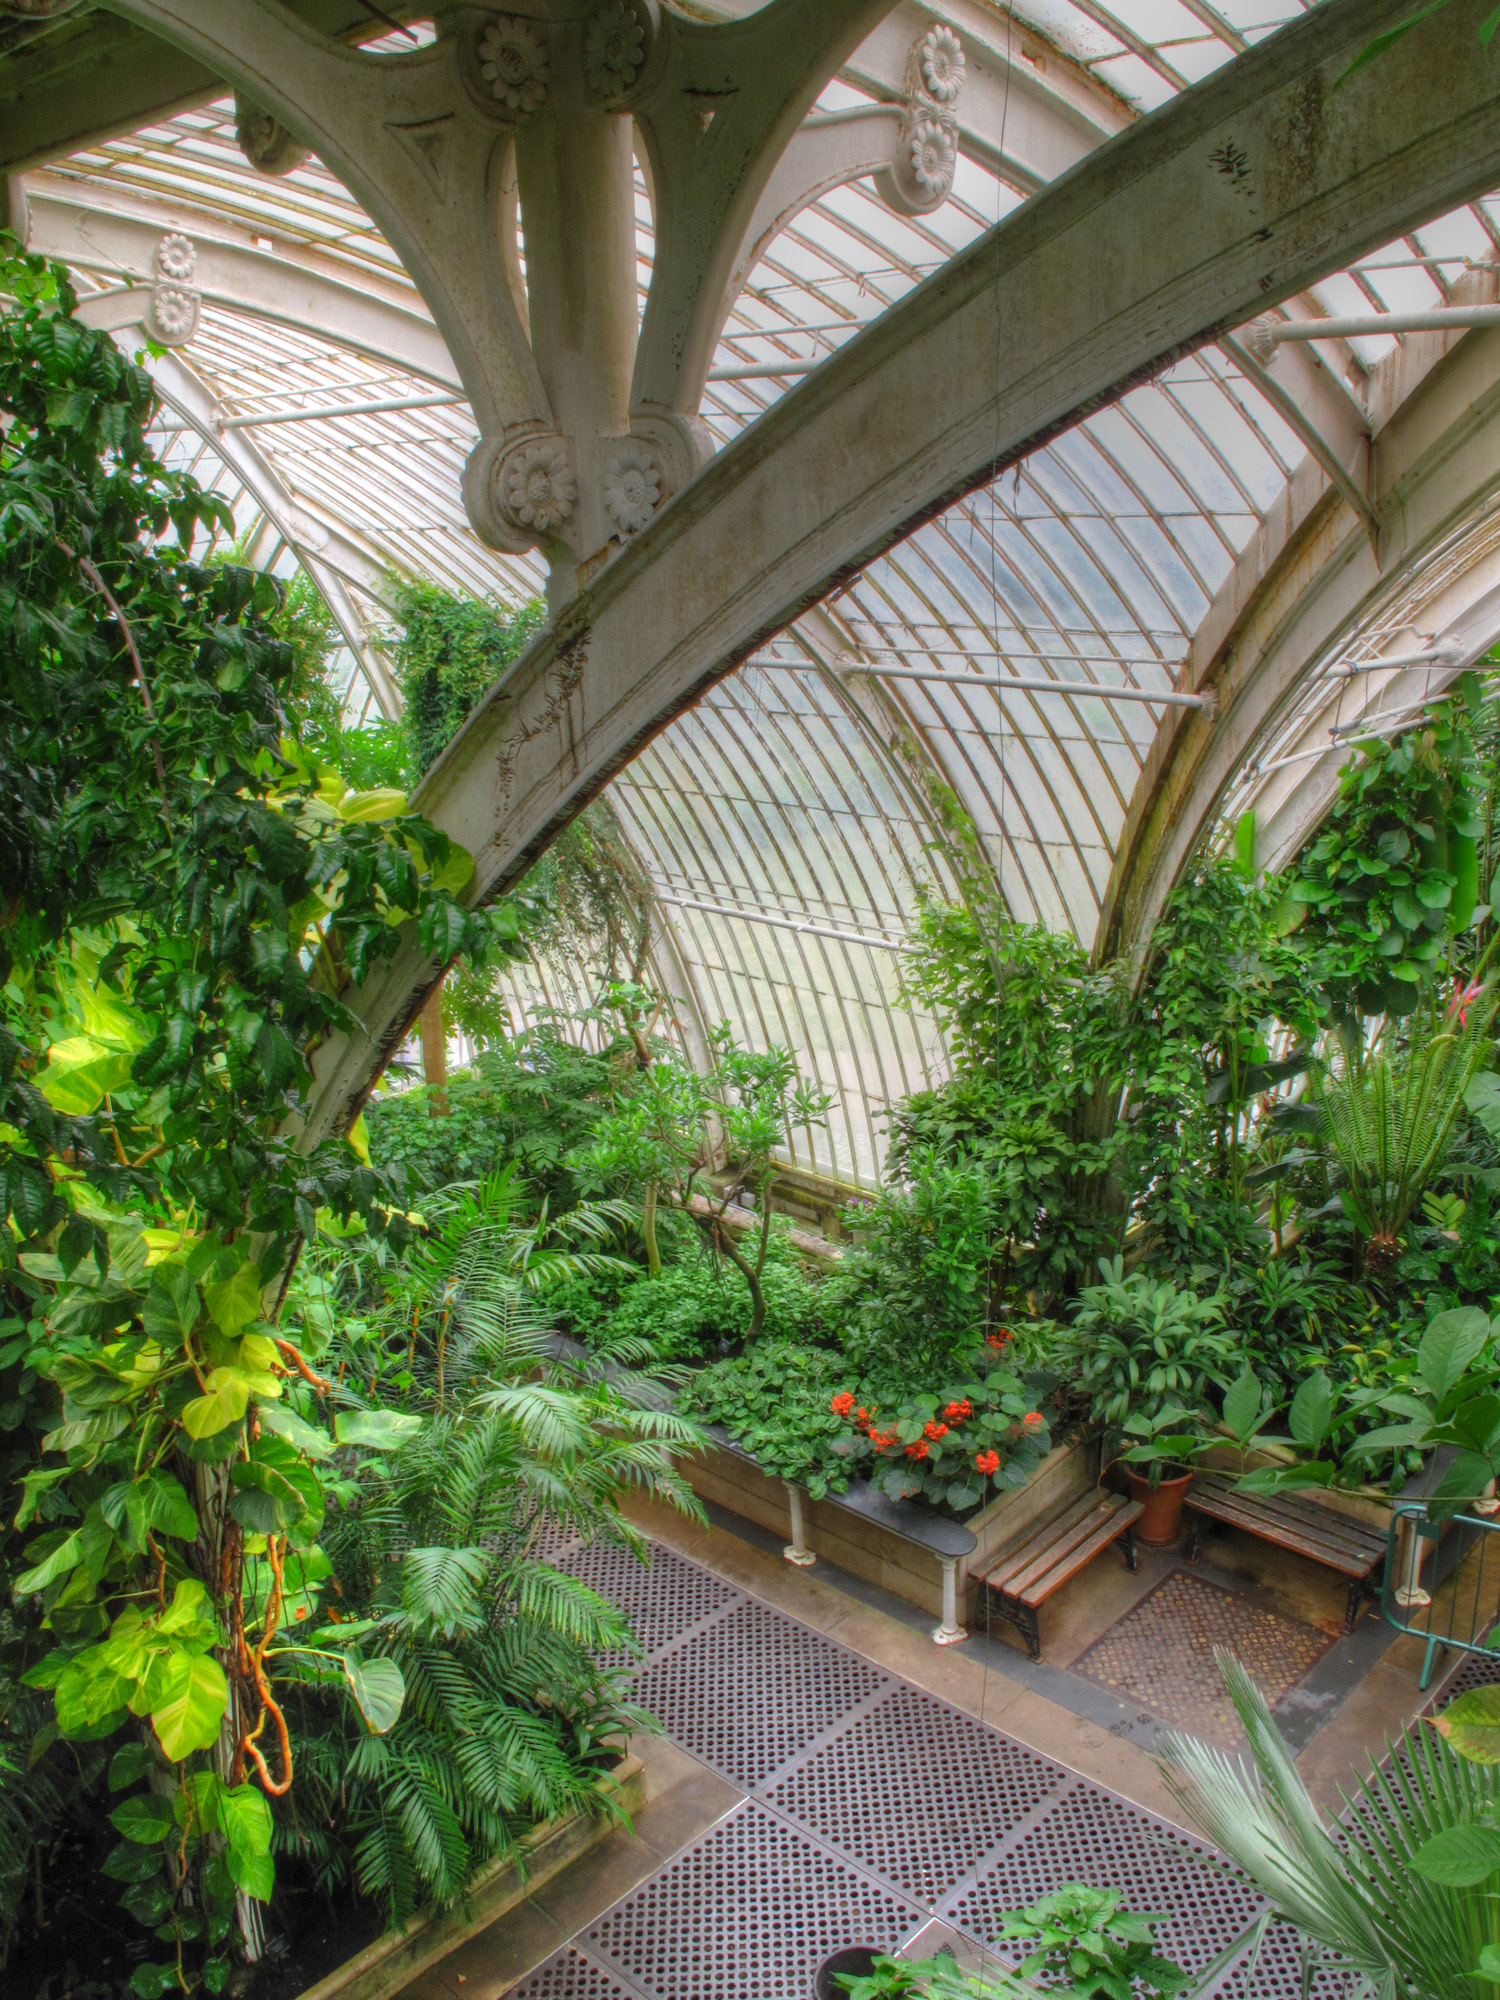
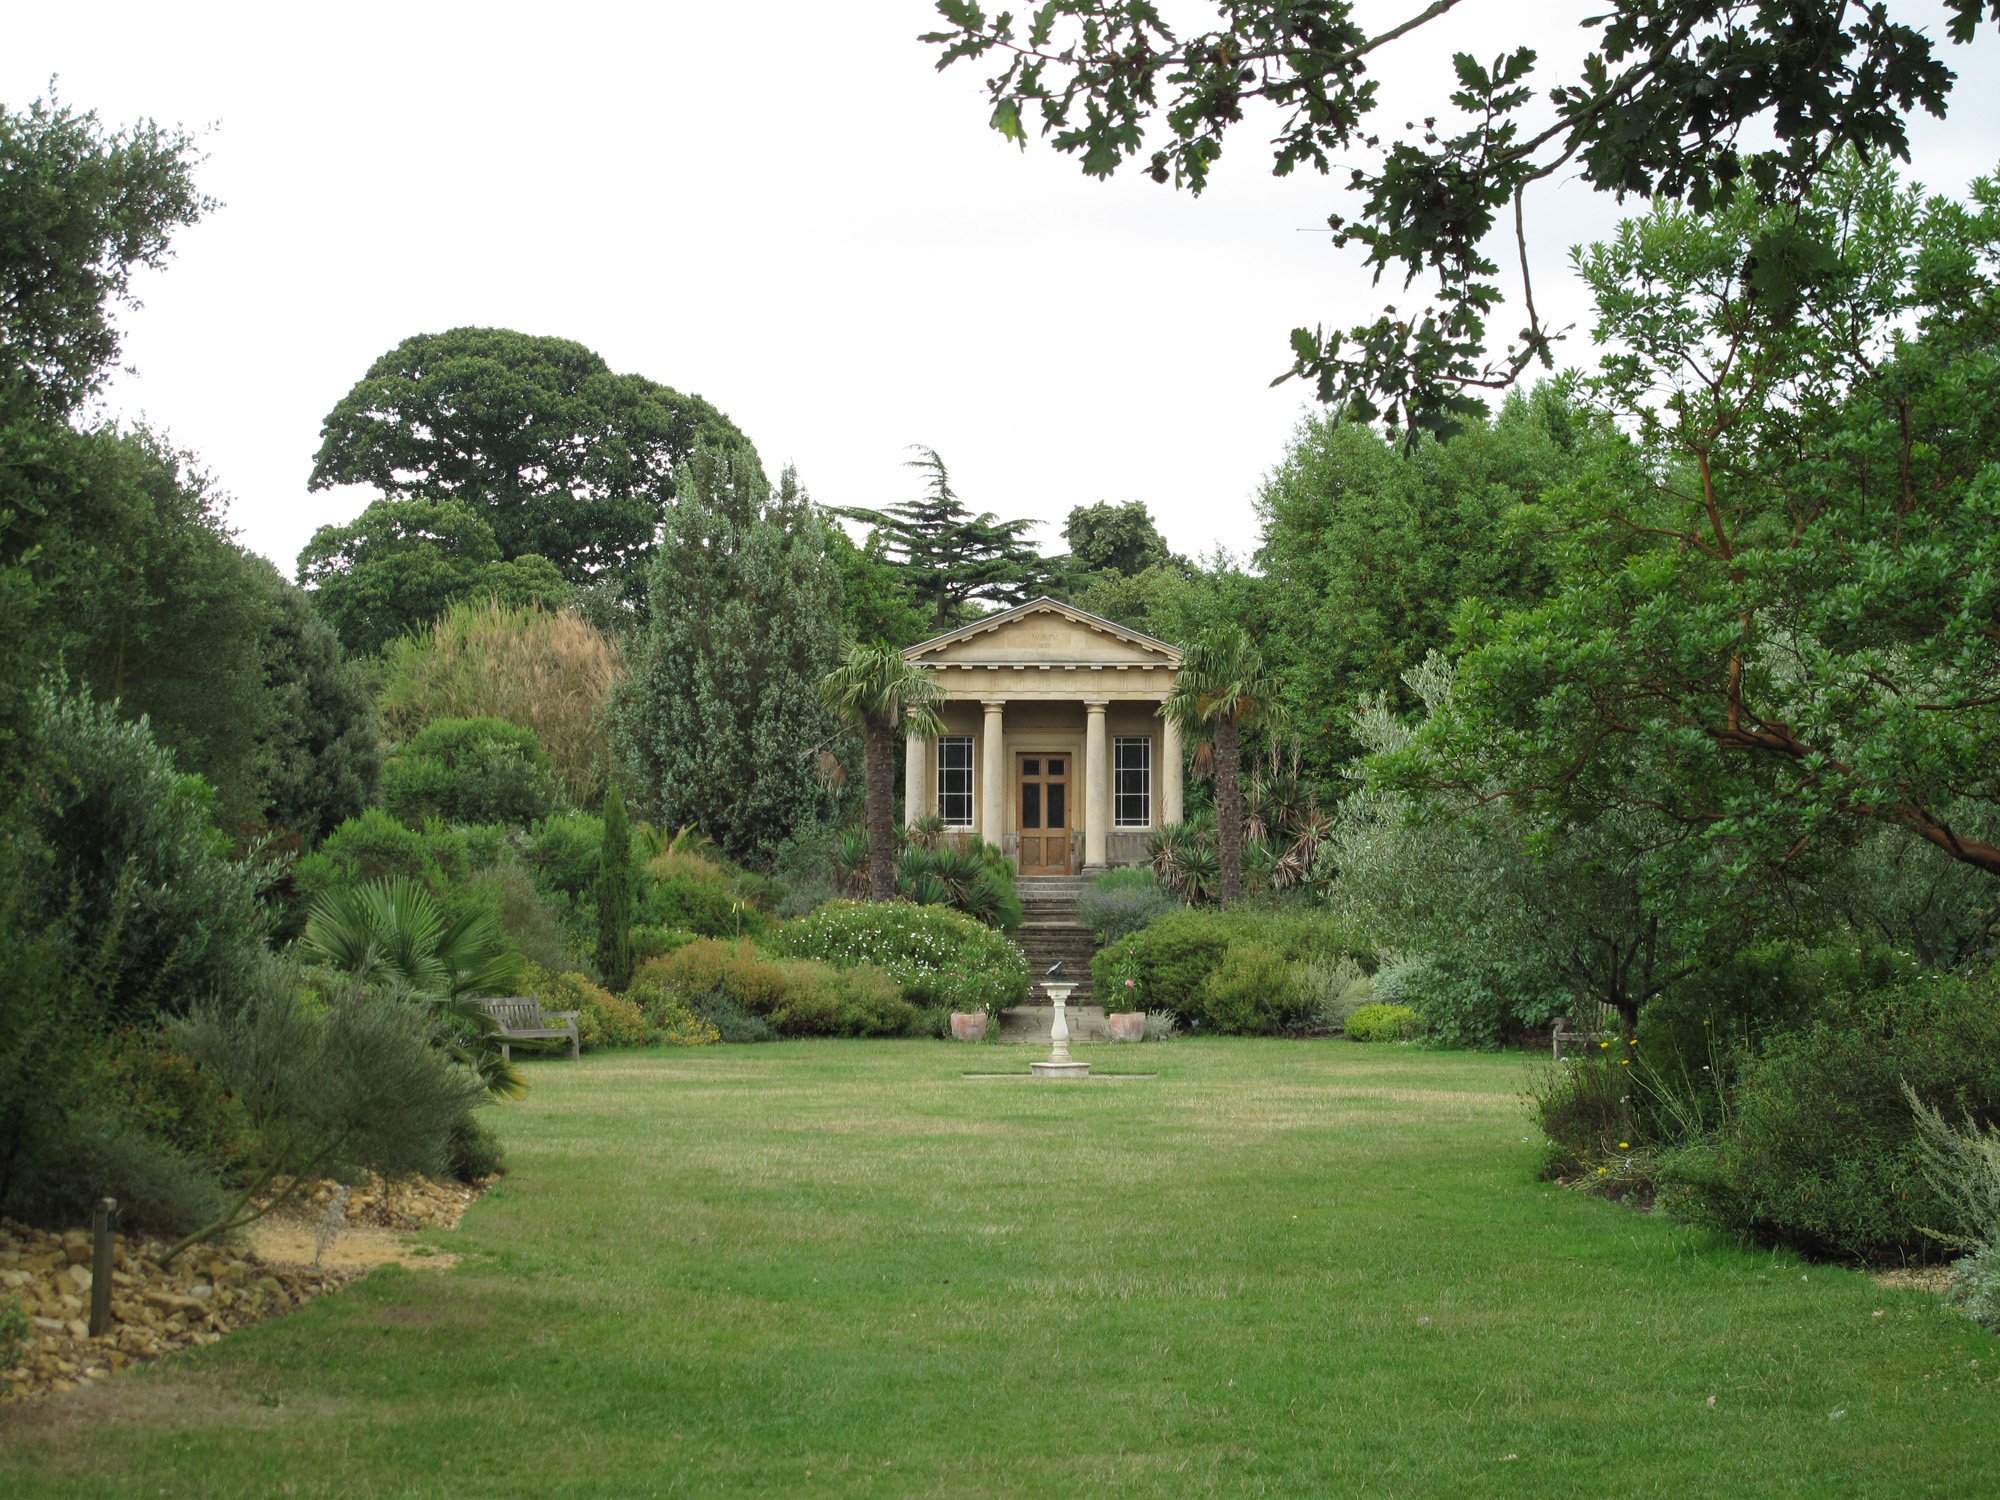


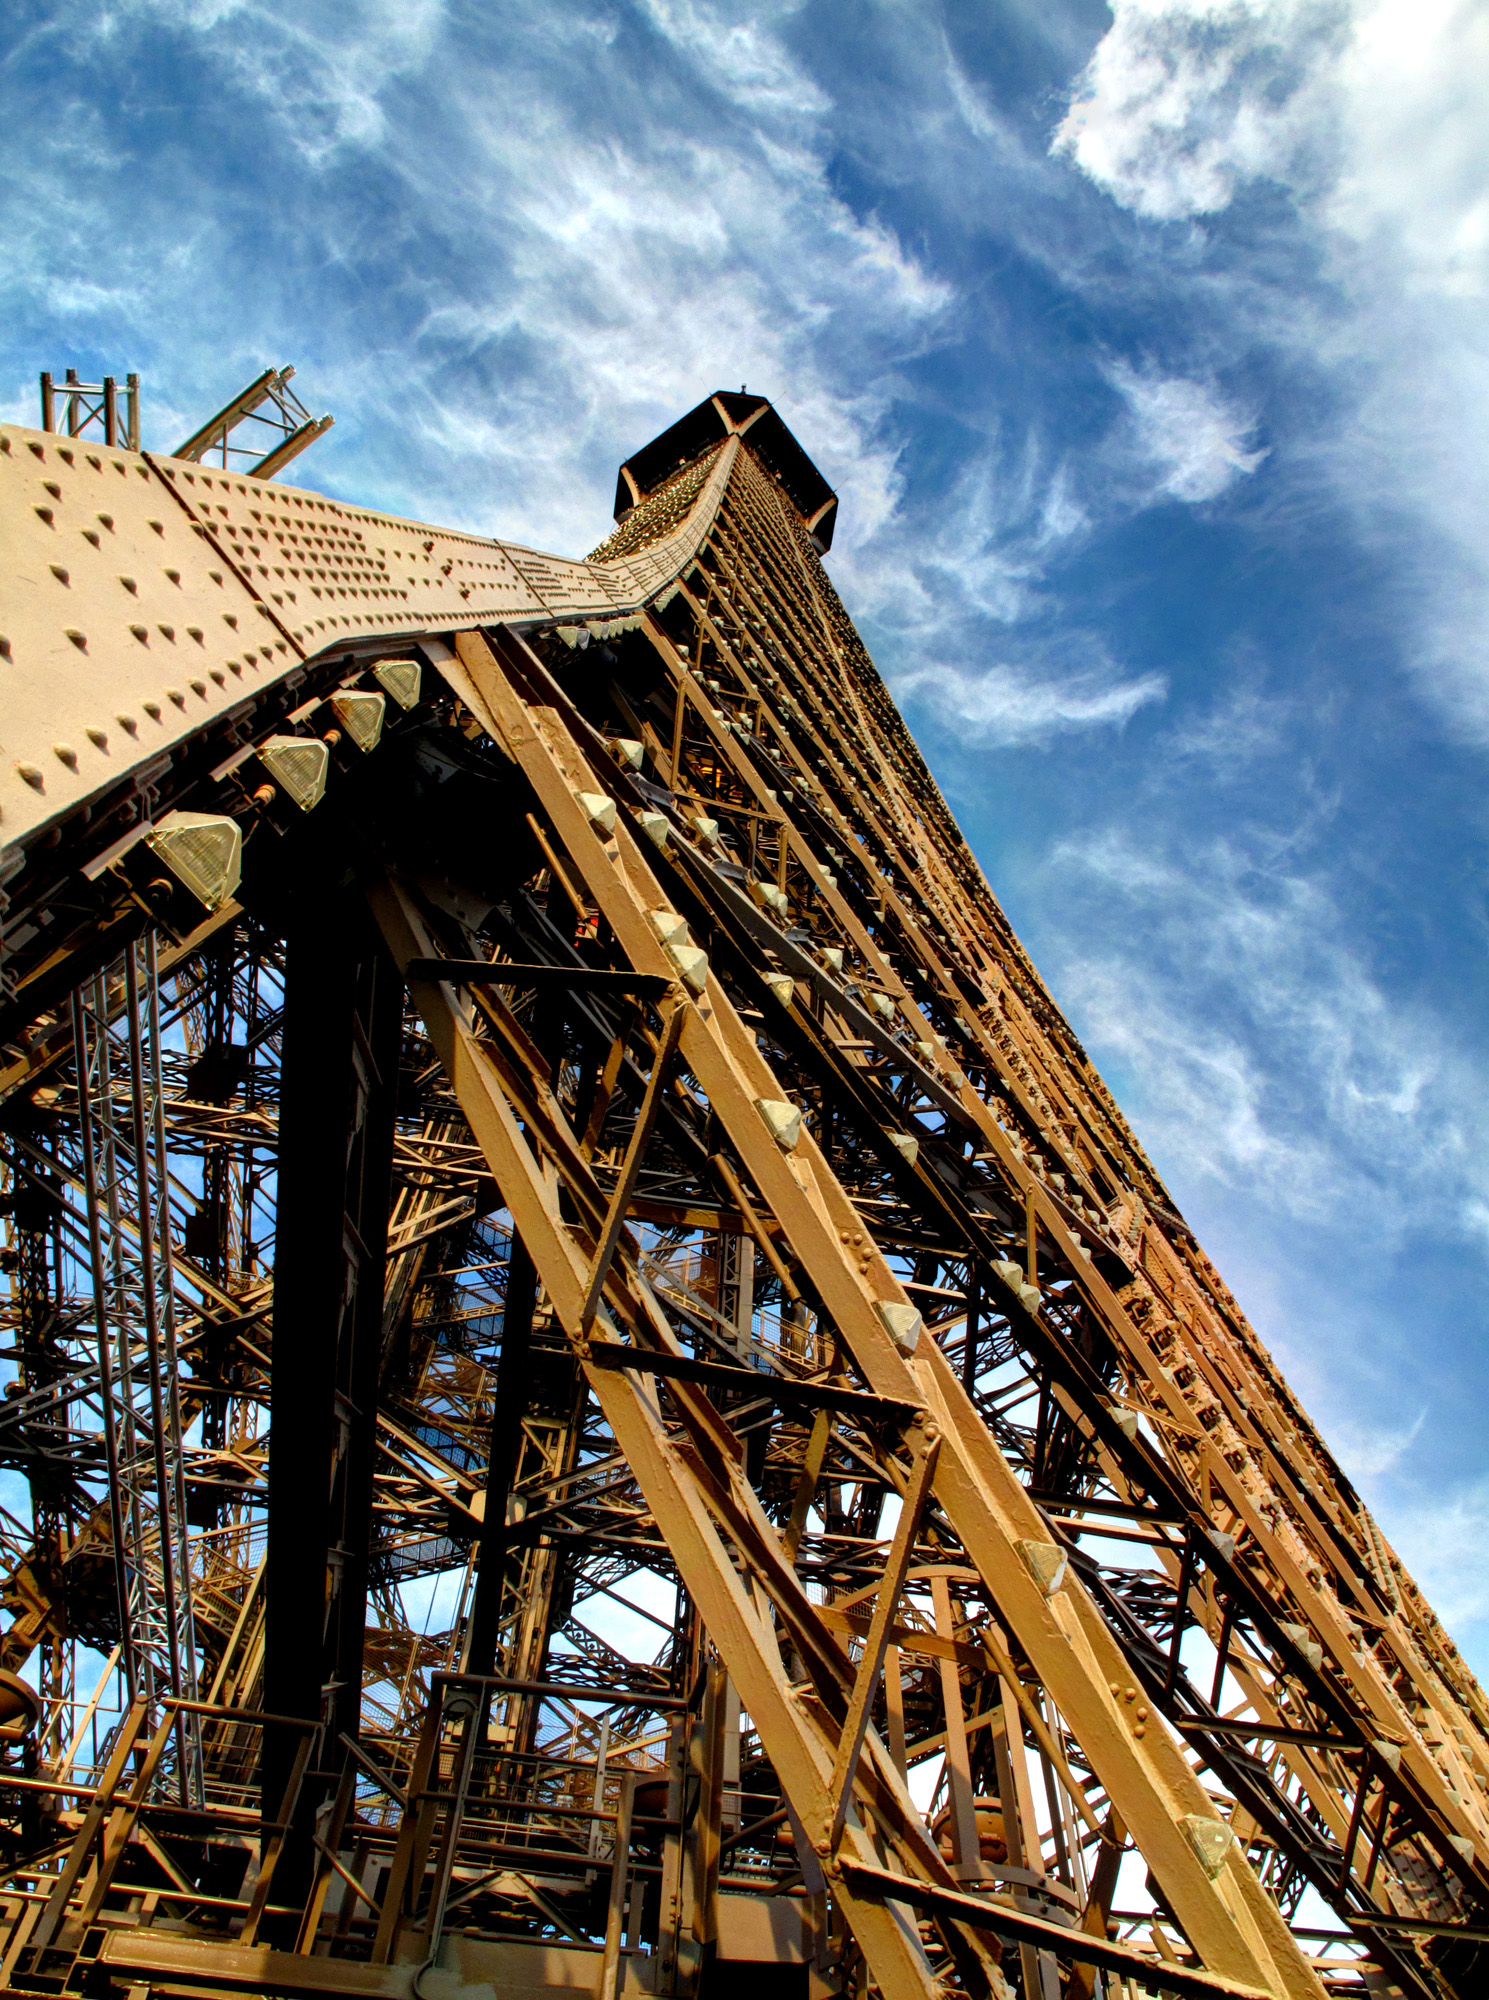
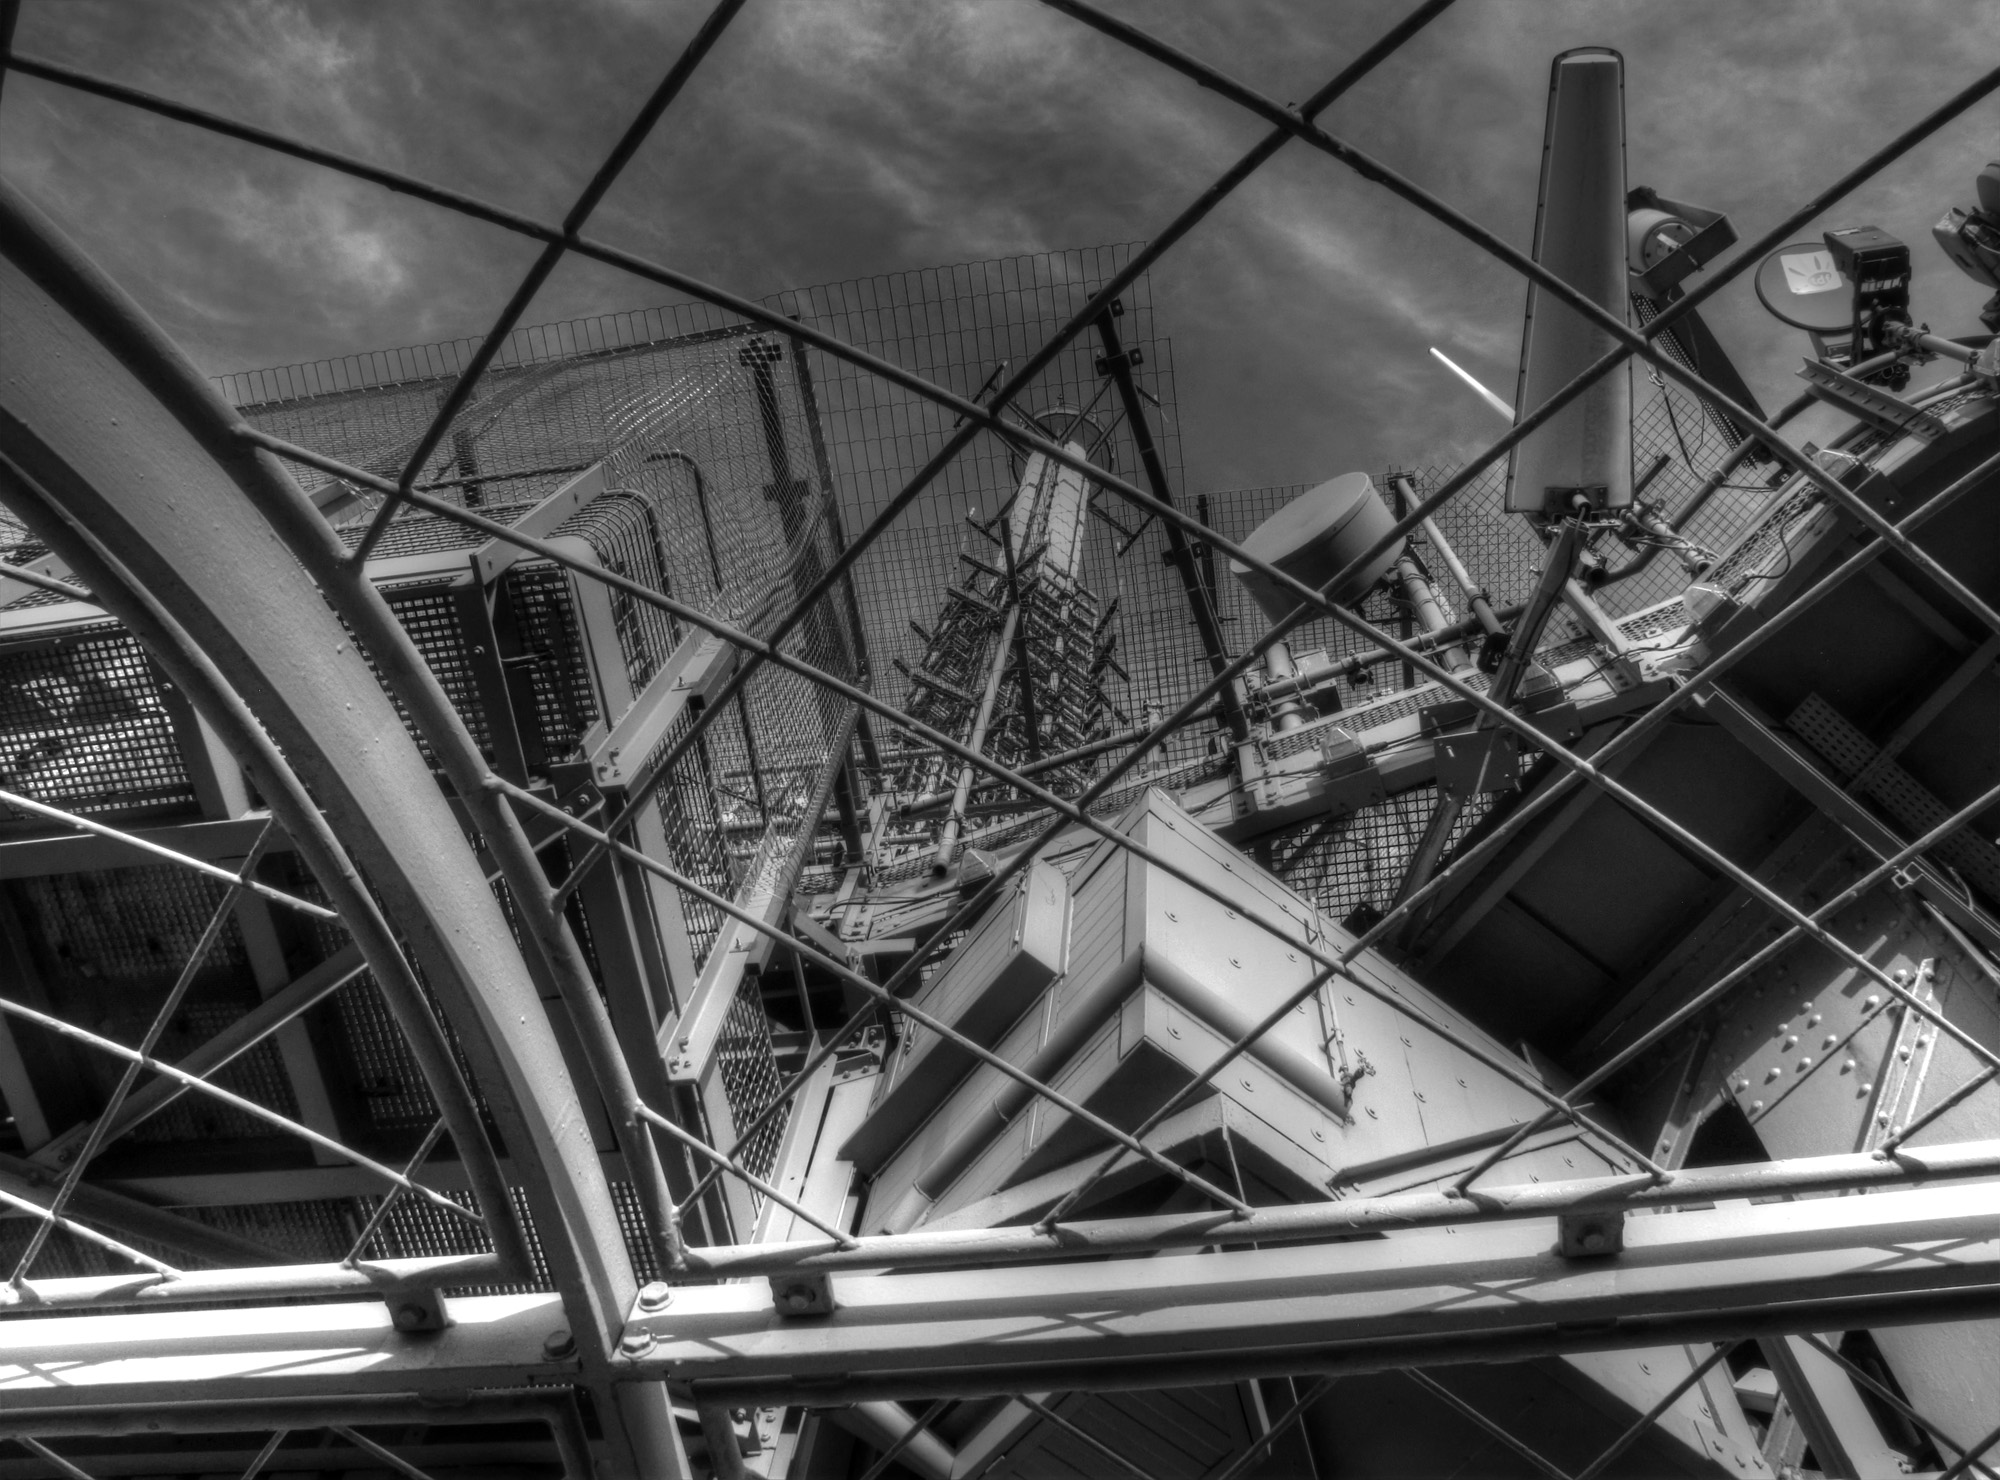

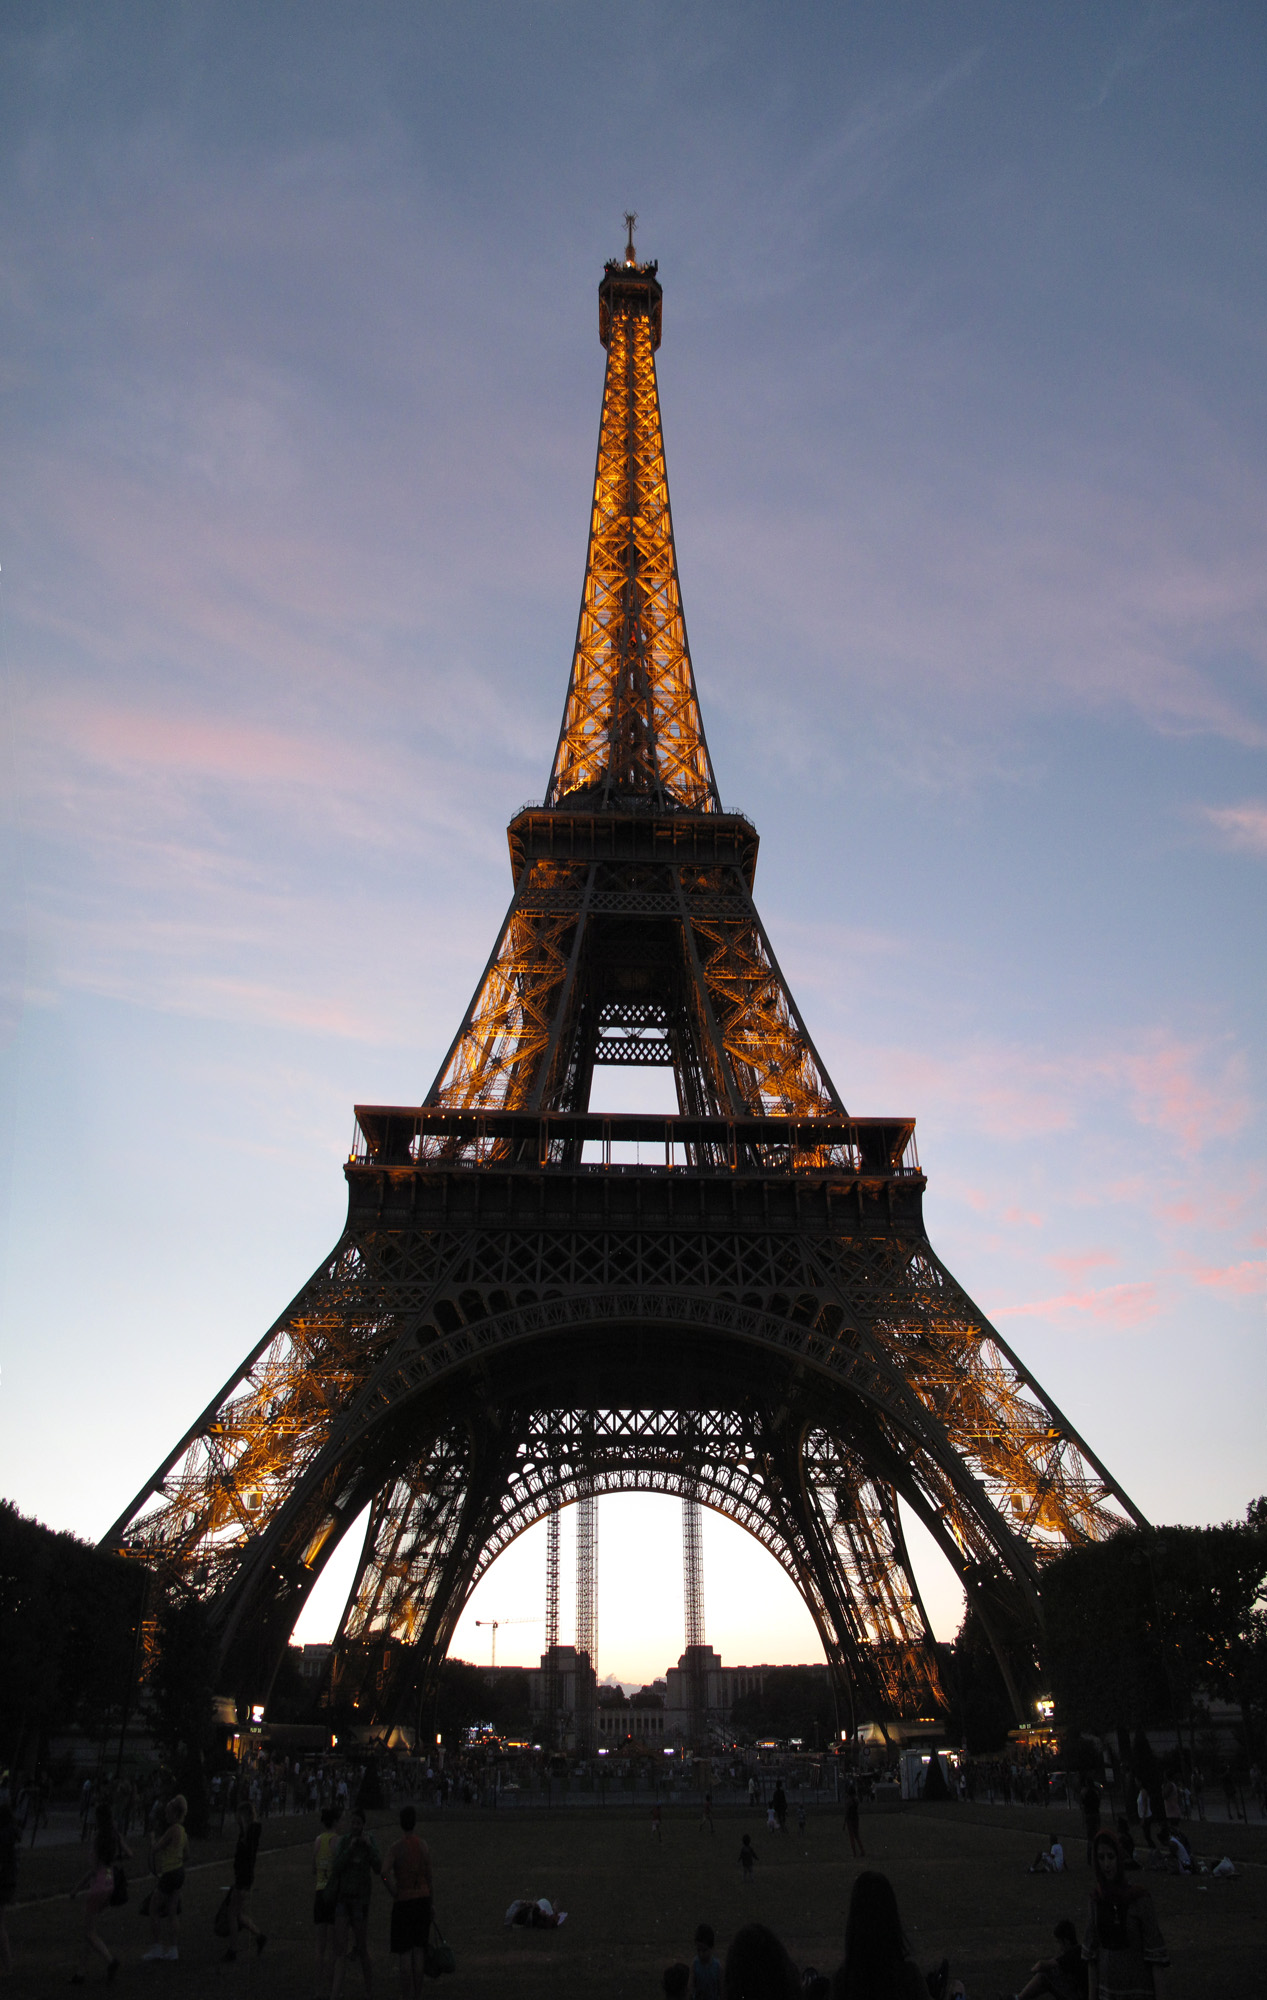

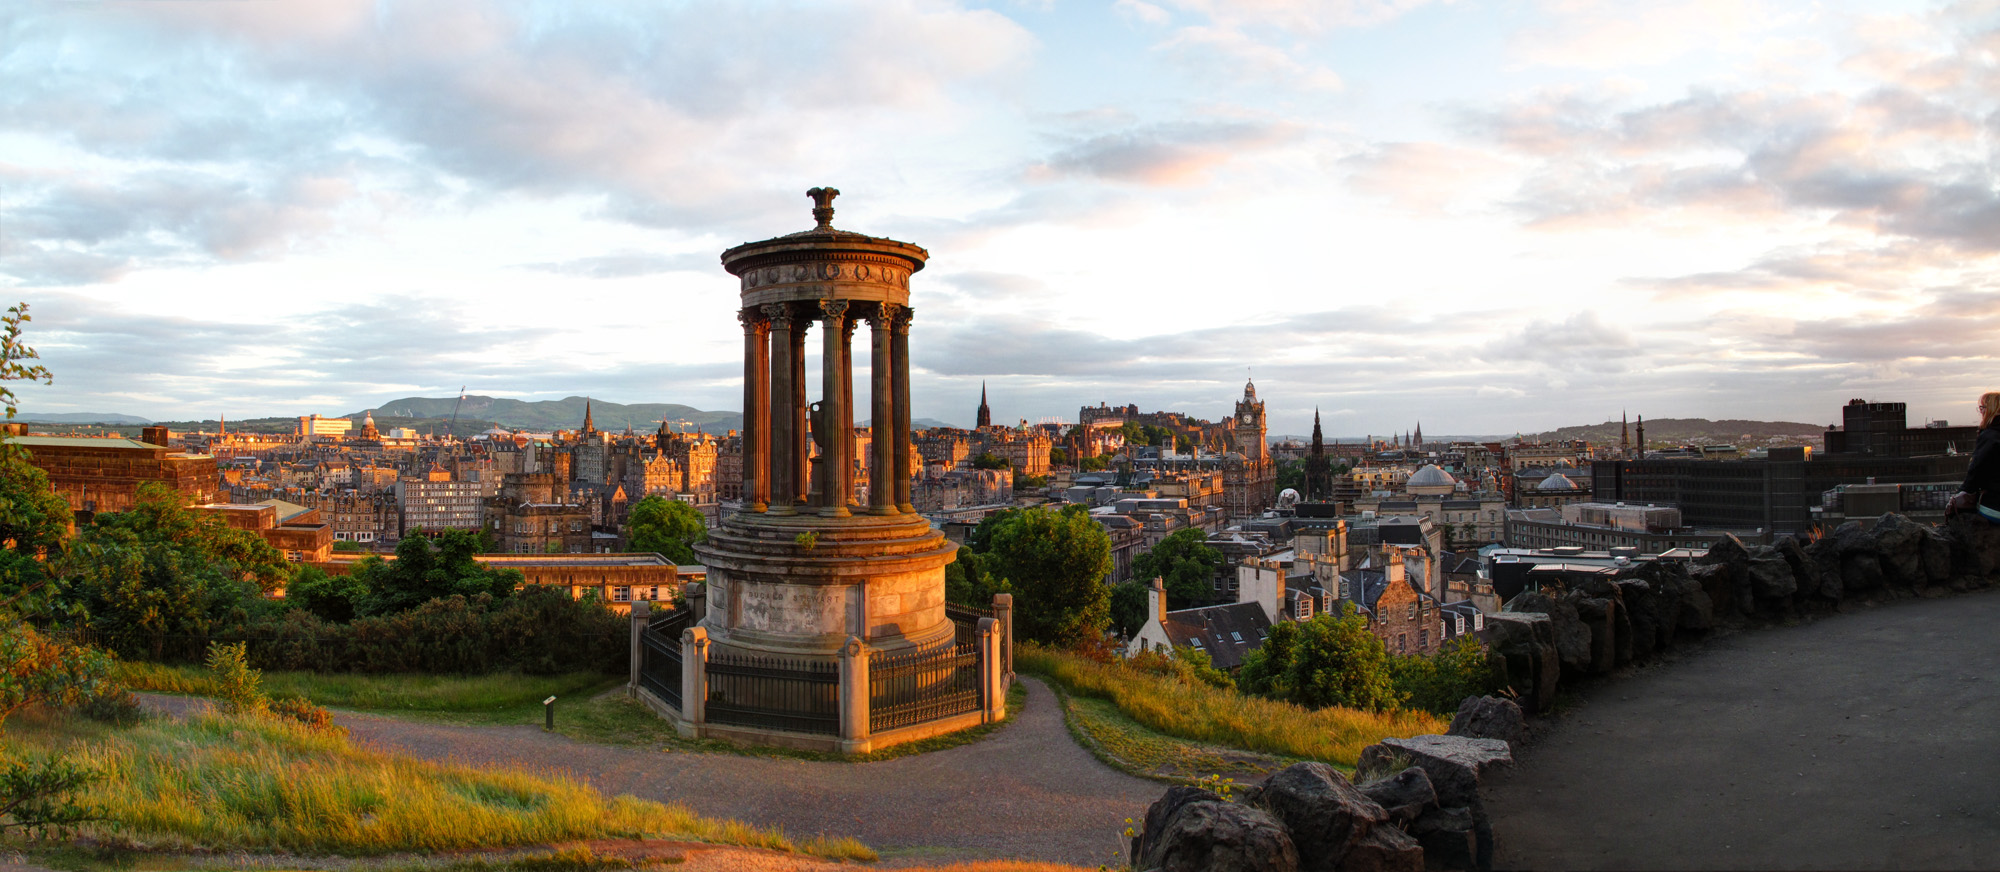
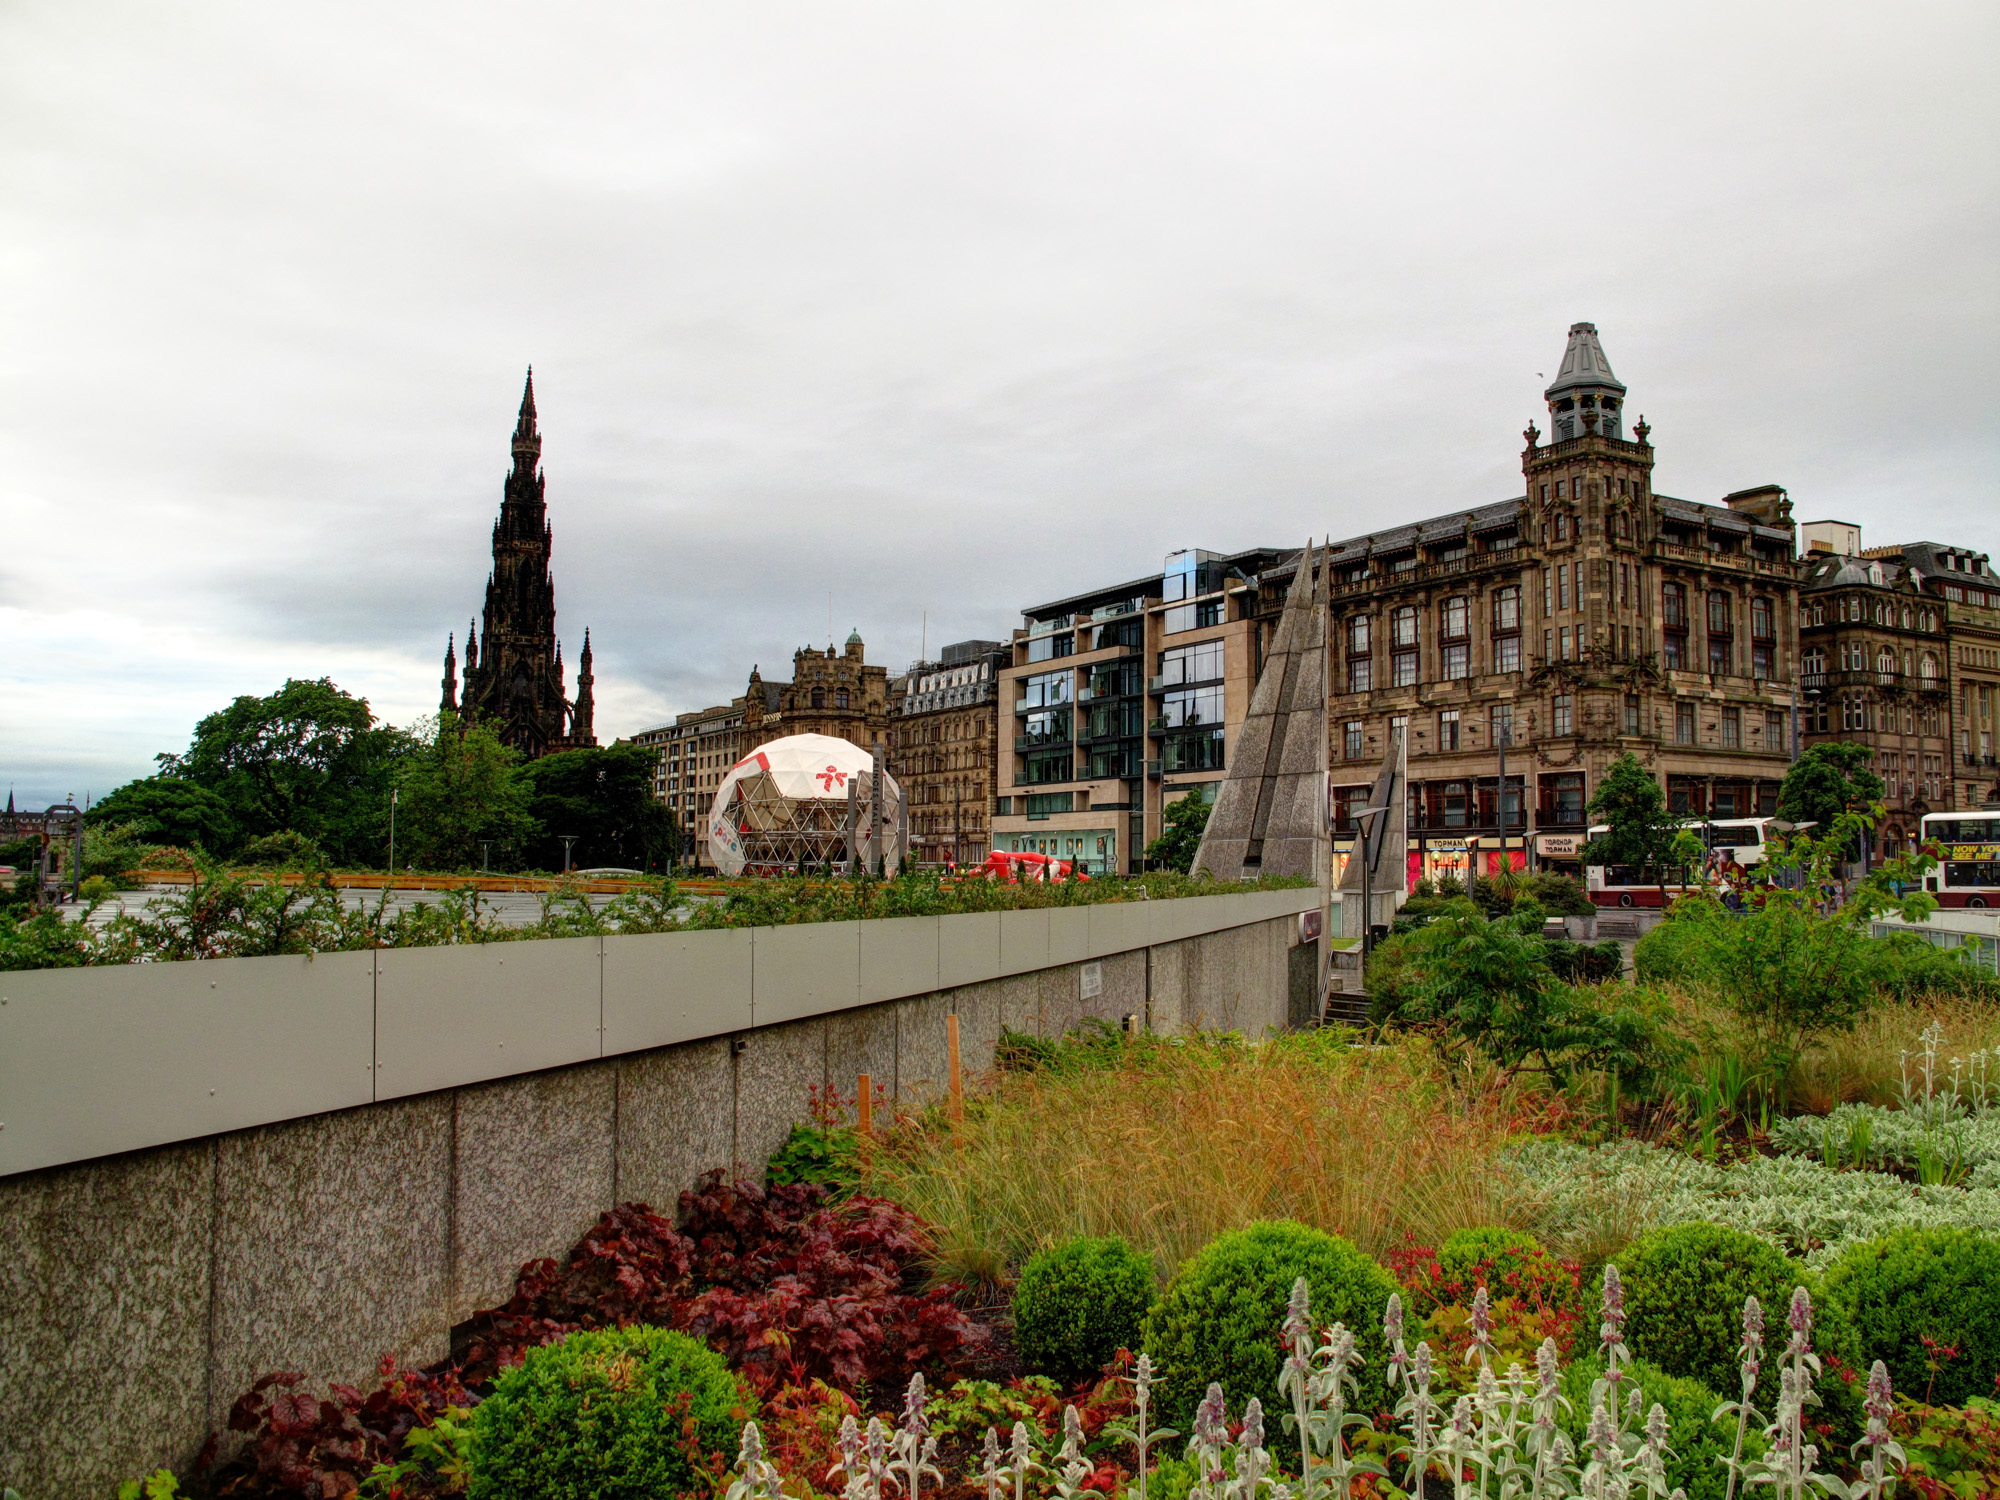
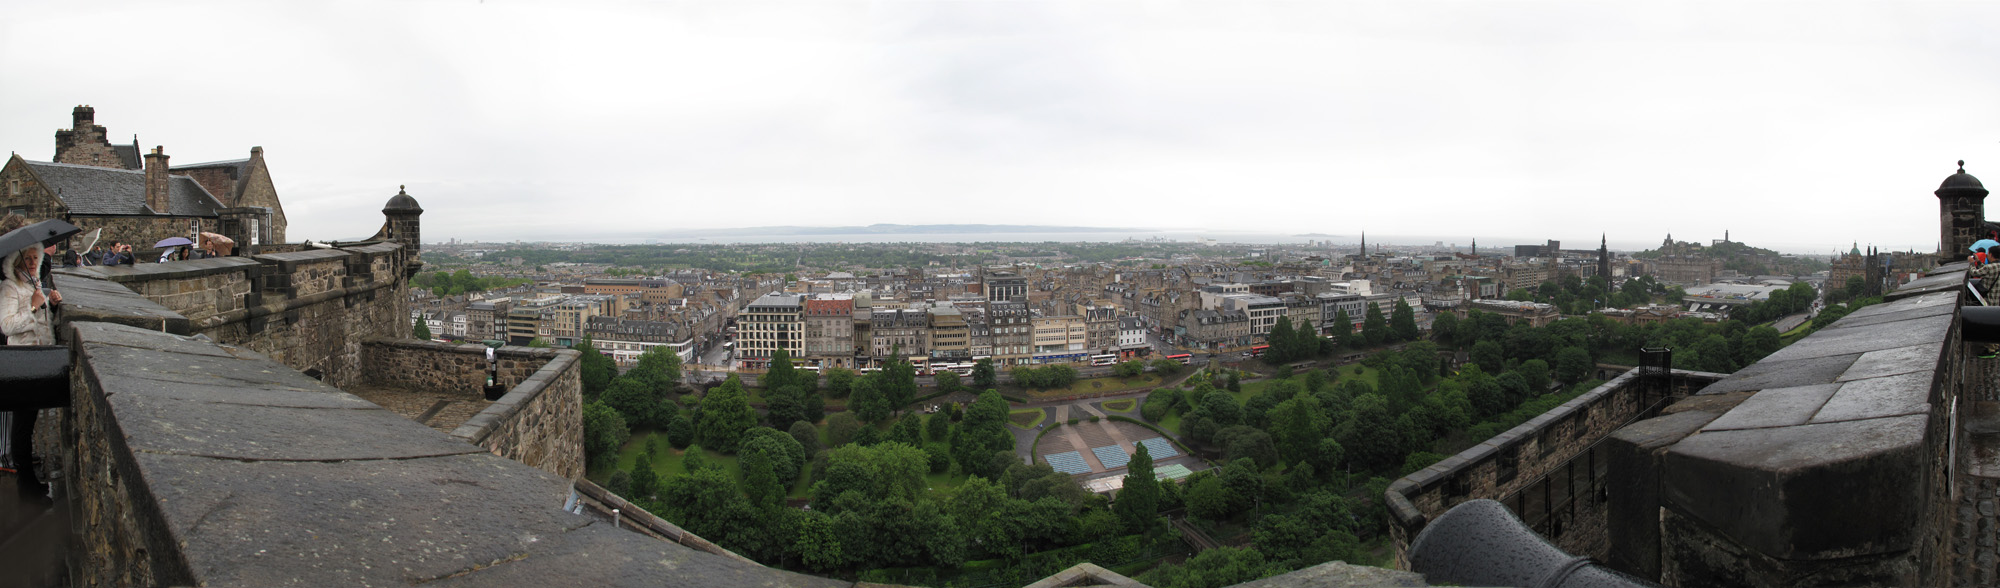
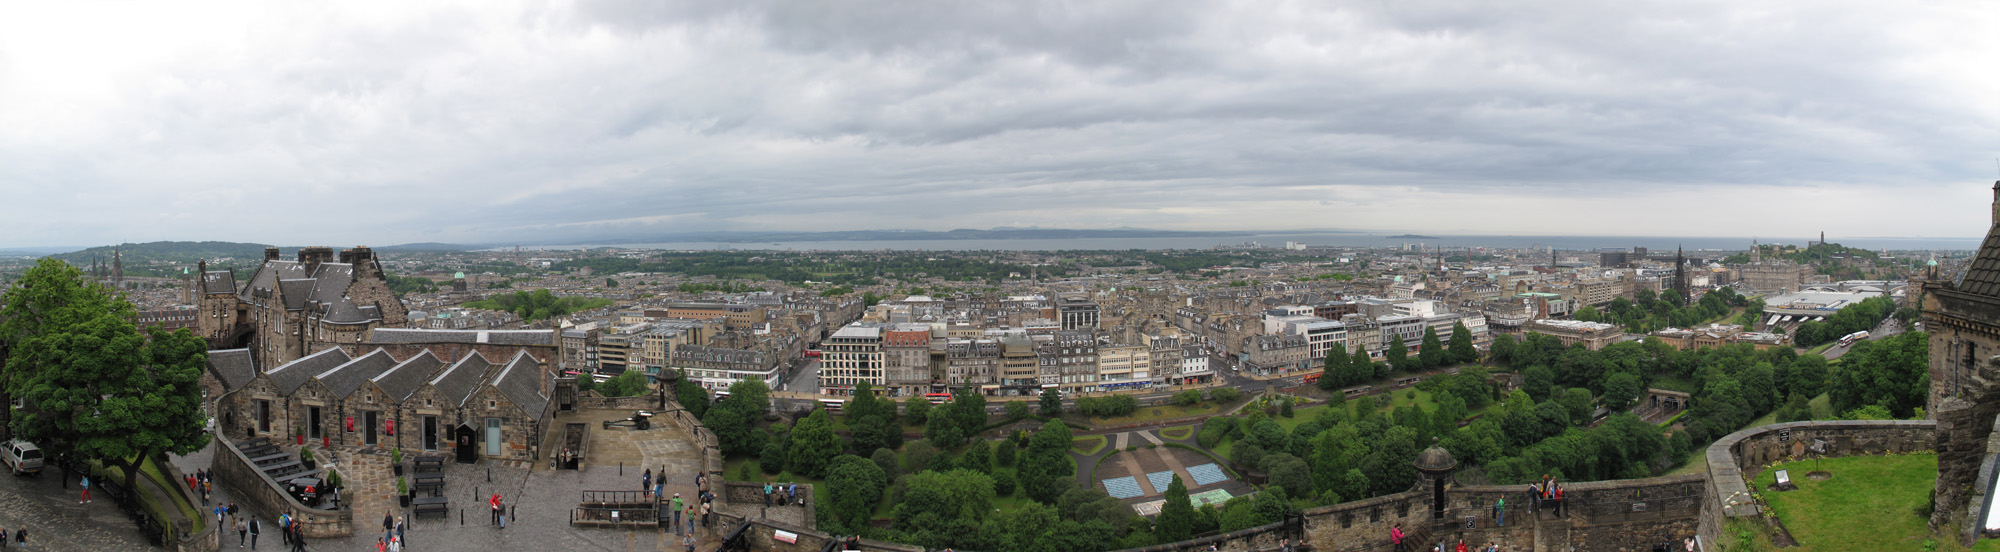

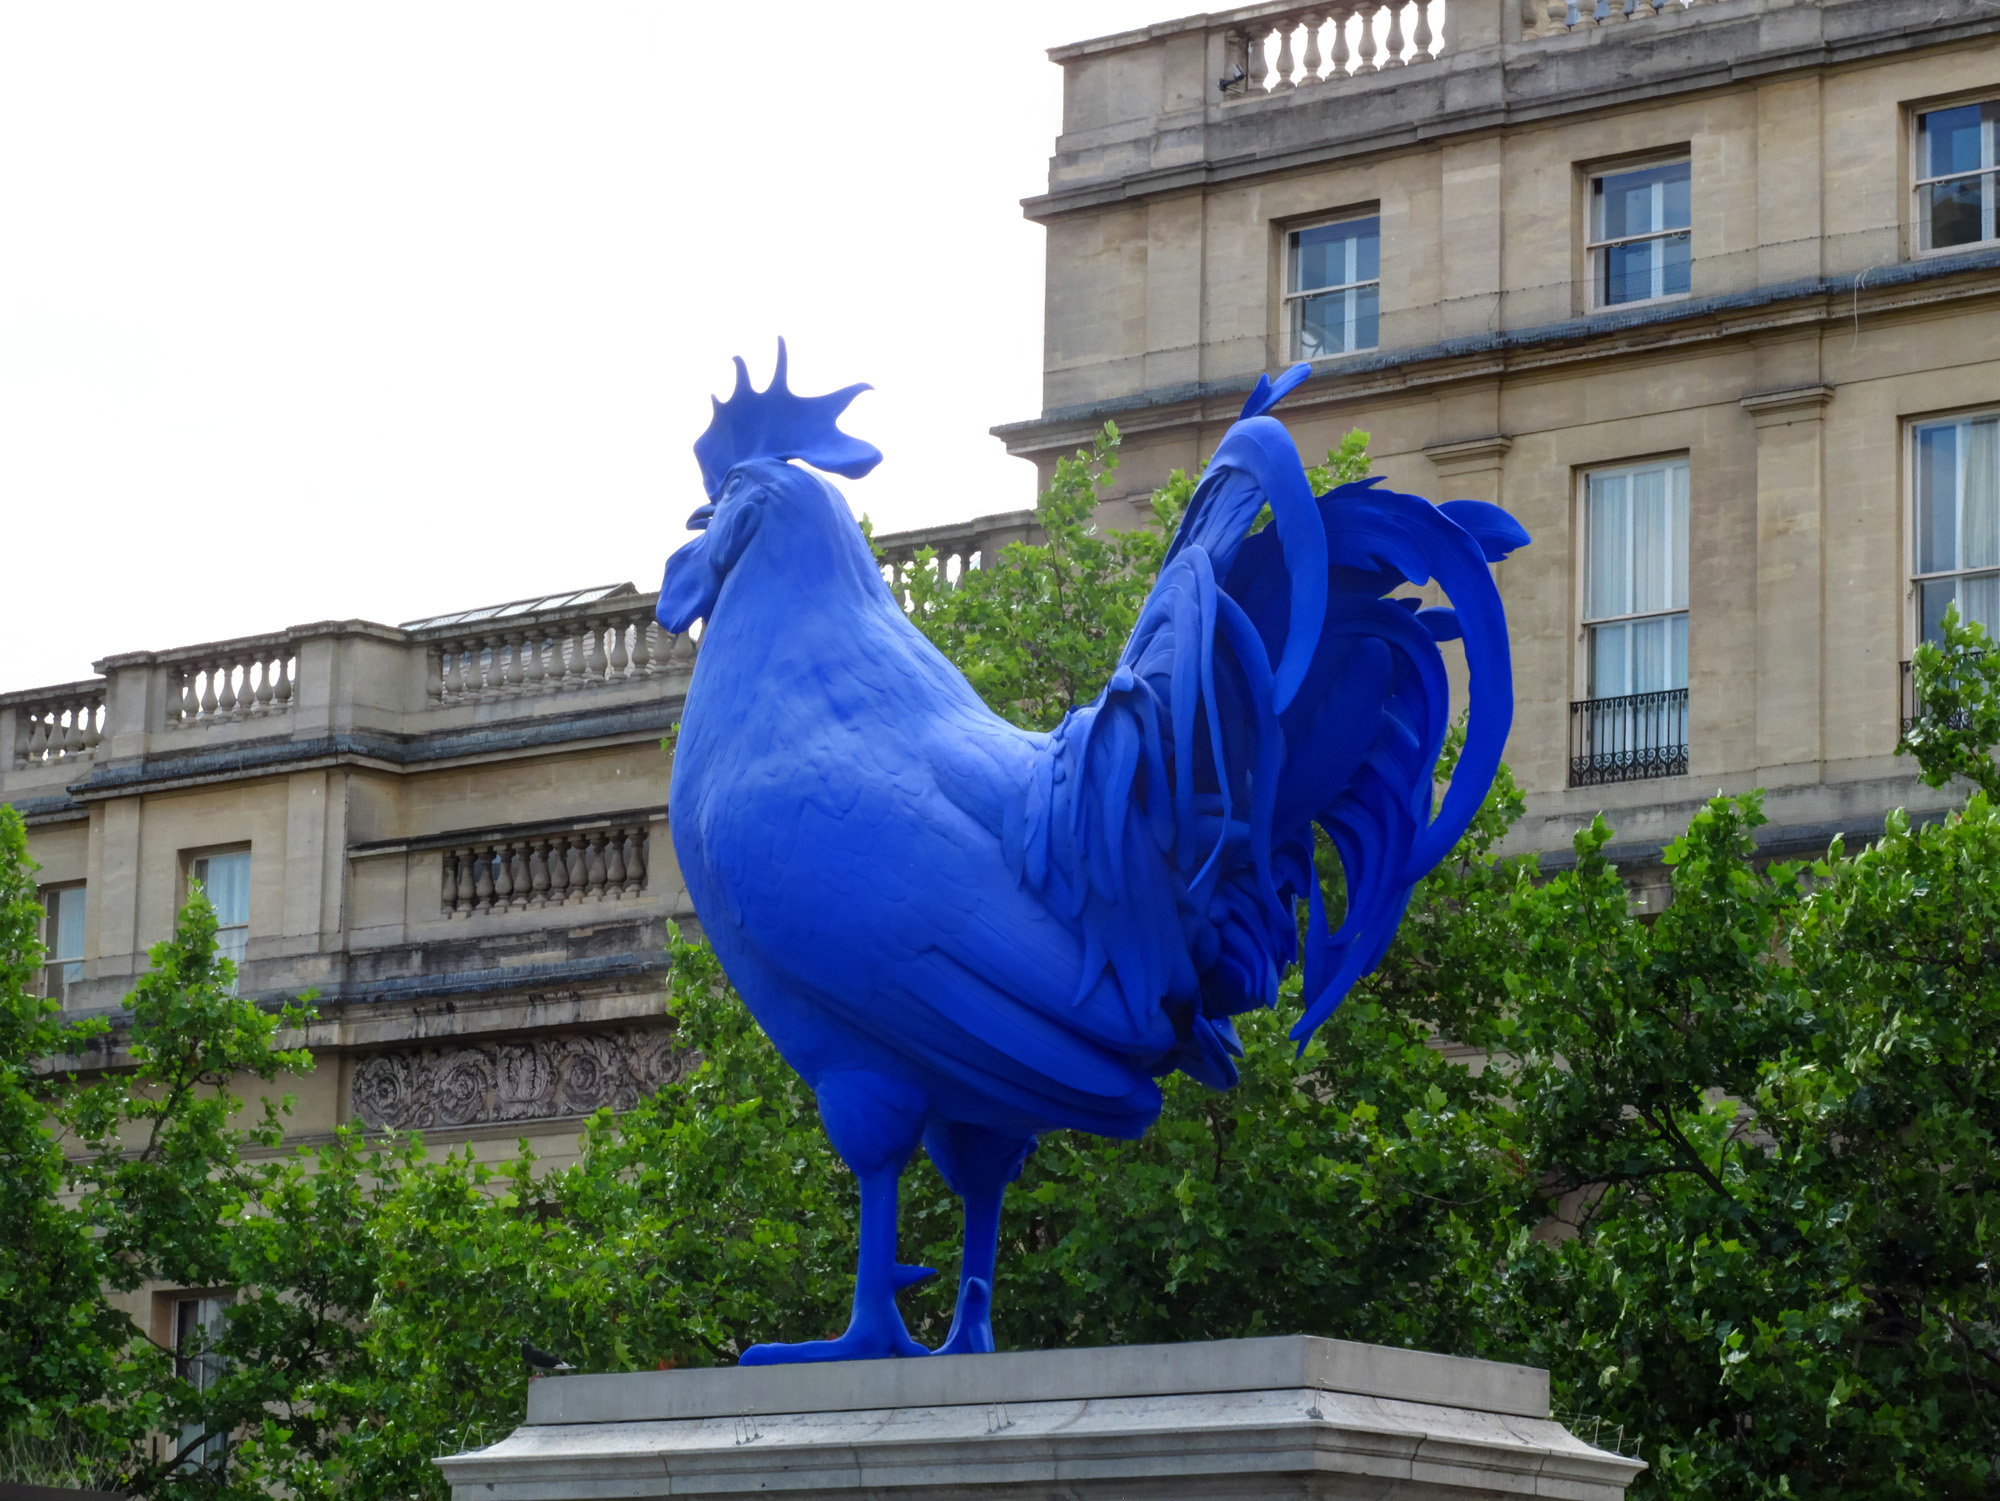


I studied green architecture in the UK this summer, visiting Edinburgh, Glasgow, Nottingham, Oxford, London, and eventually Paris (which I know is not in the UK). Here are some of the photos I took. Enjoy.
Work is progressing on the Dell XPS conversion, but I sorta upped the quality I wanted a little bit, so I ordered a few things to really make it nice. I’ve traced a bunch of leads on the PCB that controls the LEDs on the front of the case, as well as holding the headphone, mic, USB, firewire, power, hdd LEDs, and network activity LED. Dell likes to do things proprietary, which means that making it work with a normal computer is going to be a headache, but I know where things have to go for the most part, and I’ve designed a little continuity tester that beeps when I have a full circuit so I can find the last of the leads I need. While I wait for parts to get in, however, I’m working on other things as well.
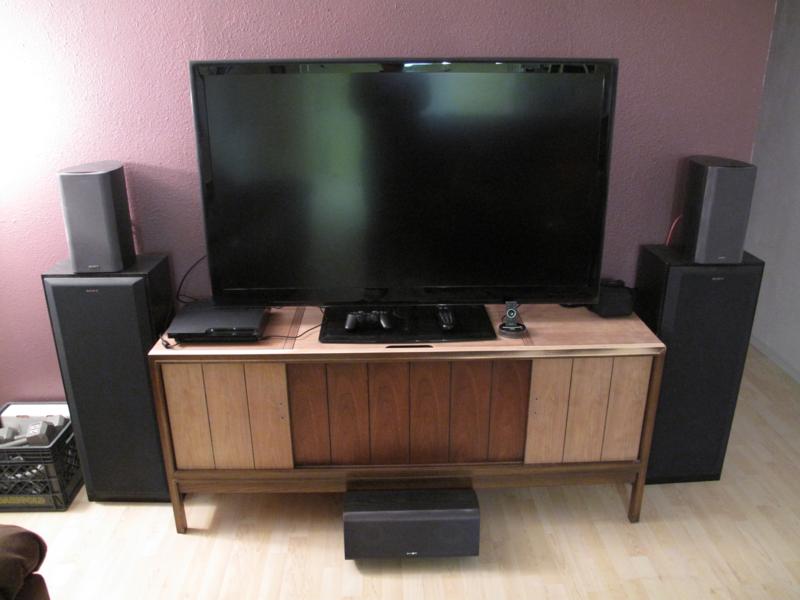
Early last winter I bought a 1960s record cabinet for $25 from a guy off craigslist. My wife, Chelsea, and I knew we were going to get a new TV that I could mount to the wall, and so we knew we were going to get rid of our giant oak media cabinet. It was a monster and dominated our living room. Chelsea mentioned wanting to sand it and re-stain it to match our bookshelf we had stripped and re-stained. I did a lot of work in winter where I ripped out the speakers in the side cabinets and removed the turn table, radio tuner, and amp. I debated whether or not to keep the old tube amp, but I have too much junk and not enough time to find a buyer, so it all got trashed. Sadly, I took no before or early progress pictures, but it was a fairly handsome piece and real sturdy. Here’s the earliest picture I have, with the doors and top sanded.
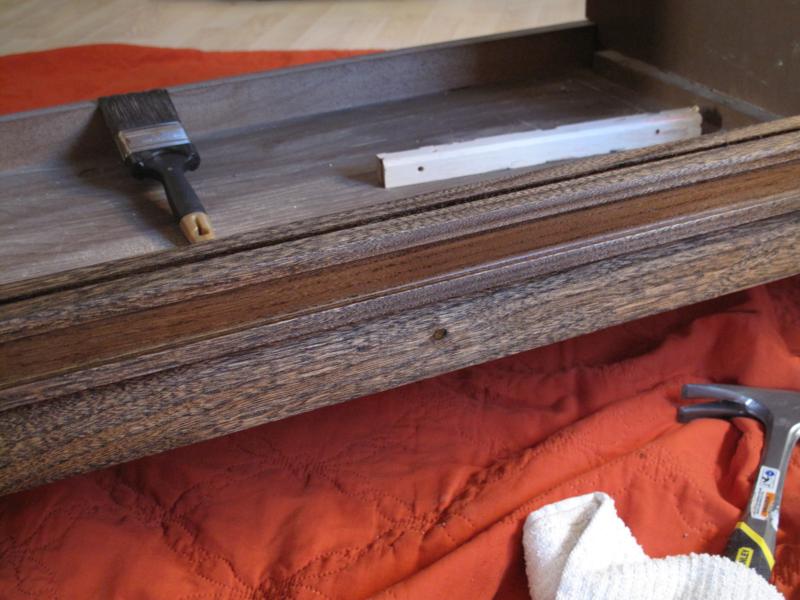
I really don’t have any images of the early progress. I ripped out a lot of stuff. I knew I wanted to make the center part of cabinet open up. I needed to make it into a door. The side parts of the cabinet have doors that slide in a rail. They would slide open to reveal the speakers. The center portion was all for the never-to-be-seen amp, and the top door which hinged up to reveal the turn table and radio. It was never meant to be a door and took forever to remove. I spent at least four hours removing screws and taking a chisel to pieces of wood glued in to hold the whole thing together. Eventually I got the front off. After that I sanded and stained everything. I won’t go into details on that. It really isn’t that interesting and there’s plenty of places online that will tell you how to do it better than I did. Here’s a picture of the newly stained and sealed credenza with the front panel off.

The big thing I’m changing on this is the addition of an IR repeater. Essentially, it takes the IR signal from your remote, then repeats the signal to your devices. This allows you to have all the doors closed on the cabinet but still have control over the devices inside. The cabinet originally had a little light bulb in it that would light up on the outside of the cabinet to indicate that it was on. I decided that placing the IR receiver there would be the most authentic. I ordered a repeater from monoprice.com (awesome site for all your AV cable needs) and got to work.
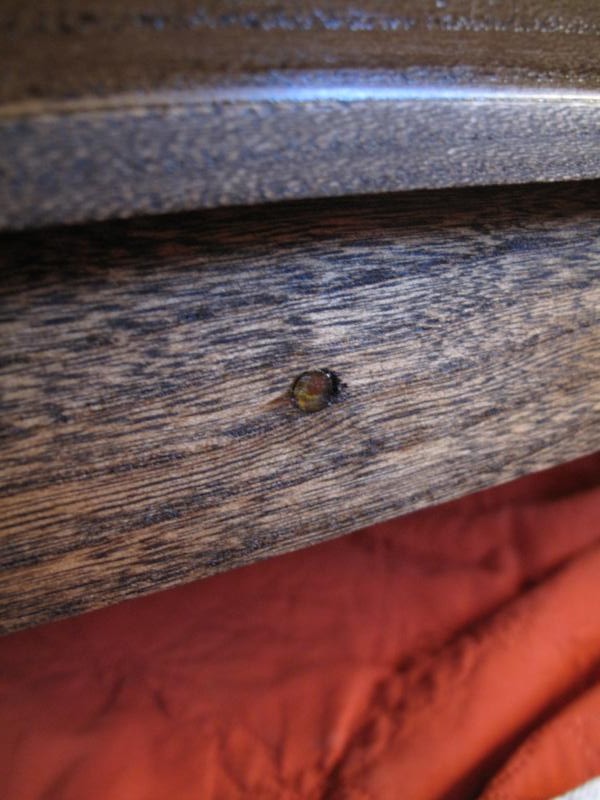
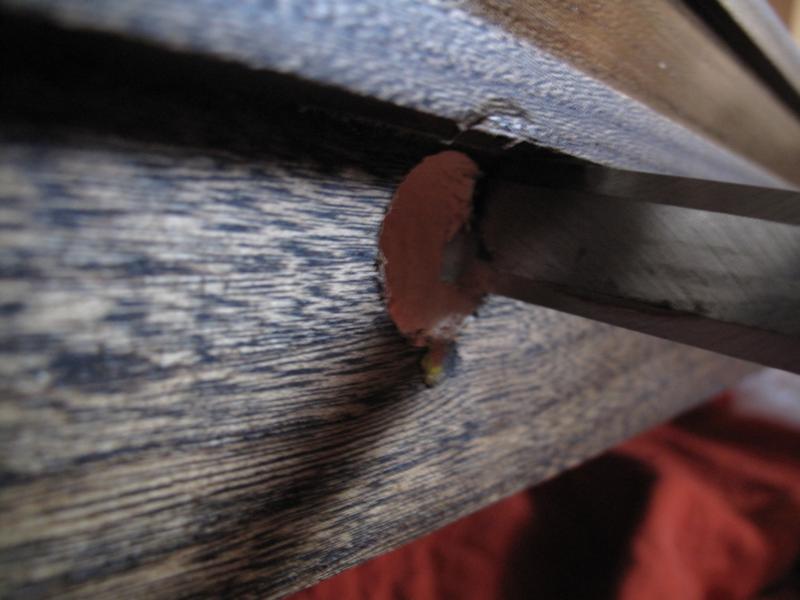
Close up of the light bulb light path. The bulb sat behind piece of translucent yellow plastic and metal in the wood.
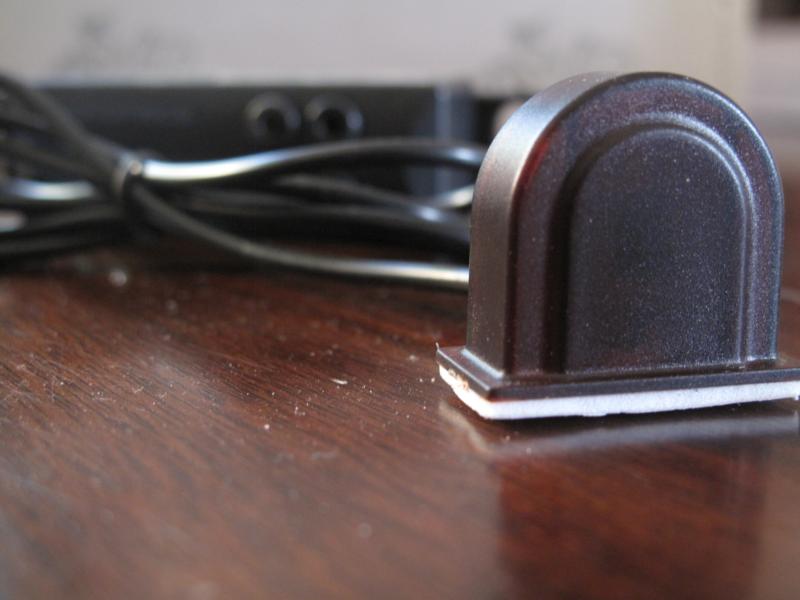
The IR receiver
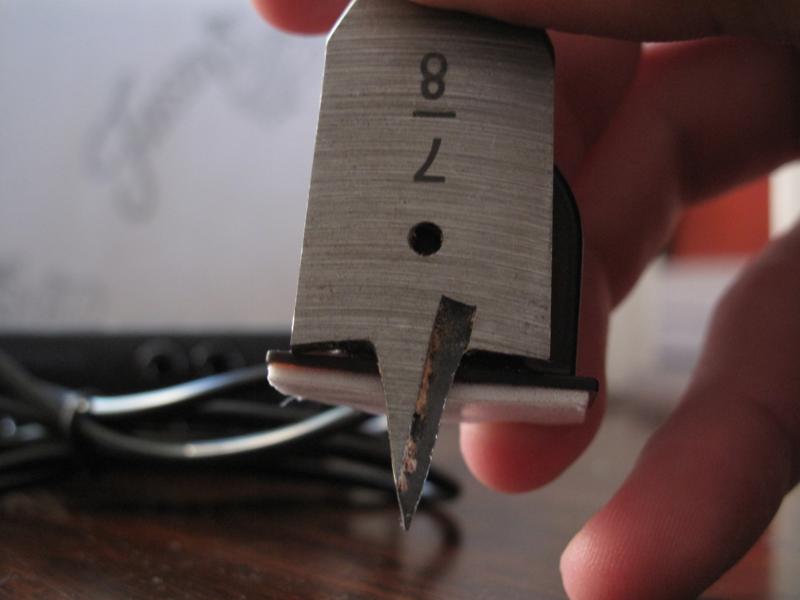
The closest bit was 7/8 inches.
After drilling I had to chisel out the rest. It was fine tuned with a dremel and sanding bit. Then I took the dremel to the IR receiver to cut some unnecessary bits off it as well.
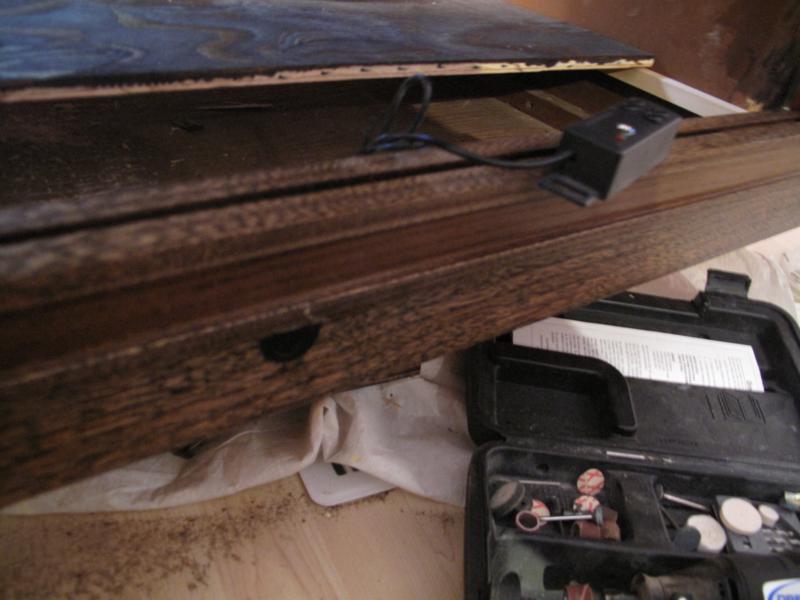
It was getting dark, so I don’t have any good close pics of right after getting the receiver in place, but here it is with the controller and repeater housing. The 1/8 jacks are for repeater leads that repeat the signal out to IR LEDs mounted on each of the devices you want to control.
After that it was time to add some shelves. I got 3/8 inch plywood and cut the shelves to size. They weren’t exact, but close enough, and refined with my scroll saw.
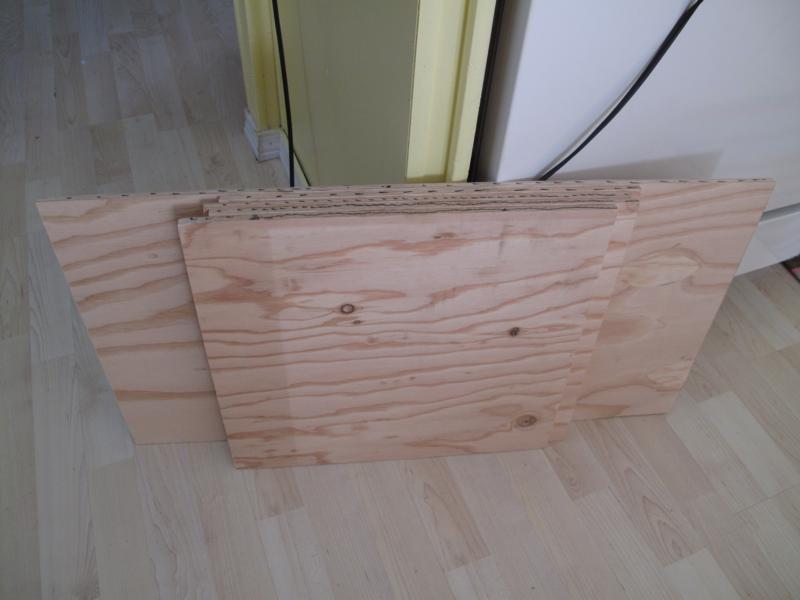
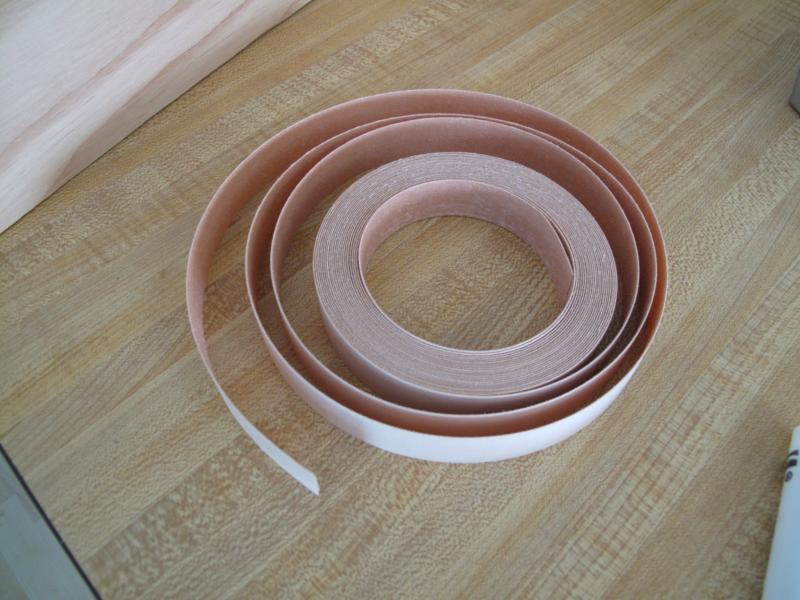
I got a birch veneer to apply to the edges so they look nice. This is ironed on and a glue on the back adheres to the face of the shelves. This in another process that is pretty simple and has nice tutorials online.
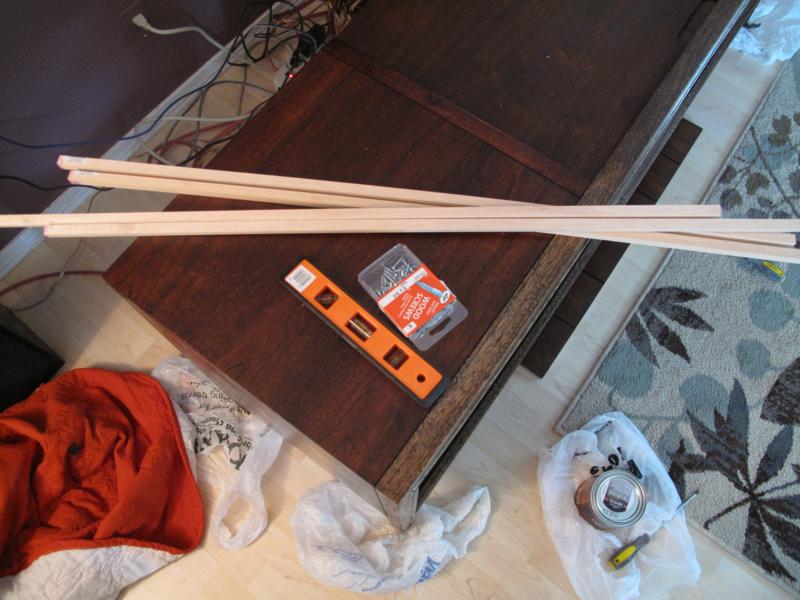
I then got a level and some pieces of wood to cut the shelf mounts. These were screwed and glued in place and the stained shelves were put on top.
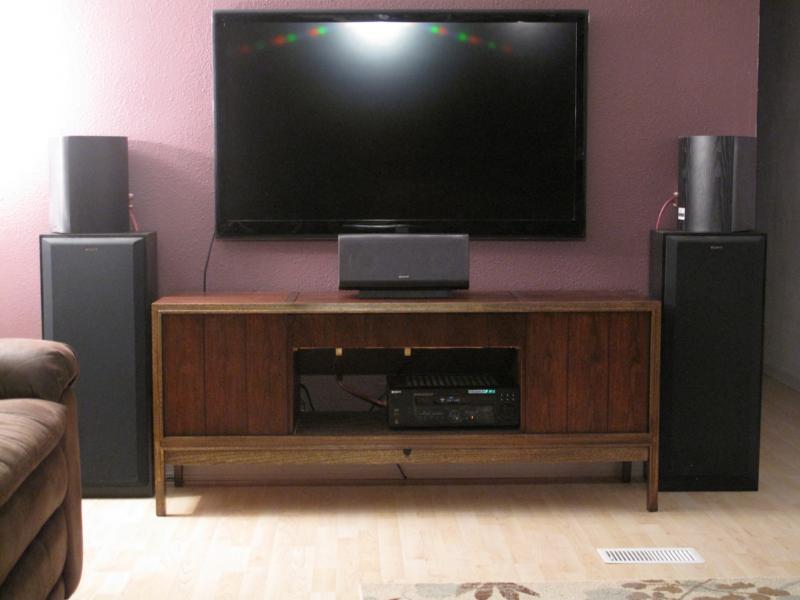
And here’s how it looks now. It isn’t finished yet. I’m trying to figure out exactly how to get the front panel (which was cut into several pieces on the scroll saw) back in place with some hinges. I bought some tip out hinges, but they only go to 45 degrees and despite the claim of being adjustable to 90, I can’t tell how that’s supposed to work. I’m also realizing now that this “almost done” picture doesn’t include pictures of the finished shelves. I’ll get some pictures of them and post them soon, hopefully when the Dell XPS mod is finished as well. I have ten projects I want to complete this summer and time is running by so fast. I’ve only been working on two so far in the past three weeks, and I have officially zero completed.
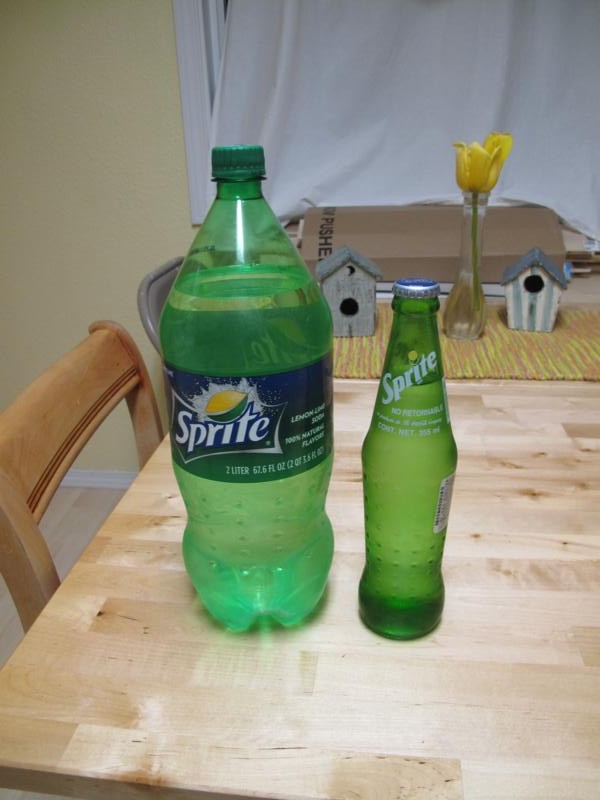
I’ve been seeing bottled Coke-a-Cola from Mexico in stores more and more recently. I had heard people talk about how it tastes better because they use real sugar instead of high fructose corn syrup. It sounded interesting, but I hate Coke . . . and all brown colored colas for that matter. Coke, Pepsi, Root Beer, Dr. Pepper, knock off brands of any of these, I hate them all. But when I was in the store last week I saw that bottled versions of Sprite were stocked, so I bought a bottle and then went to get the 2 liter plastic-corn-fruit-sugar version as well for a comparison.
Here they are in their glory. The glass bottle contains .355 liters and cost $.99. The plastic bottle is your standard 2 liter and cost $1.30.
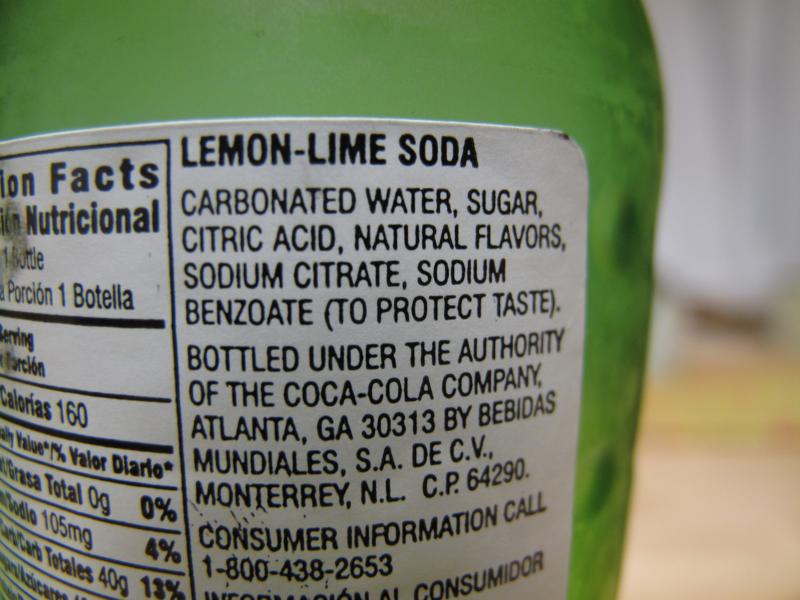
I examined the labels to see if there were any differences other than the sweetener. Nope, everything else is exactly the same.

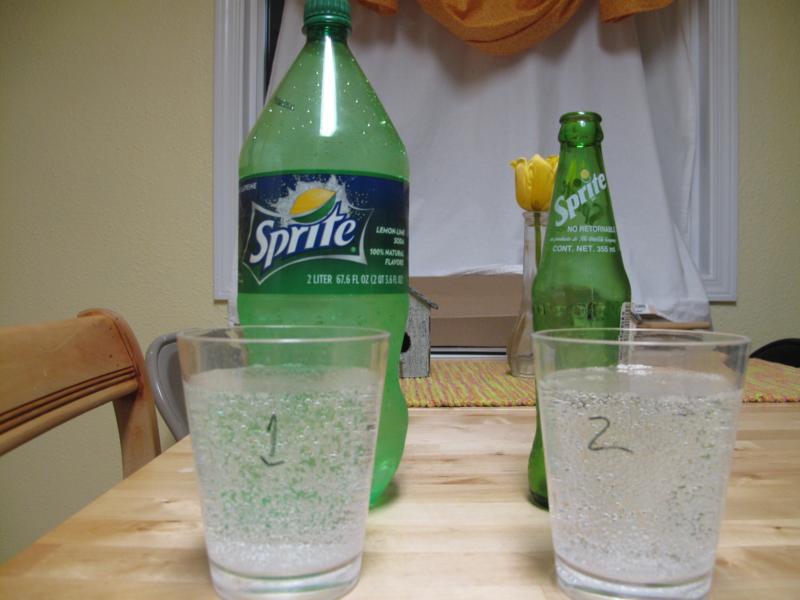
I labeled two cups with a magic marker and poured the different versions. I did this so that the drinking experience would be equal (some people prefer drinking from the bottle or cup) and so my wife Chelsea wouldn’t know which was which. The glass bottle was now empty. I was a little disappointed that .355 liters is only one full glass. I took the cups to Chelsea and had her drink from each.
RESULT
Not only could Chelsea tell the difference, but she identified the “normal” version immediately. She said she preferred it to the sugar version.
CONCLUSION
I personally prefer the sugar sweetened Sprite over the corn-syrup version. I found that it was more crisp and light and felt that the sweetness and flavors were two different things, one complementing the other. The corn-syrup Sprite felt very thick, heavy, and hard to drink. It felt more like lemon-lime flavored corn-syrup than corn-syrup sweetened lemon-lime soda. I should say, however, that I am not a big pop drinker. I don’t usually like the way pop tastes or feels. The carbonation is hard on my throat and rather unpleasant most of the time. While the sugar sweetened Sprite was much less harsh on my throat, and tasted vastly superior to the corn-syrup version, it’s very expensive. If I were a regular pop drinker I couldn’t see myself justifying the price difference. 2 liters of sugar sweetened Sprite would cost $5.50. vs. the $1.30 I spent for the corn-syrup bottle.
The real surprise came last night. I thought my experiment had ended, with me concluding that corn-syrup Sprite kinda sucks and that sugar sweetened Sprite was too expensive. But as I was walking through the store I walked by the bottles and found myself picking up another one. For someone who drinks pop as seldom as I do (I’ll have it at a BBQ every now and then and I only drink water at restaurants), this was surprising. Maybe it’s the fact that I’m not a big pop drinker that a rare splurge on a more expensive pop feels justifiable, or maybe the Sprite is just that good that I find the thought of drinking it pleasant enough to buy it.
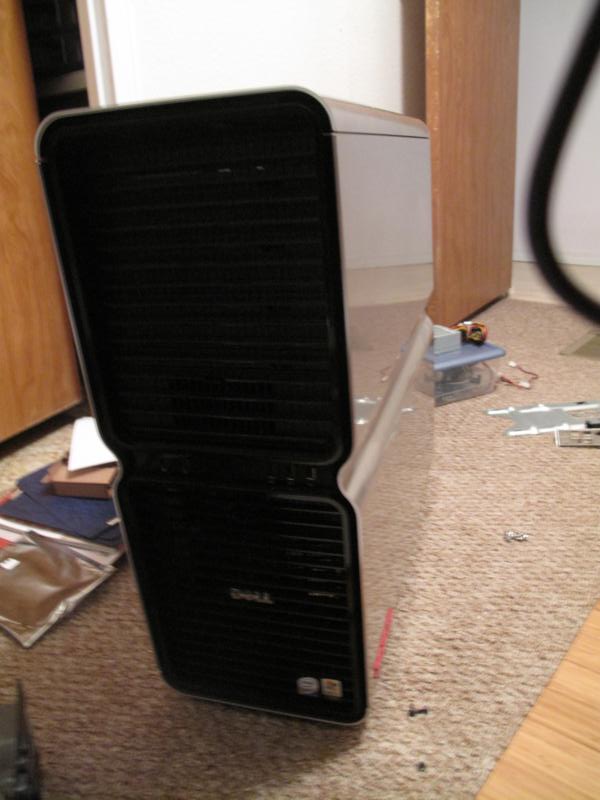
At the end of last summer I got a DELL XPS case at a WSU surplus sale for $15. Now that the school year is over I’m finally getting around to modding the thing from BTX to ATX and moving my current rig into it.
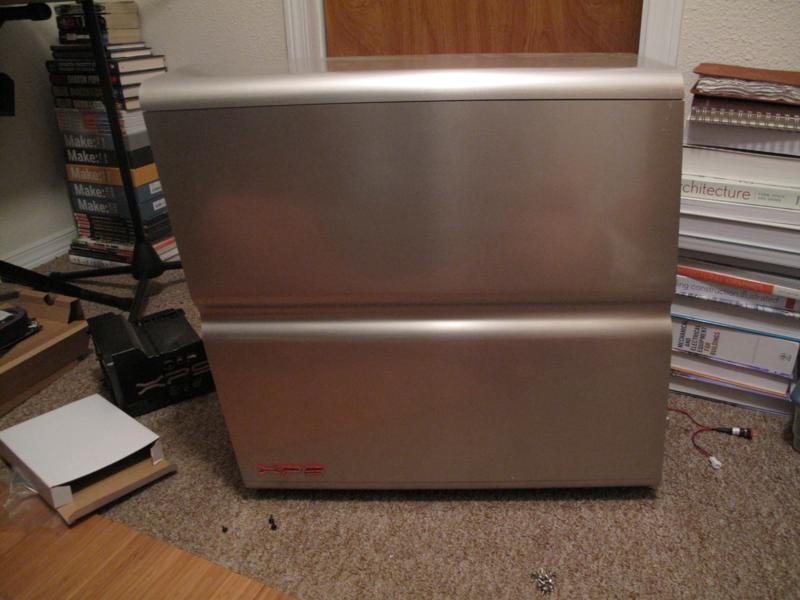
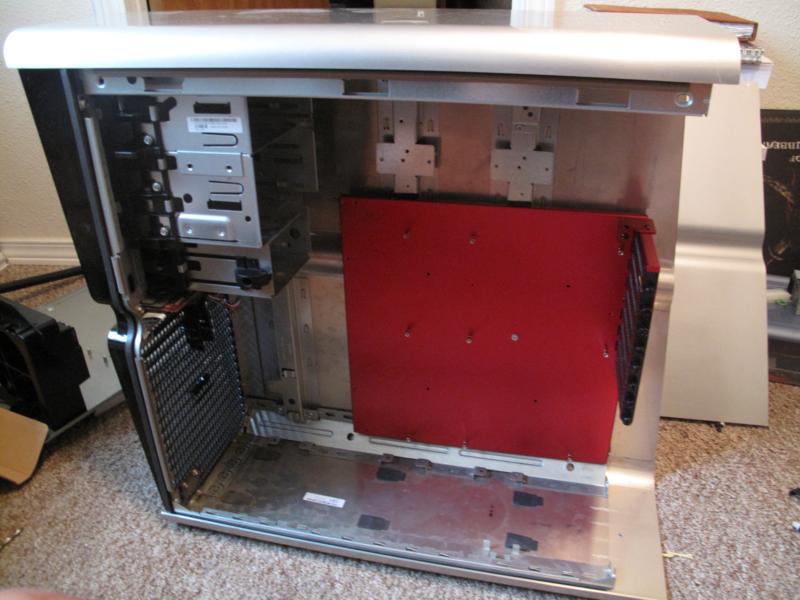
Here are the before pictures. It’s a really solid brushed aluminum case. It weighs about a million pounds and looks great. The only problem is that it is BTX standard.
Here’s the back, where the problems are and the only part of the case I will be changing at all.
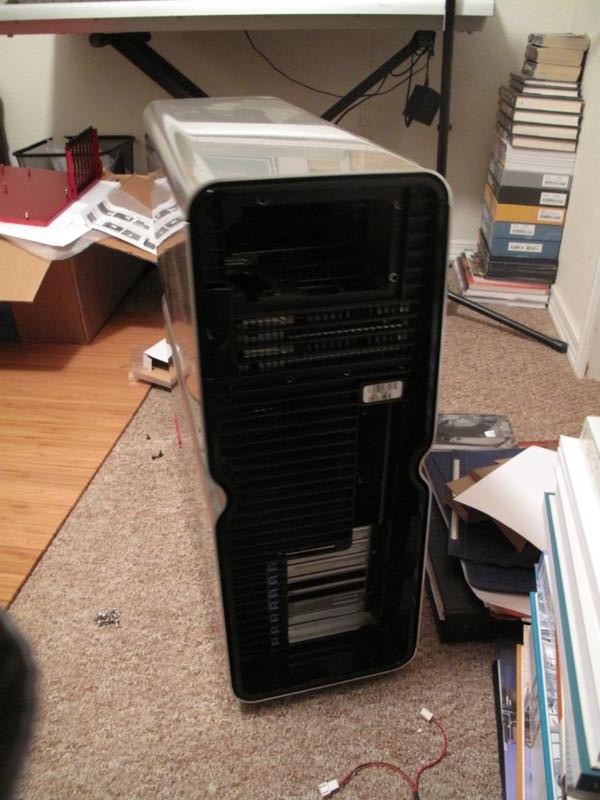
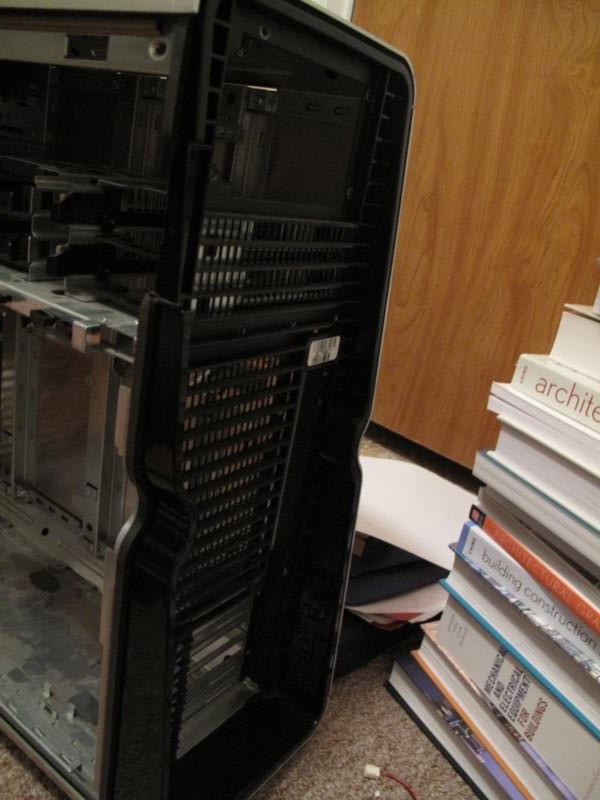
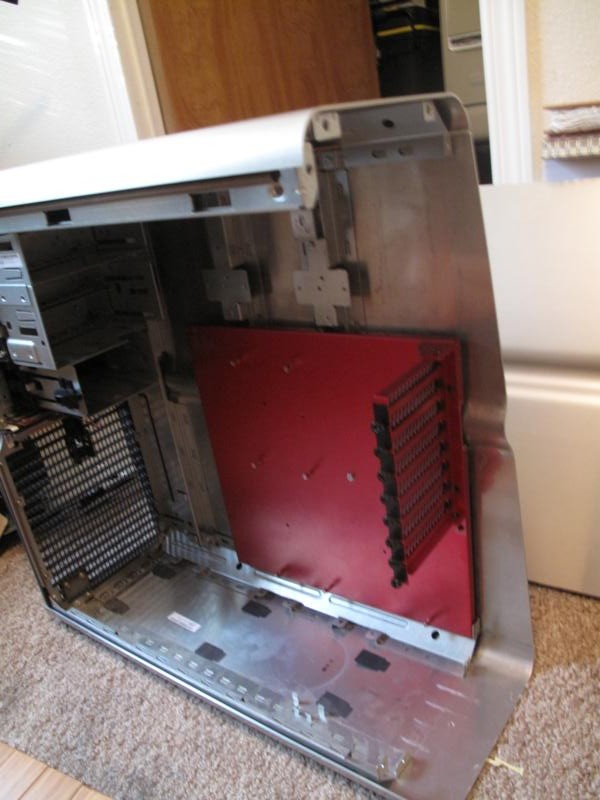
. . . And the side. The case is designed to look like it’s leaning forward.
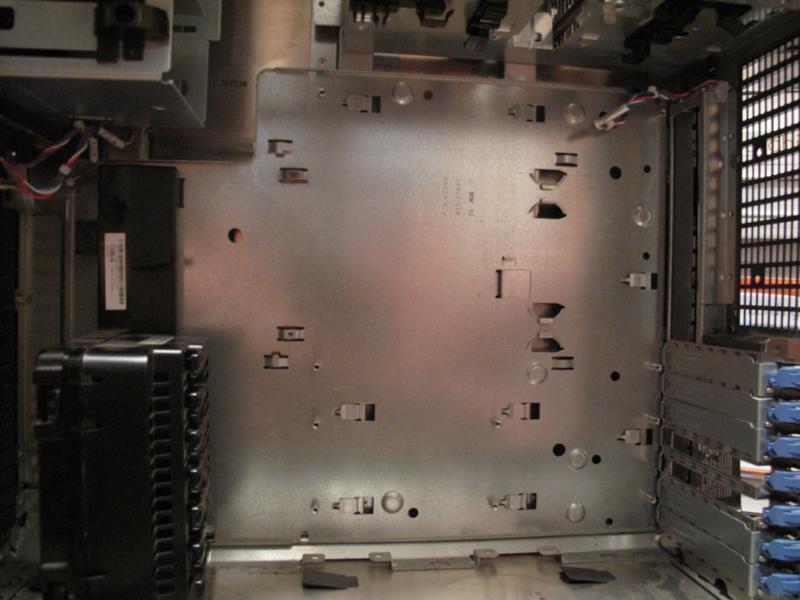
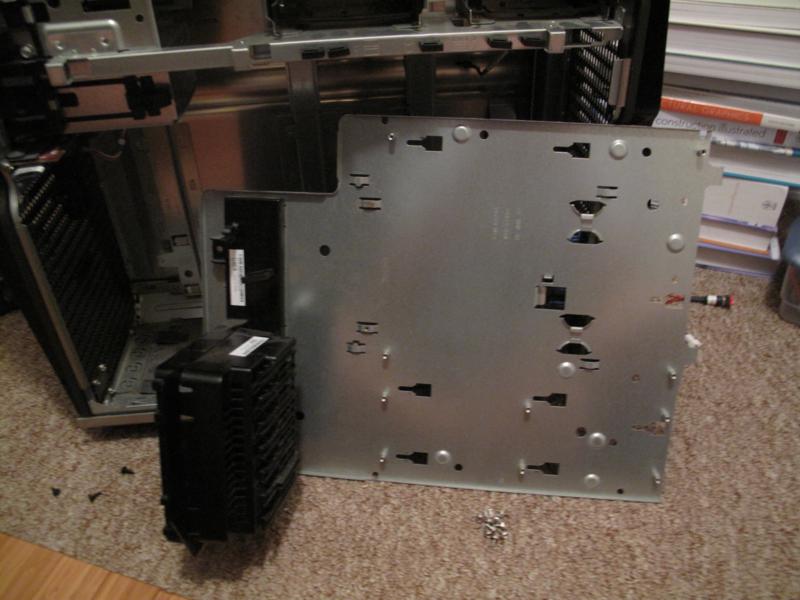
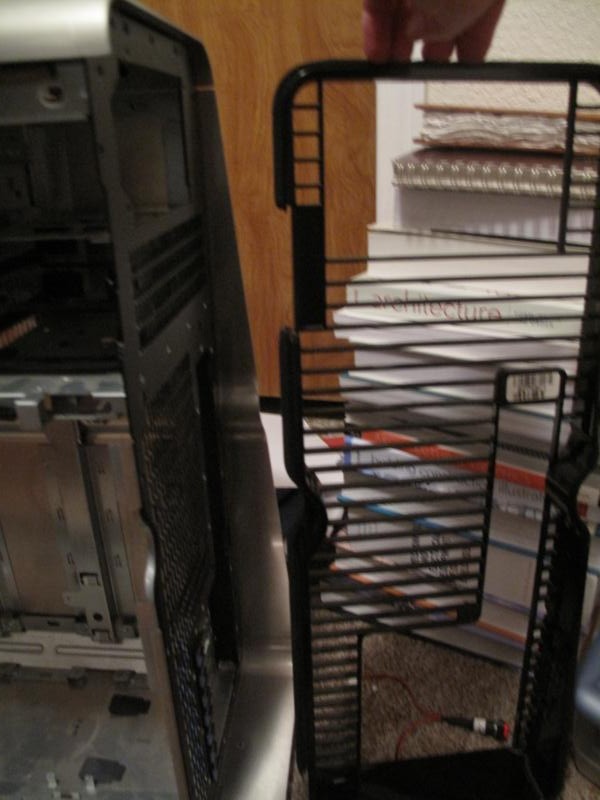
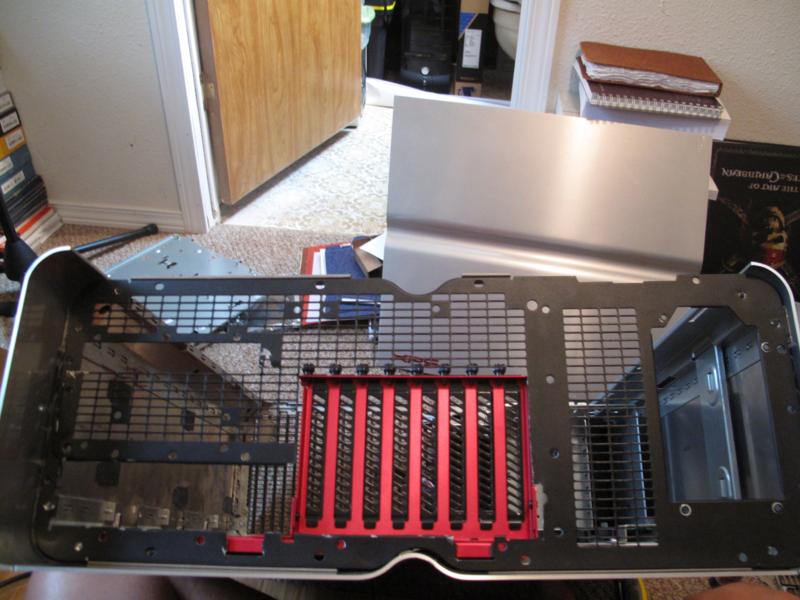
I started by removing the motherboard tray.
I’m going to try and salvage that front bit. It holds a fan and I’ll mod it to hold the radiator on my Coolit Vantage.
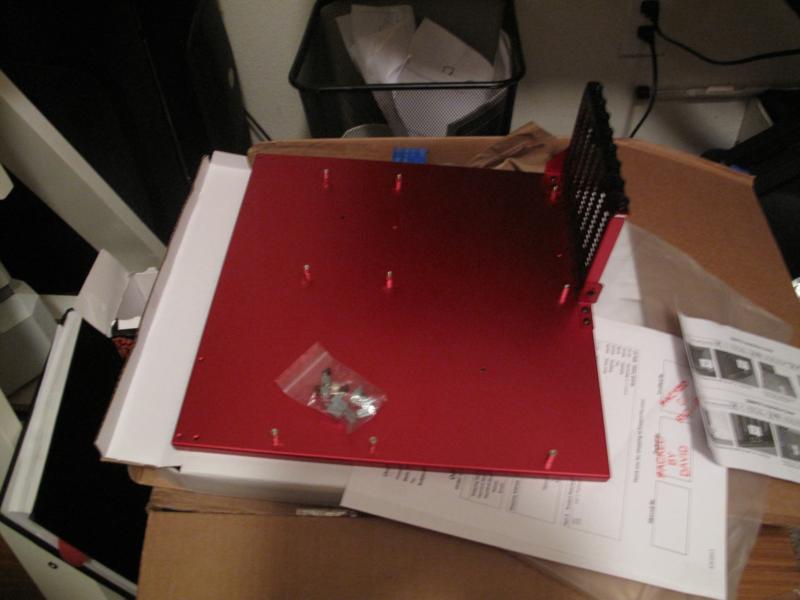
Here’s the new motherboard tray. It’s a Lian-Li something . . . It’s ATX standard and a nice red anodized aluminum. I got it for $50 at performance-pcs.
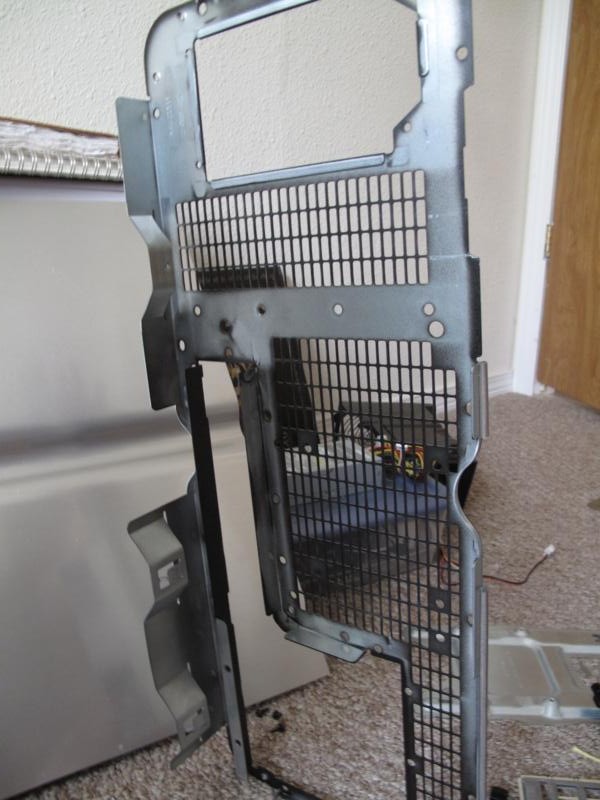
Next step was to remove the back plastic plate. I will have to cut it apart and glue it all back together so it conforms to the ATX standard of everything else.
The next step is where things start to get hairy and where a person can actually mess something up. The back metal plate was riveted to the case, so I had to drill through the rivets to remove it. I’ll have to buy a rivet gun to get this thing back together. It’s about time I got one.

And from the metal backplate I drilled out the rivets holding the IO shield. This will eventually go, but it has a neat LED array at the top so you can light up the back of your case to get things plugged in and out. I’ll be recycling that.

Next, I marked out everything that needed to be cut out from the inside so the new motherboard tray can be mounted. I cut everything out, did a few test fits, then drilled and tapped a few holes so the motherboard tray would be flush and secure. I’ll probably add a few more screws to this before I call it done.
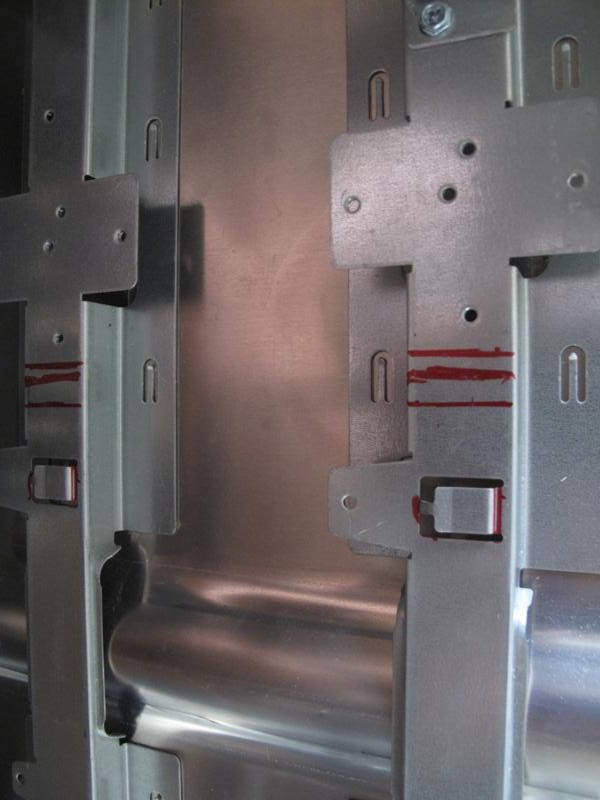
After the motherboard was mounted I marked where the metal back plate needed to be cut. I would then cut it and hold it up again to make sure everything fit, and then made more adjustments until I liked the way it looked. I replaced a big area I had cut out for the new expansion slots and glued it to the location of the old ones. This is good enough for me at this point. The plastic back plate that goes over this will have to be modified as well, but will cover any imperfections the metal plate has.
That’s all for now. I need to get 5/32 rivets to get everything back in place, and I need to start and finish the plastic back plate. After that though, this will be finished. The whole point of this mod was to take the BTX case and make it ATX. It doesn’t have to be pretty since it’s the back of the case, but I’m going to do my best anyway.
I’ve been cleaning up a lot of my old stuff lately, trying to consolidate and shrink down all my old stuff.
In order to do this I’ve been going through my Legos. I have a lot and when I moved out and packed them up I didn’t want them to get messed around with. Of course, that’s exactly what happened. So today I sorted through two unsorted bins of Legos to get everything back in order. The weird thing is, the entire time I was sorting all I felt was the desire that my little brother had gotten into all the Legos a lot more. They’re meant to be played with and enjoyed and I’m sure he would have had a lot more fun with them if he hadn’t worried about me getting upset.
On a similar note, in my attempt to consolidate and get rid of things that I don’t use I found a bunch of stuff I raided from my older brother when he moved out. I hope he understands. I’ll try to get it back to him this month.
I listed some Viagra pens on ebay today. I think I’m going to list a bunch of Legos tomorrow. For my mildly amusing Viagra listing, go here: Impressively Large Collection of Viagra Pens


Plus some other stuff.


The time for submitting videos to the contest is over. The guys at Valve are now trying to pick a winner. There are a lot of methods they are using to try and pick a winner. One is having people vote in a thread in the forums. Please go there and vote for my video. All you have to do, aside from registering, is post something along the lines of this,
“My vote goes to modsandends. His video had the best narrative story. I was moved by it and cried at the end it’s so sad. http://www.youtube.com/watch?v=zmBjvIMvhV4”
Here’s a link to the thread. To vote for me go here and post something like what I quoted above. Please go help me out, even if it takes you an hour (which it won’t). http://forums.steampowered.com/forums/showthread.php?t=1459966
Just make sure to post in that thread and link to my video: http://www.youtube.com/watch?v=zmBjvIMvhV4
Also, tell your friends. Get them to register and vote for me!
I talked a little bit about a contest going on right now where you make a music video for the midnight riders.
You can’t click the link in youtube because you are here, so here it is: http://www.midnight-riders.com/videocontest/
Well, I’ve been working pretty hard on my entry so here it is. This took about 40-50 hours to do, and somewhere around $100. It was pretty fun and I learned a lot. I know it’s not perfect, but here it is. Leave a comment and let me know what you think! Also,watch in 720 or 1080p because I went to all the effort to make it in those resolutions.
Since I was busy making stuff for the Midnight Rider’s video, and since I was building a solar site evaluator for one of my classes, I decided to go ahead and build a bike rack. My wife and I recently got nice bikes and they’ve just been stuck in the kitchen. It hasn’t been ideal and I thought a nice bike rack would be perfect.
I drew out some plans and got it together pretty quickly. I also filmed all the Midnight Rider footage and built a solar site analyzer. It was a busy weekend.
The results:
