Back in December I purchased the Zune80. I was tempted for a while to get the Zune30 to replace my 20gig iPod that has slowly been dying, but decided to wait for the Zune80 instead. Here I will go through the review and give a final score.
If you have not yet heard of the Zune, it is a portable media player that is able to play music, videos, radio, podcasts, and display pictures. I got my Zune80 at Target for $250 and brought it home.
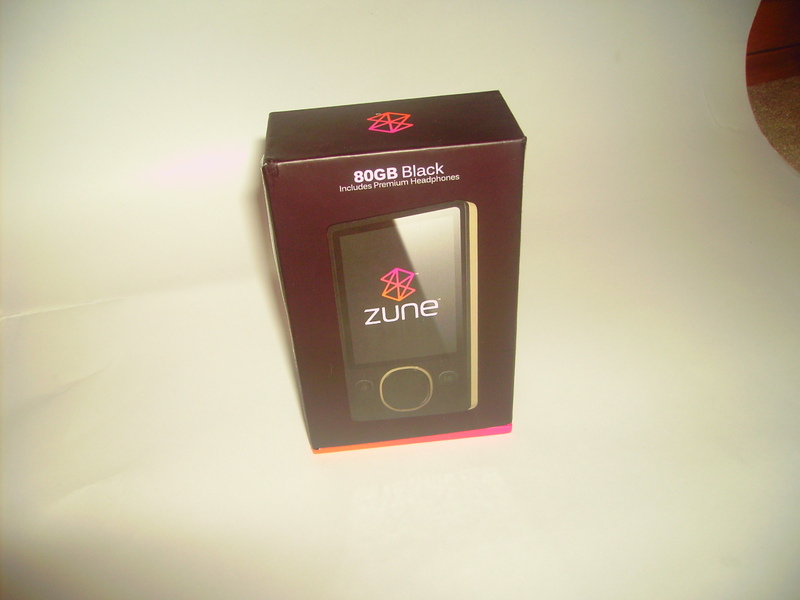
Unpacking
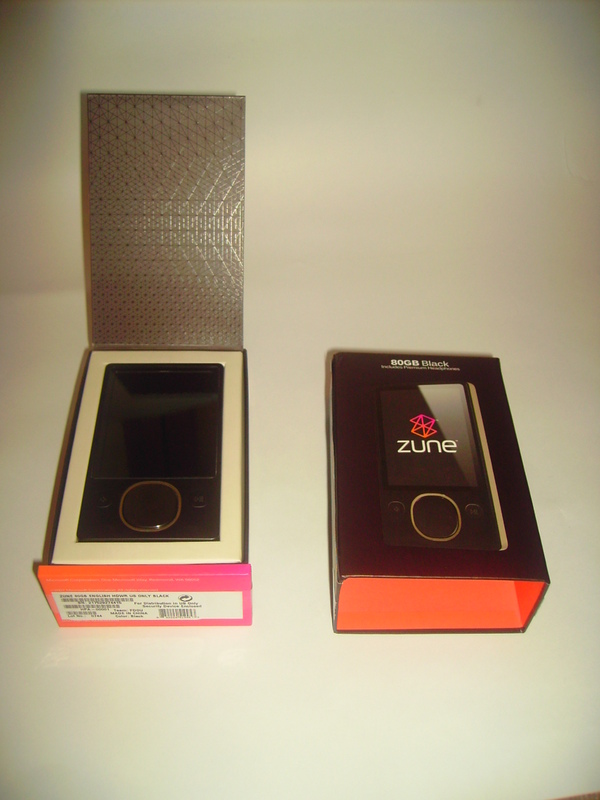
Here is the box.
From the back.
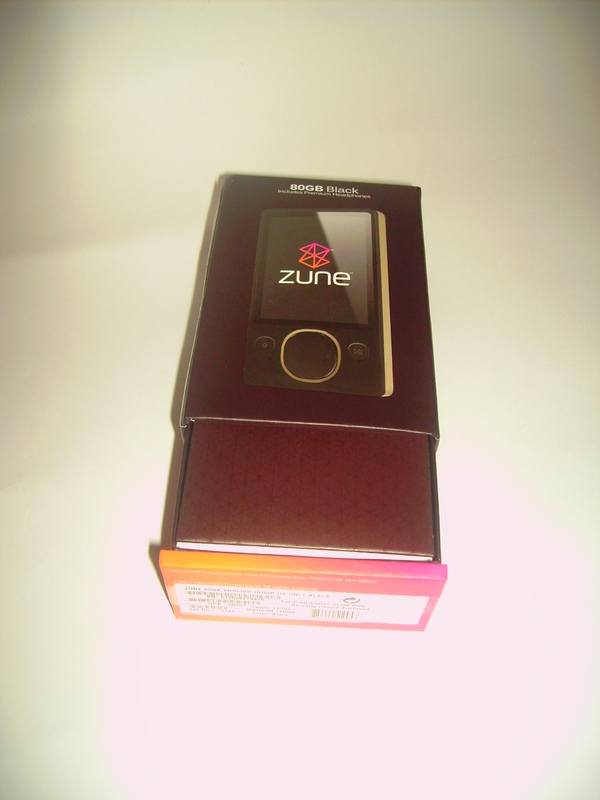
The top of the box slides off the bottom vertically. The design is pretty cool considering the whole thing is made from cardboard. I like the orange/pink fade theme that Microsoft uses. Very cool.
Inside the base is a box with a flap; lift the flap and you will see your Zune.
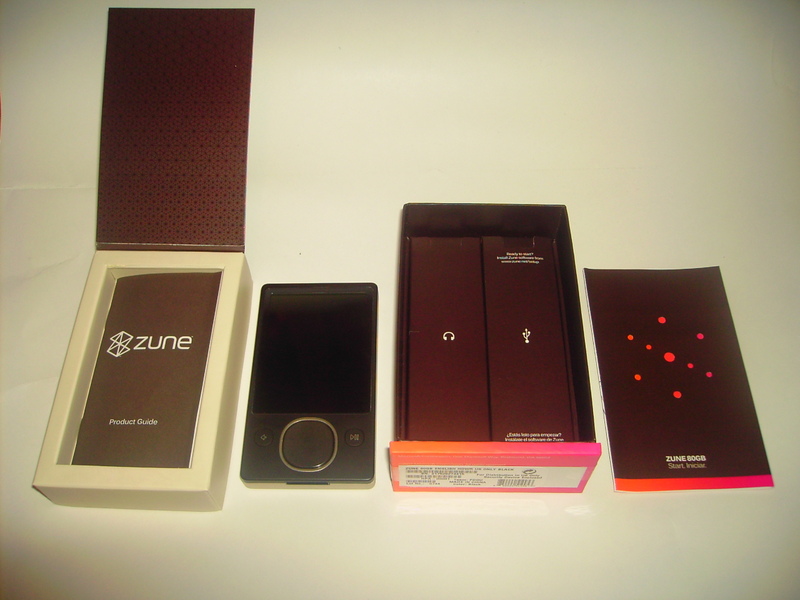
The box that holds the Zune is removable. Behind it are boxes that hold the USB cable and the headphones.
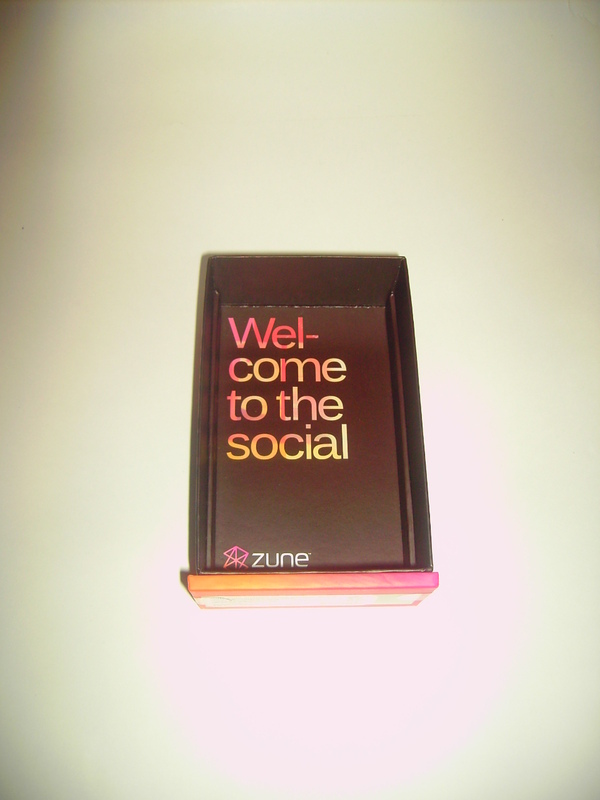
Underneath those boxes is a cool graphic that reads, “Welcome to the Social”
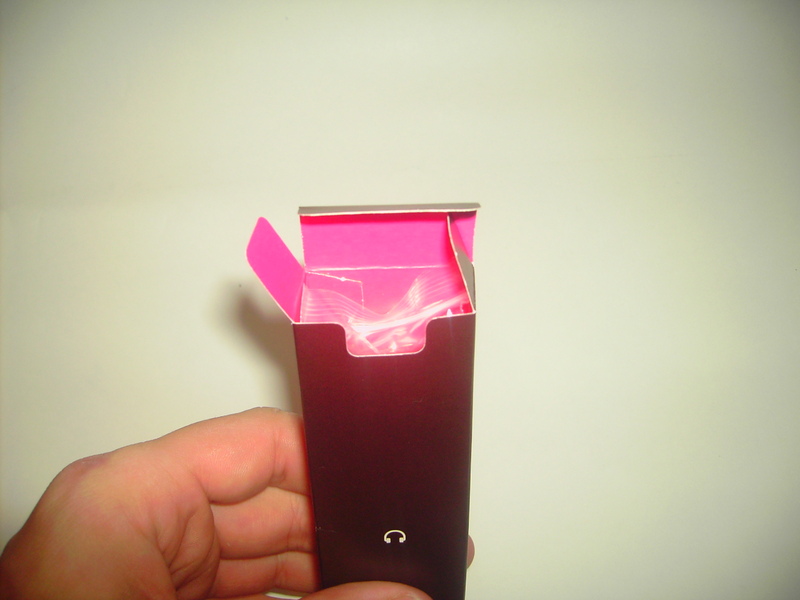
Opening the headphone box you can see that the orange/pink theme is even carried to the inside of the box. Details like this make the packaging pretty darn cool.
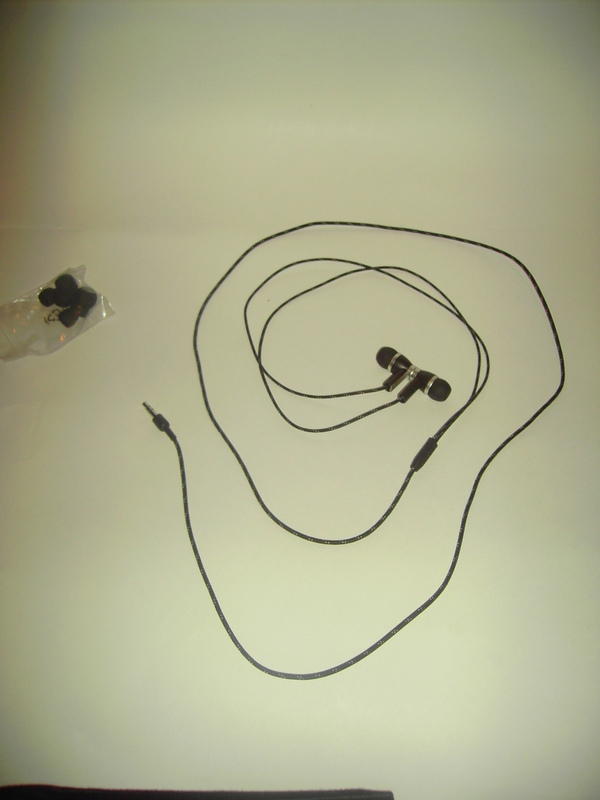
Here are the Zune Premium Headphones. The cord is wrapped in woven nylon and the earbuds are magnetic to help with tangling issues. The earbuds come with three sizes of covers, for variously sized ears.
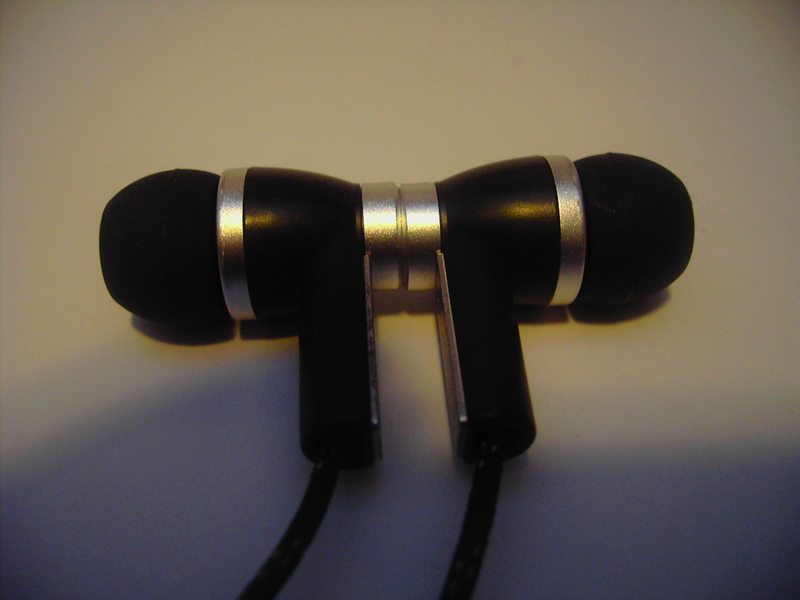
Here are some closeups of the earbuds.
Magnetically held together.
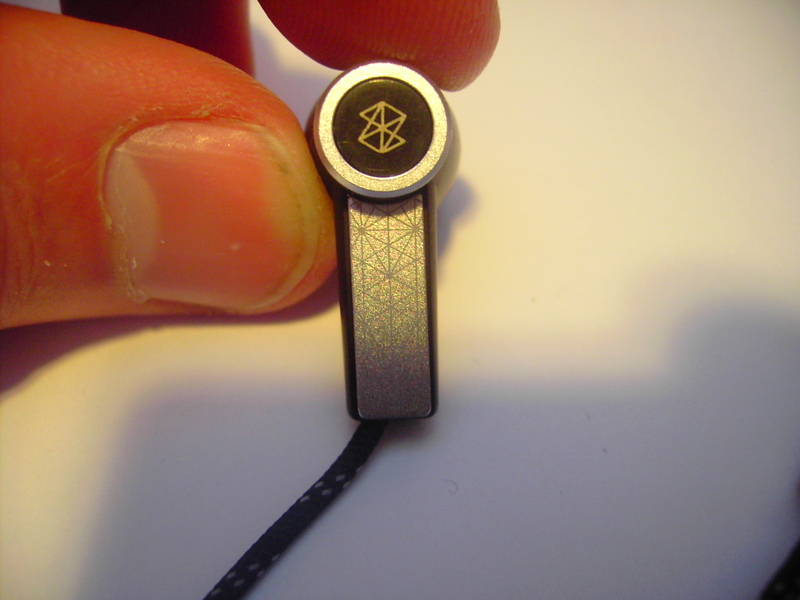
Side shot.
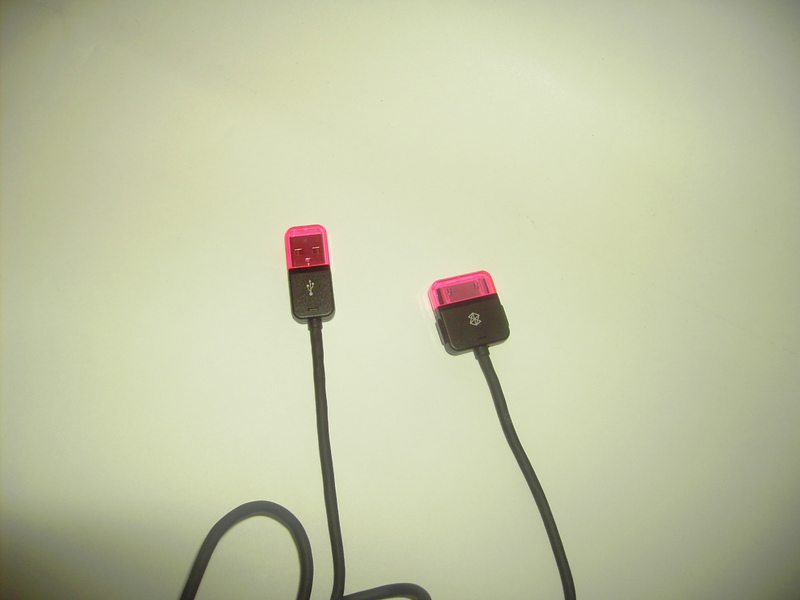
Here is a shot of the USB cable for the Zune. It comes with pink shields that are pretty cool in all honesty.
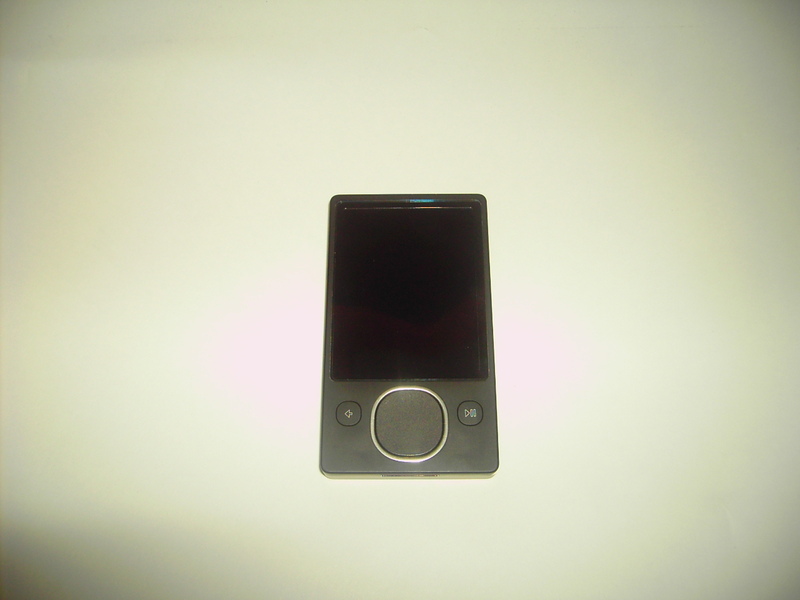
Finally some shots of the Zune.
Zune alone. The screen is glass which makes it very scratch resistant, but to protect it even more I added an Invisible Shield screen protector from ZAGG. I am sold on their screen protectors. You can go to their site here and see the gizmodo test here. You can also see another torture test here.
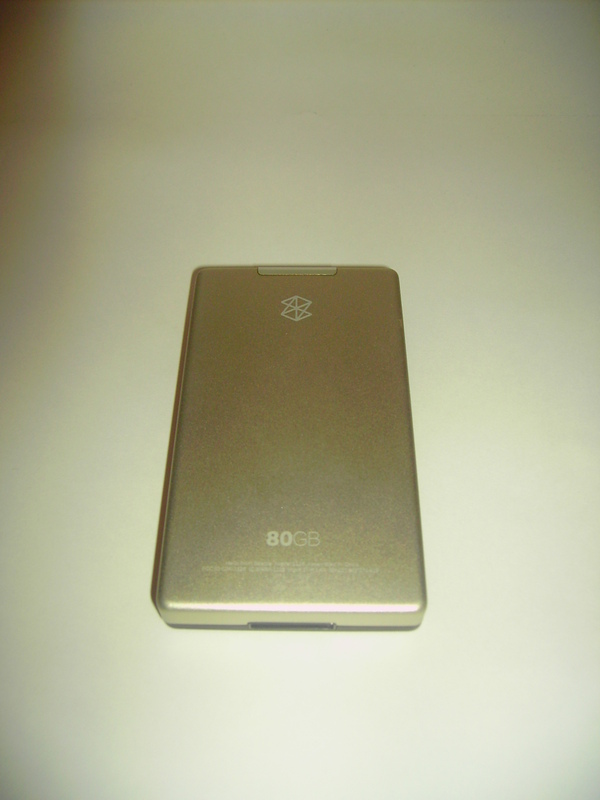
The back. Too small for me to get a picture of is that is says “Hello from Seattle” near the bottom with the serial and model numbers.
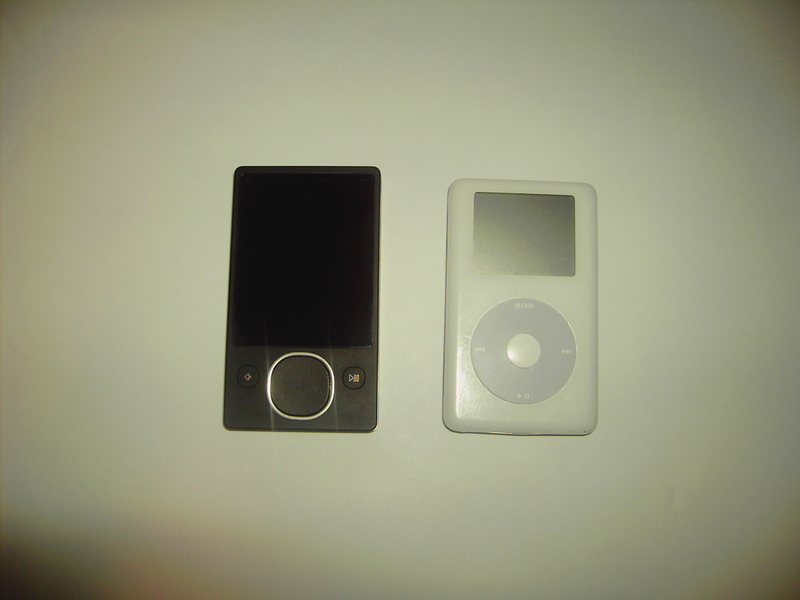
A comparison shot to my old iPod.
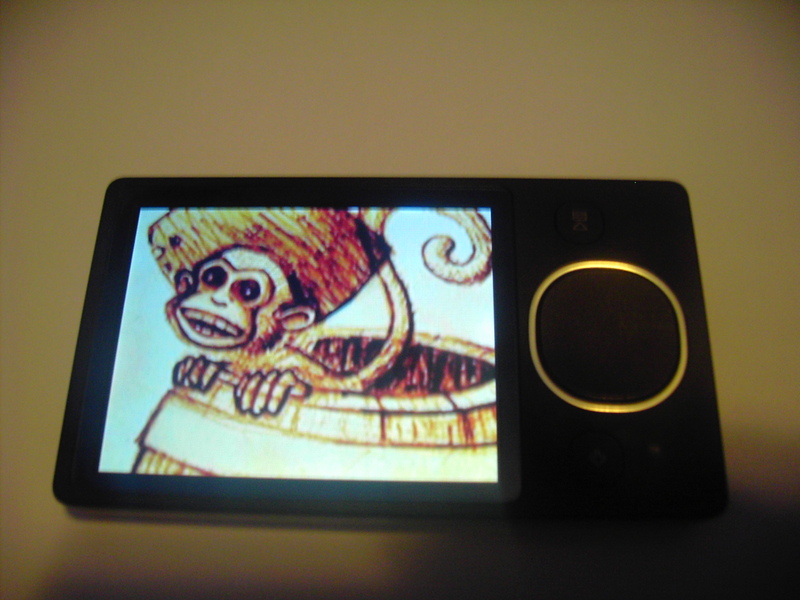
A shot of the screen.
Specifications:
Capaicty:
The Zune has hard drive based storage with a capacity of 80Gb.
Dimensions:
It’s 4.26 x 2.41 x 0.51-inches.
Screen and Resolution:
It has a 3.2 inch screen with a resolution of 320 × 240, but can output to a TV at a resolution of 720×480.
Compatible audio formats:
Mp3, AAC, and WMA.
Compatible video formats:
Mpeg-4, and WMV.
The Zune could not be used in the slightest until I had installed the software on my computer and updated some firmware on the Zune. This was very frustrating as I knew that there was music and video on the device already. Once the software was installed, however, I was pretty very happy.
Software Pros:
The software automatically updates the music in your collection by actively searching the folders you have designated to the Zune. If there is any new music or videos, it gets added to the library, no work from you. This is a huge plus for me.
Software Cons:
The software is very clunky. Very often it will freeze when opening a song. This is frustrating, but I don’t usually use the software for media playback. I mostly just use it to get the media from my computer to the Zune.
There are also issues with music with an unknown artist. If there are several CDs or songs with an unknown artist, they all must be changed to the same artist. I discovered that this is because the software doesn’t search the metadata to know these things, but searches for where the file is located to name the artist. If you rename the artist, the folder containing the music will be renamed. This can be fixed by going into the folder and sorting the music out, which in the end is better because it forces you to keep your music organized, but is still irritating.
First Impressions of the Device:
It is not much bigger than an ipod, and weighs about the same. The big improvement is the 3.2 inch screen. It is a lot easier to see than the ipod’s. Microsoft was also smart to make the words big and easy to read. The “squircle” is a really cool interface, but I find that it is a lot harder to use the touch function side to side than it is up and down. One drawback of the squircle is that people inevitably try to use it as a scroll wheel  . Music playback is great. I love the menu and how you can navigate between lists of artists, genres, albums, and songs without having to go back first. This is a big improvement over the iPod.
Music sounds great. The headphones are noise isolating, so they block out some outside noise. Bass response it decent, but when I went to equalize it I was unpleasantly surprised.
NO EQUALIZER!
The lack of an equalizer is a huge oversight in my opinion. It’s frustrating on many levels. However, the sound quality overall of the Zune is enough for me to forgive the fact that I can’t adjust it. Music sounds clear and crisp. Details are not lost. In the end I am ok with no equalizer, but I hope that they release a firmware update soon to add one.
Video is amazing. The screen is bright and big. The resolution may be the same as the iPod, but the fact that I have so much more screen to look at means that I actually use the device to watch movies and TV shows. It’s really very beautiful and something you have to see in person to really appreciate.
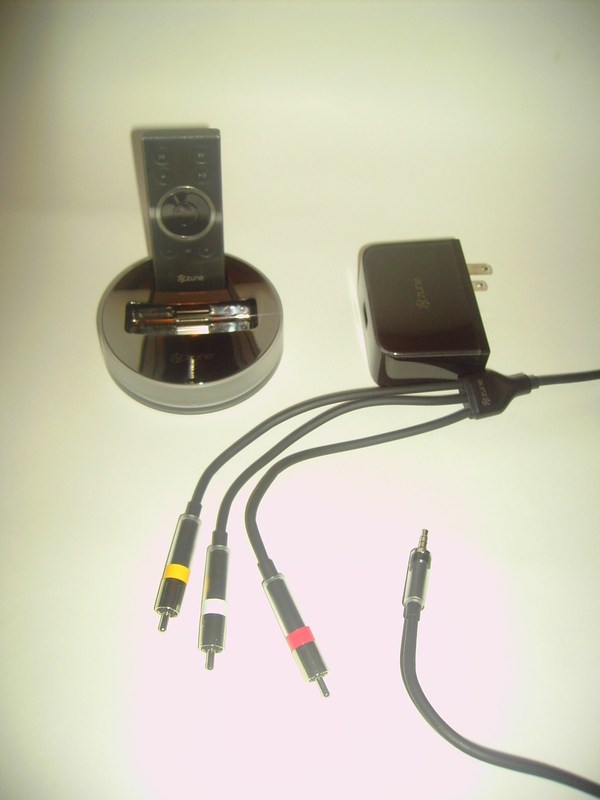
Zune AV Station
I have a friend who purchased a Zune30 and in the end was unsatisfied with it and returned it. He had the Zune AV station (which was un-returnable) and asked if I wanted it. I said yes, so here are some shots and my impressions of it.
Everything.
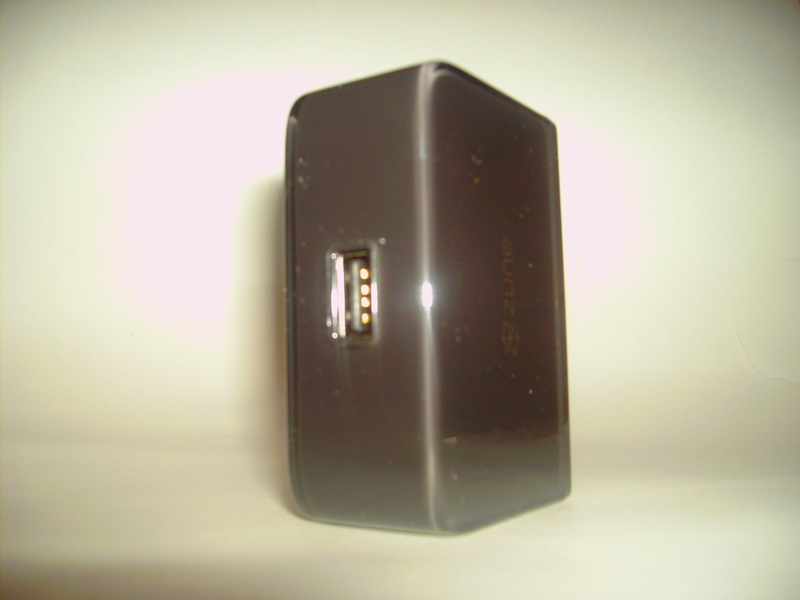
The AC adapter. Really it just turns AC power to USB. You use the same USB from your computer to power the dock, although another USB cable is included.
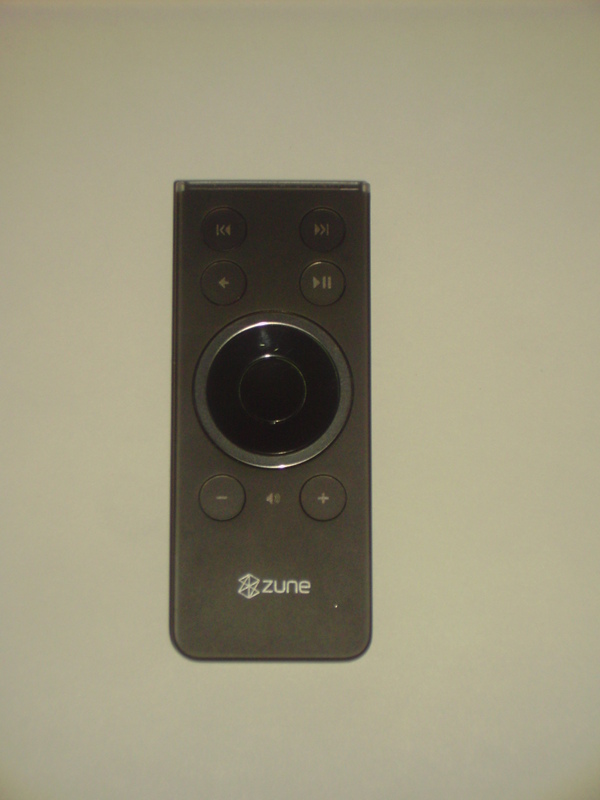
The remote.
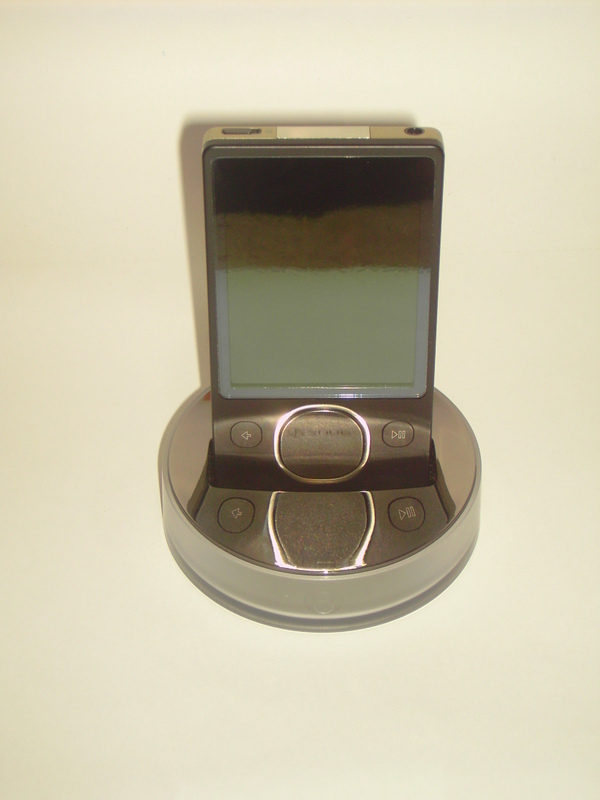
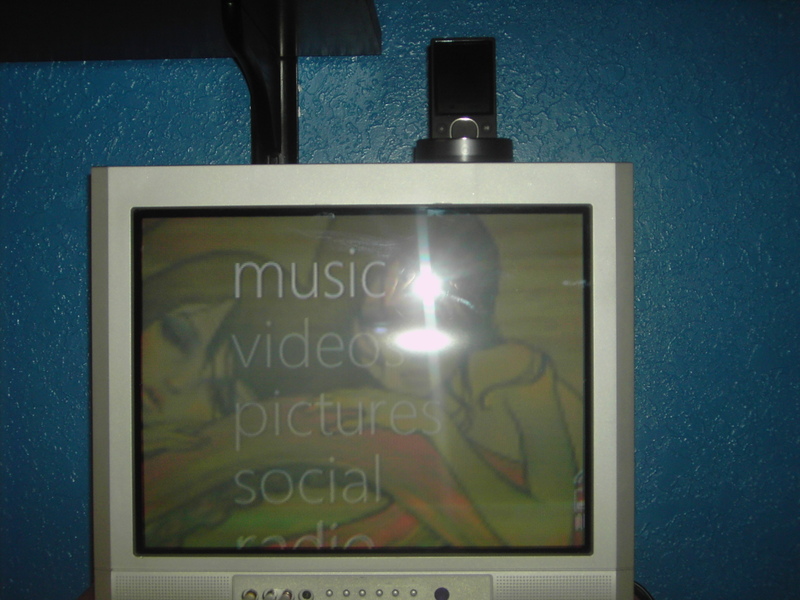
My Zune plugged into the base.
Output to my TV. I’m sorry for the poor quality. I was never able to get a good picture.
Impressions
The AV station turns this portable media machine into a home entertainment monster. You can view slideshows of pictures along with music, you can watch your videos at DVD quality on the TV. The remote works flawlessly with the same controls as the Zune itself, minus the touchpad capabilities. I absolutely love the dock and don’t know how I got along for so long without it.
Final Thoughts
If you are debating between the Zune80 or an iPod, stop. The Zune is your device (unless you own a mac). The screen is bigger, it can play the radio, music and video. It is beautiful and durable. The AV Dock integrates flawlessly with the device, allowing you to use all your media in your home’s entertainment center. I am in love, and I’m not scared to admit it. If the software is ever fixed then we will have a product that I feel will actually be an iPod killer, or if not a killer, at least a little brother that steals his older brother’s girlfriend.
Final Scores:
Packaging:10/10
Device:11/10
Software:7/10
AV Dock:10/10