At the end of last summer I got a DELL XPS case at a WSU surplus sale for $15. Now that the school year is over I’m finally getting around to modding the thing from BTX to ATX and moving my current rig into it.
Here are the before pictures. It’s a really solid brushed aluminum case. It weighs about a million pounds and looks great. The only problem is that it is BTX standard.
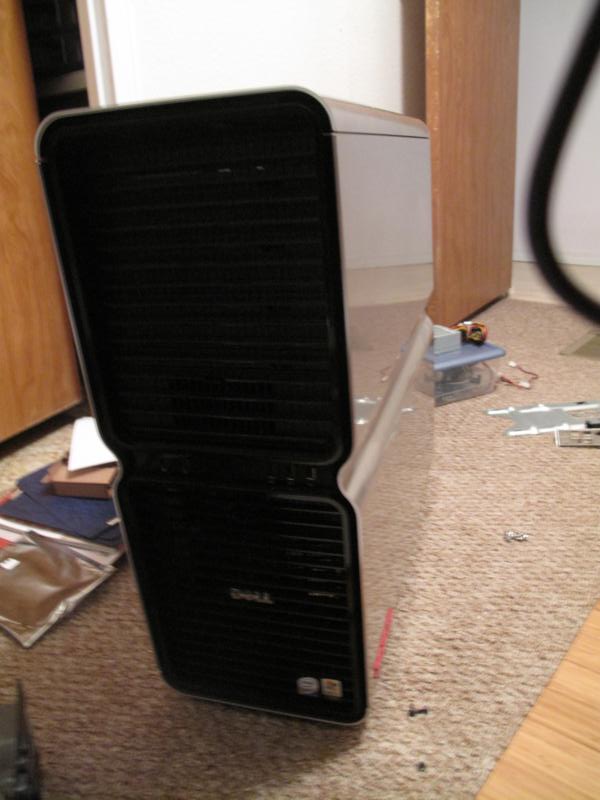
Here’s the back, where the problems are and the only part of the case I will be changing at all.
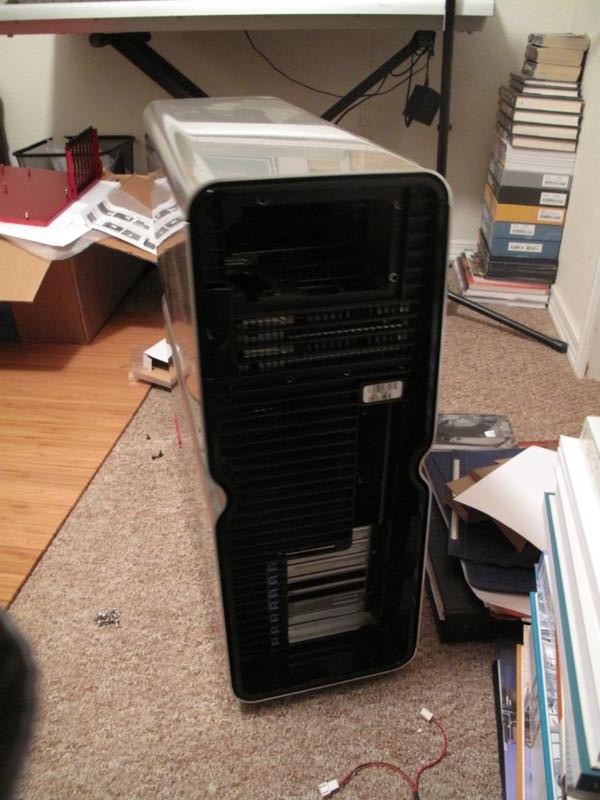
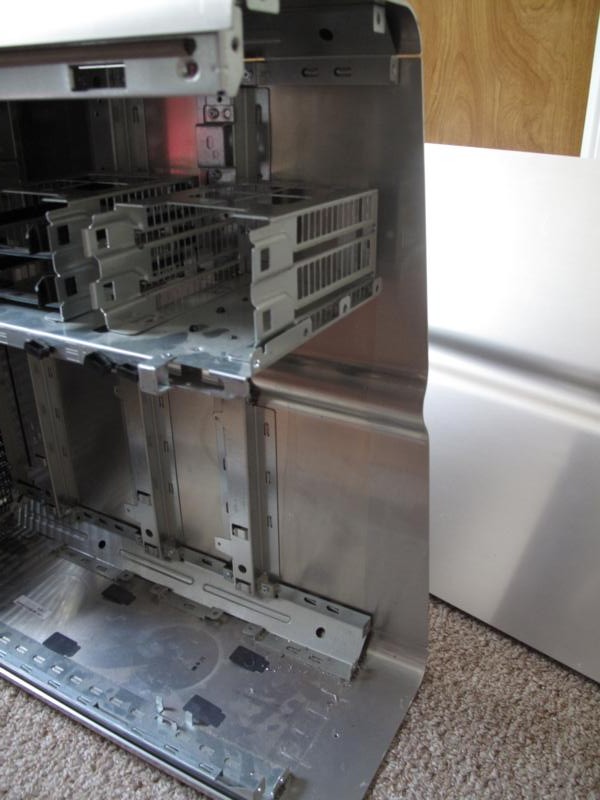
. . . And the side. The case is designed to look like it’s leaning forward.
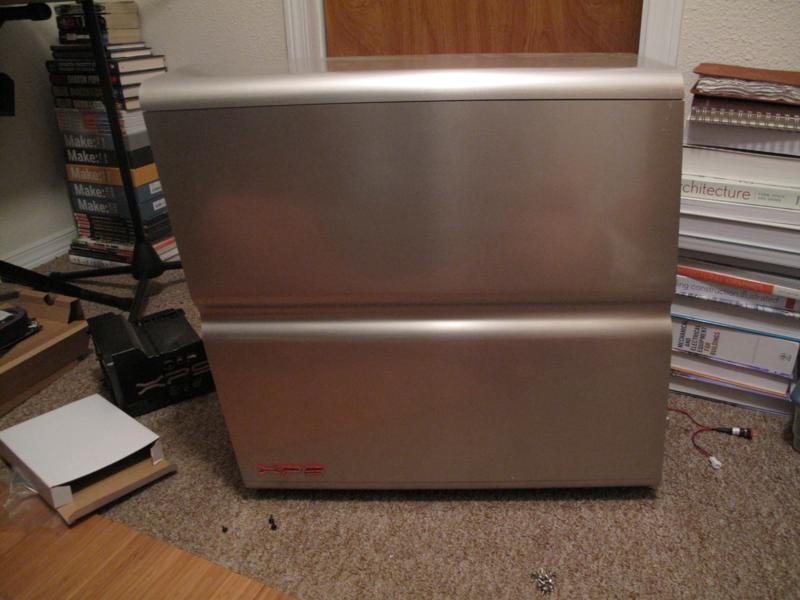
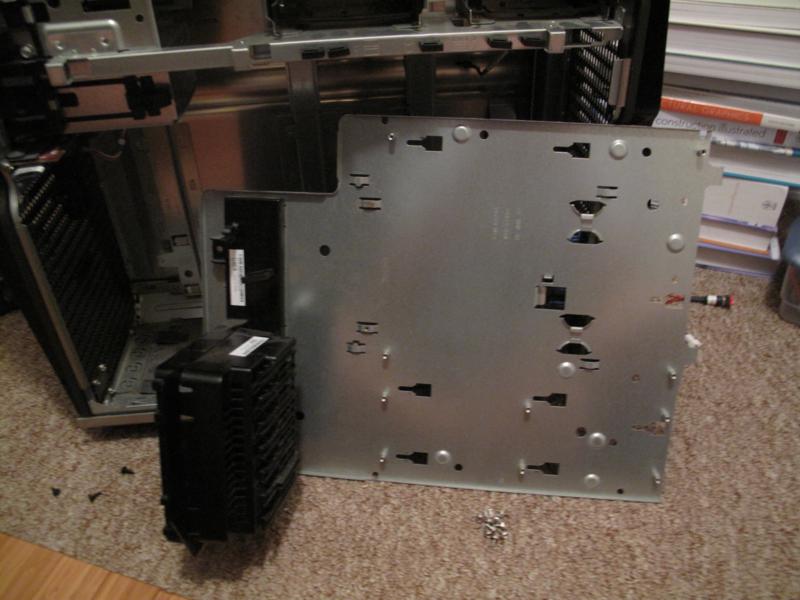
I started by removing the motherboard tray.
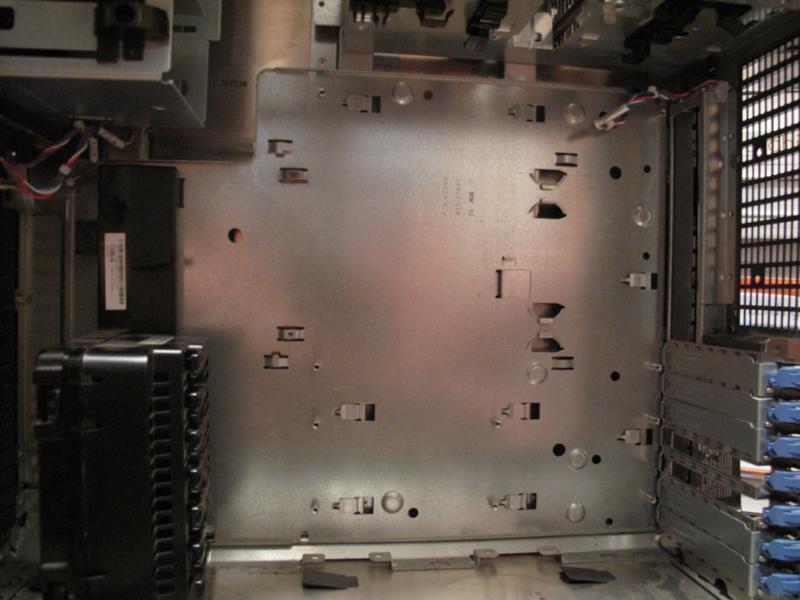
I’m going to try and salvage that front bit. It holds a fan and I’ll mod it to hold the radiator on my Coolit Vantage.
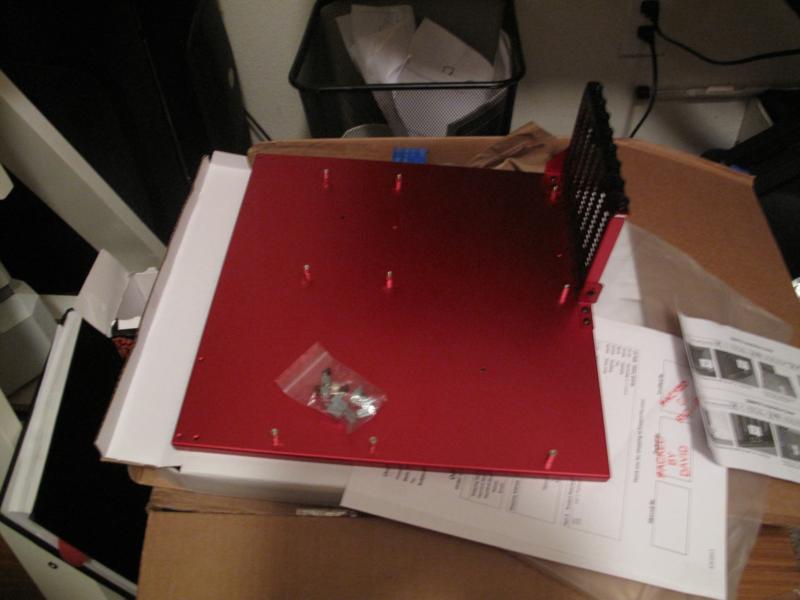
Here’s the new motherboard tray. It’s a Lian-Li something . . . It’s ATX standard and a nice red anodized aluminum. I got it for $50 at performance-pcs.
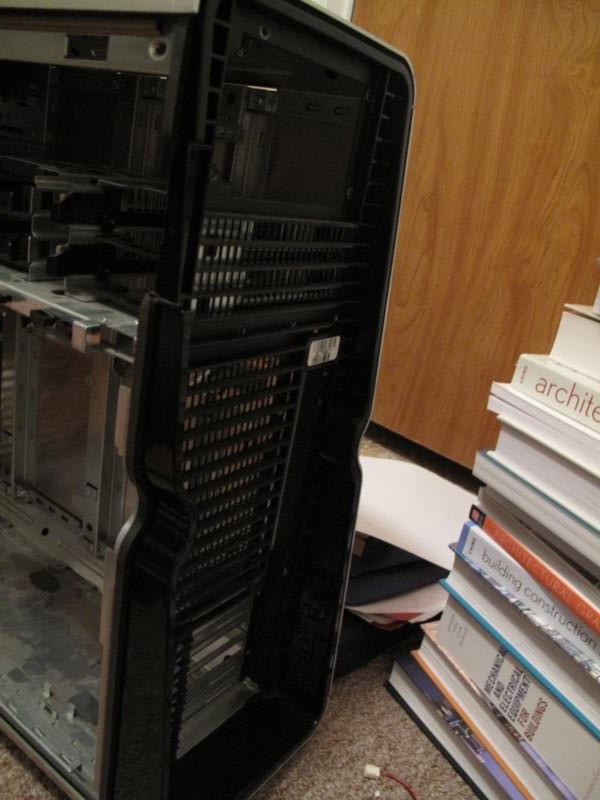
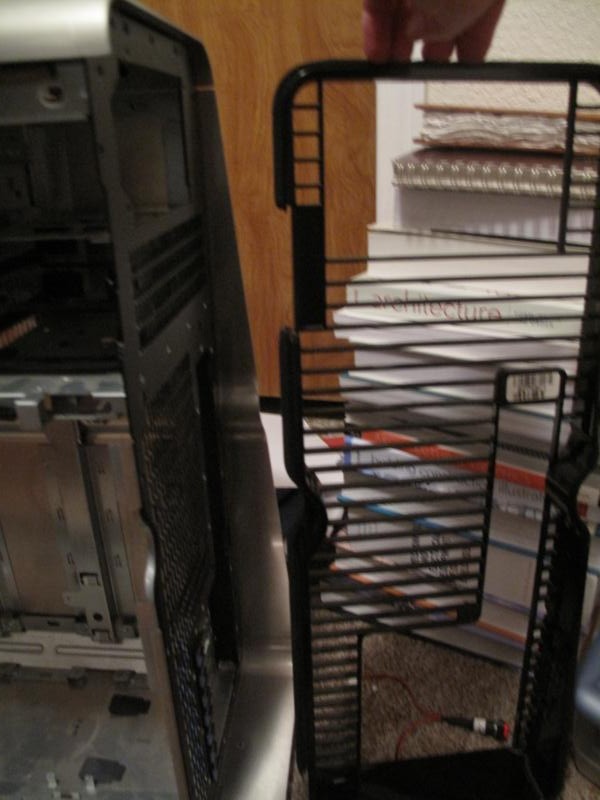
Next step was to remove the back plastic plate. I will have to cut it apart and glue it all back together so it conforms to the ATX standard of everything else.
The next step is where things start to get hairy and where a person can actually mess something up. The back metal plate was riveted to the case, so I had to drill through the rivets to remove it. I’ll have to buy a rivet gun to get this thing back together. It’s about time I got one.
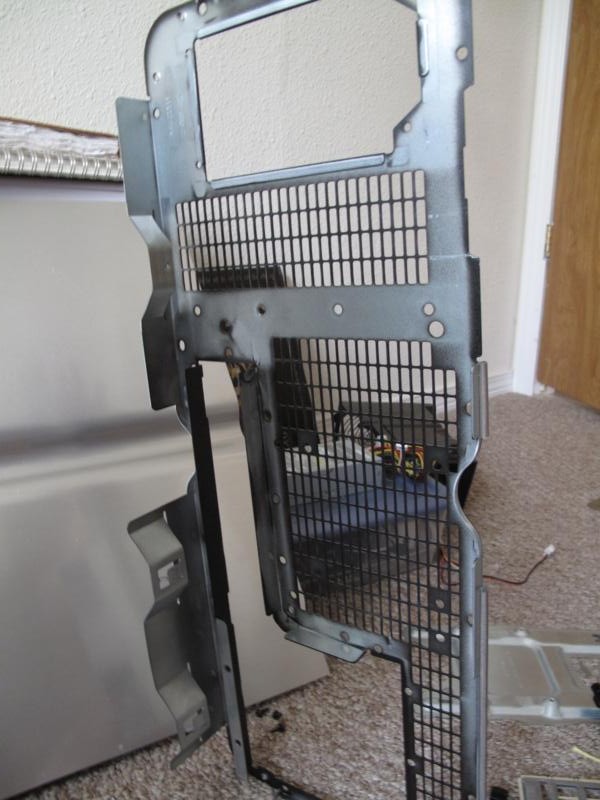
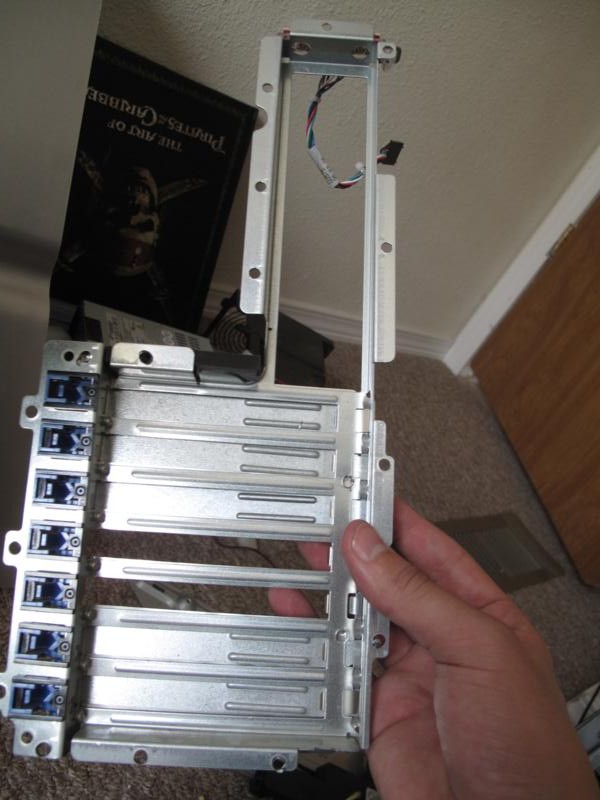
And from the metal backplate I drilled out the rivets holding the IO shield. This will eventually go, but it has a neat LED array at the top so you can light up the back of your case to get things plugged in and out. I’ll be recycling that.
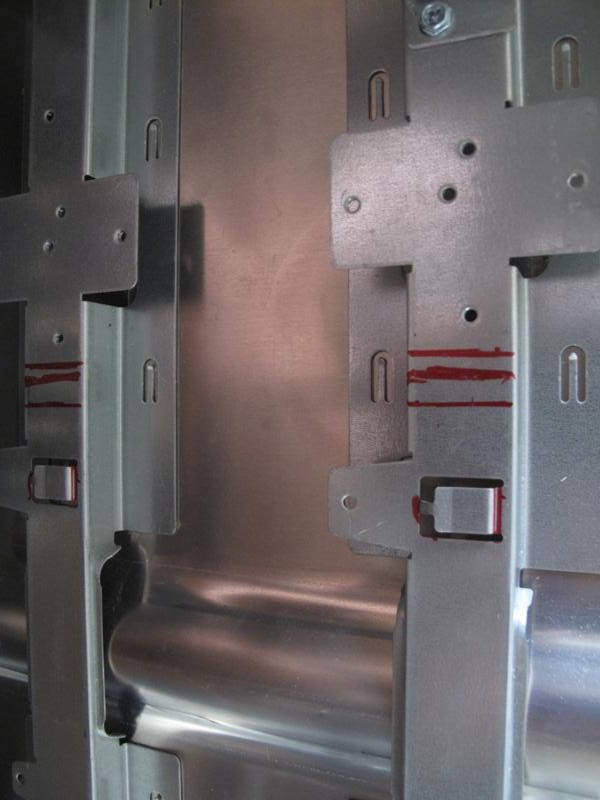
Next, I marked out everything that needed to be cut out from the inside so the new motherboard tray can be mounted. I cut everything out, did a few test fits, then drilled and tapped a few holes so the motherboard tray would be flush and secure. I’ll probably add a few more screws to this before I call it done.
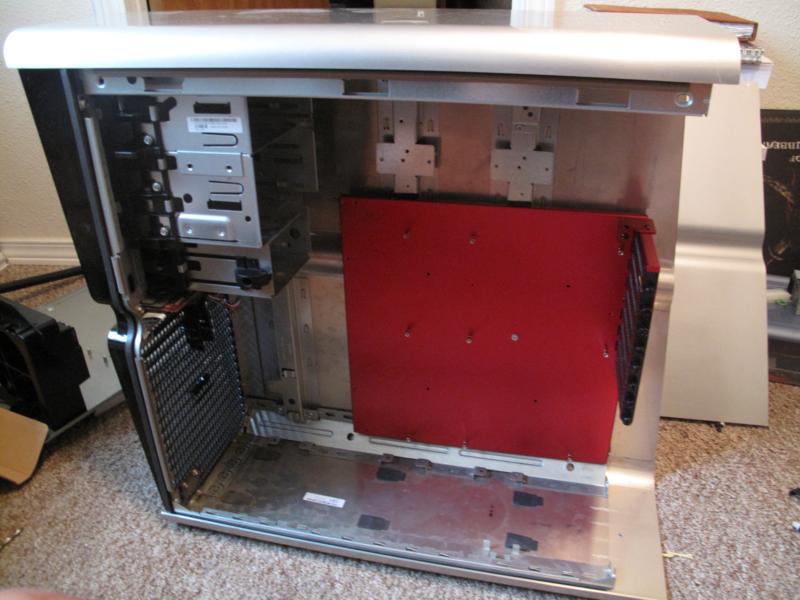
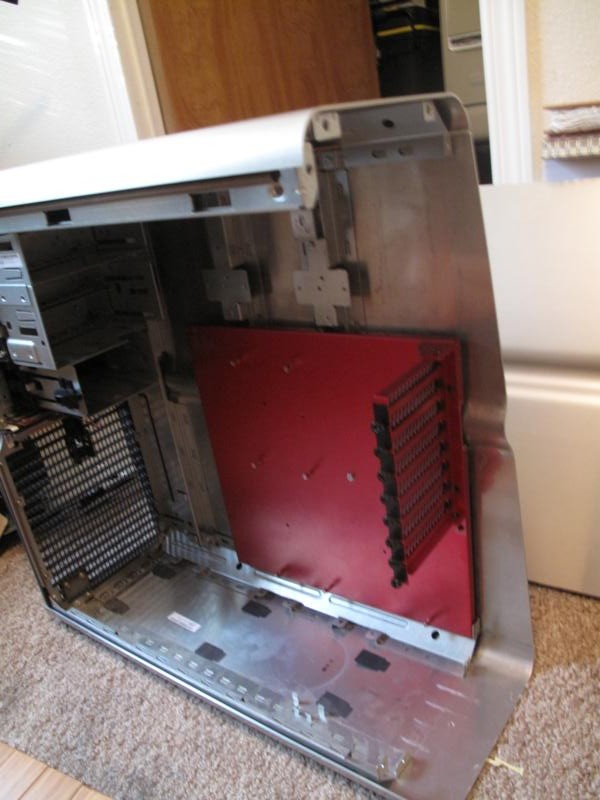
After the motherboard was mounted I marked where the metal back plate needed to be cut. I would then cut it and hold it up again to make sure everything fit, and then made more adjustments until I liked the way it looked. I replaced a big area I had cut out for the new expansion slots and glued it to the location of the old ones. This is good enough for me at this point. The plastic back plate that goes over this will have to be modified as well, but will cover any imperfections the metal plate has.
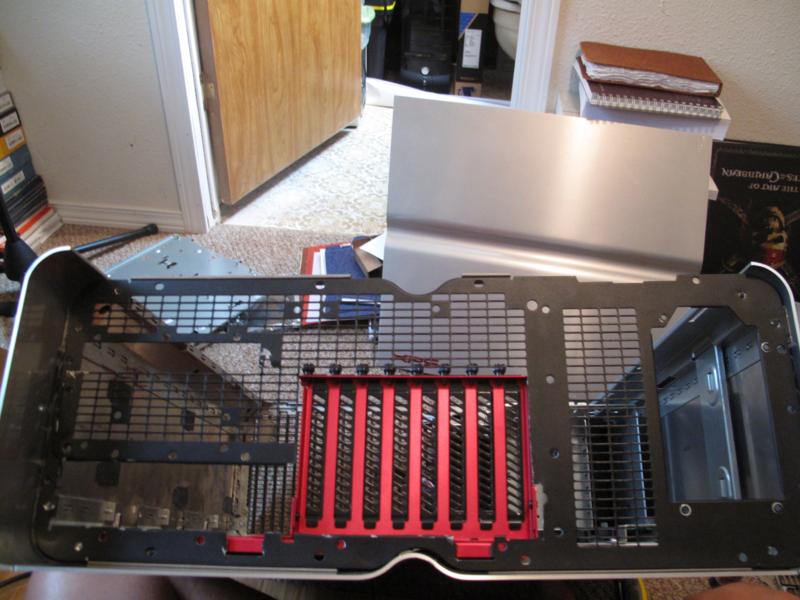
That’s all for now. I need to get 5/32 rivets to get everything back in place, and I need to start and finish the plastic back plate. After that though, this will be finished. The whole point of this mod was to take the BTX case and make it ATX. It doesn’t have to be pretty since it’s the back of the case, but I’m going to do my best anyway.